


I don’t know about you, but tacos are one of my absolute favorite foods on the planet. I love the versatility, the flavors, and I even love the way you eat them with your hands. So many of the meals we eat are with utensils. Frankly, tacos are just fun—and why shouldn’t food be fun?
The problem with tacos on 5&1 is the “shell,” so like I often do, I look to keto chefs for inspiration. The answer: taco shells made from cheese! Now, in keto, they use full fat cheese. To make them 5&1 compliant, we’re going to go with reduced fat cheese. Different fat level, same yumminess level.
Taco Shell Ingredients:
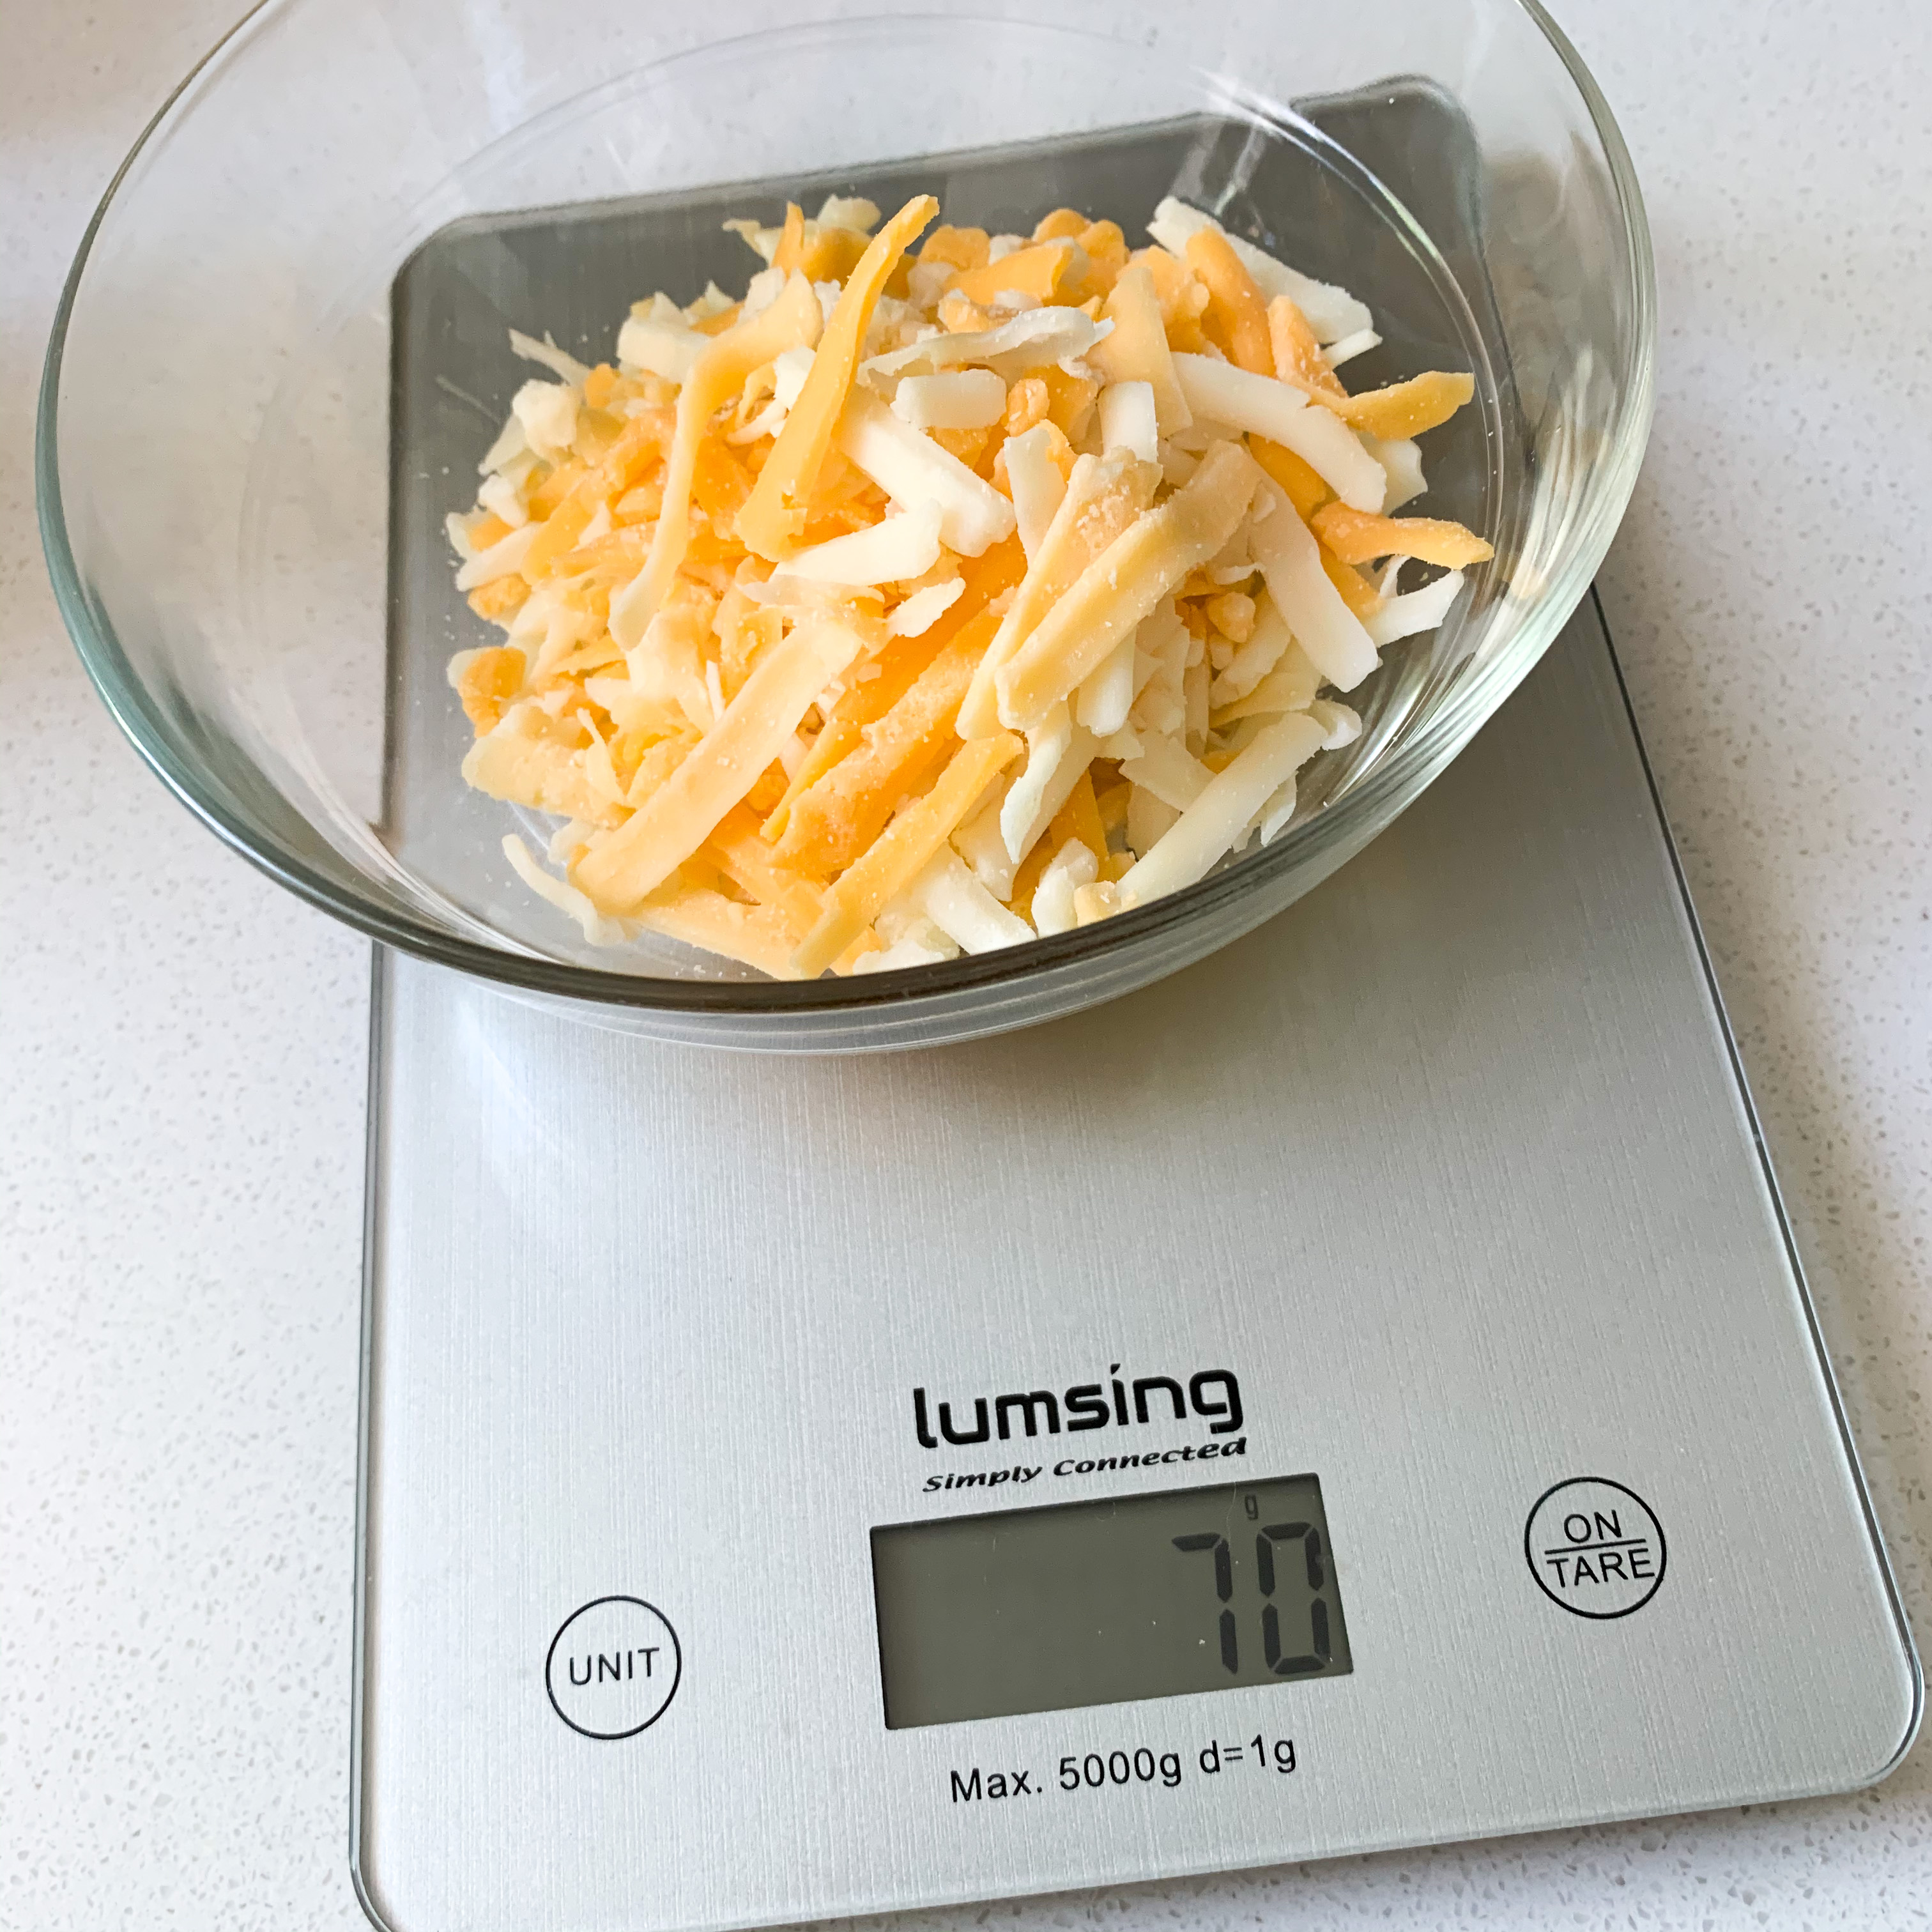
- 3/4 C or 84g Reduced Fat Shredded Cheddar or 4-Cheese Mexican Cheese {3/4 Lean}
- 1.5 oz Ground Beef, Chicken, or Meat Substitute from the Leaner category {1/4 Lean}
Entire batch equals One Lean. What you add inside will count towards your Greens and Condiments.
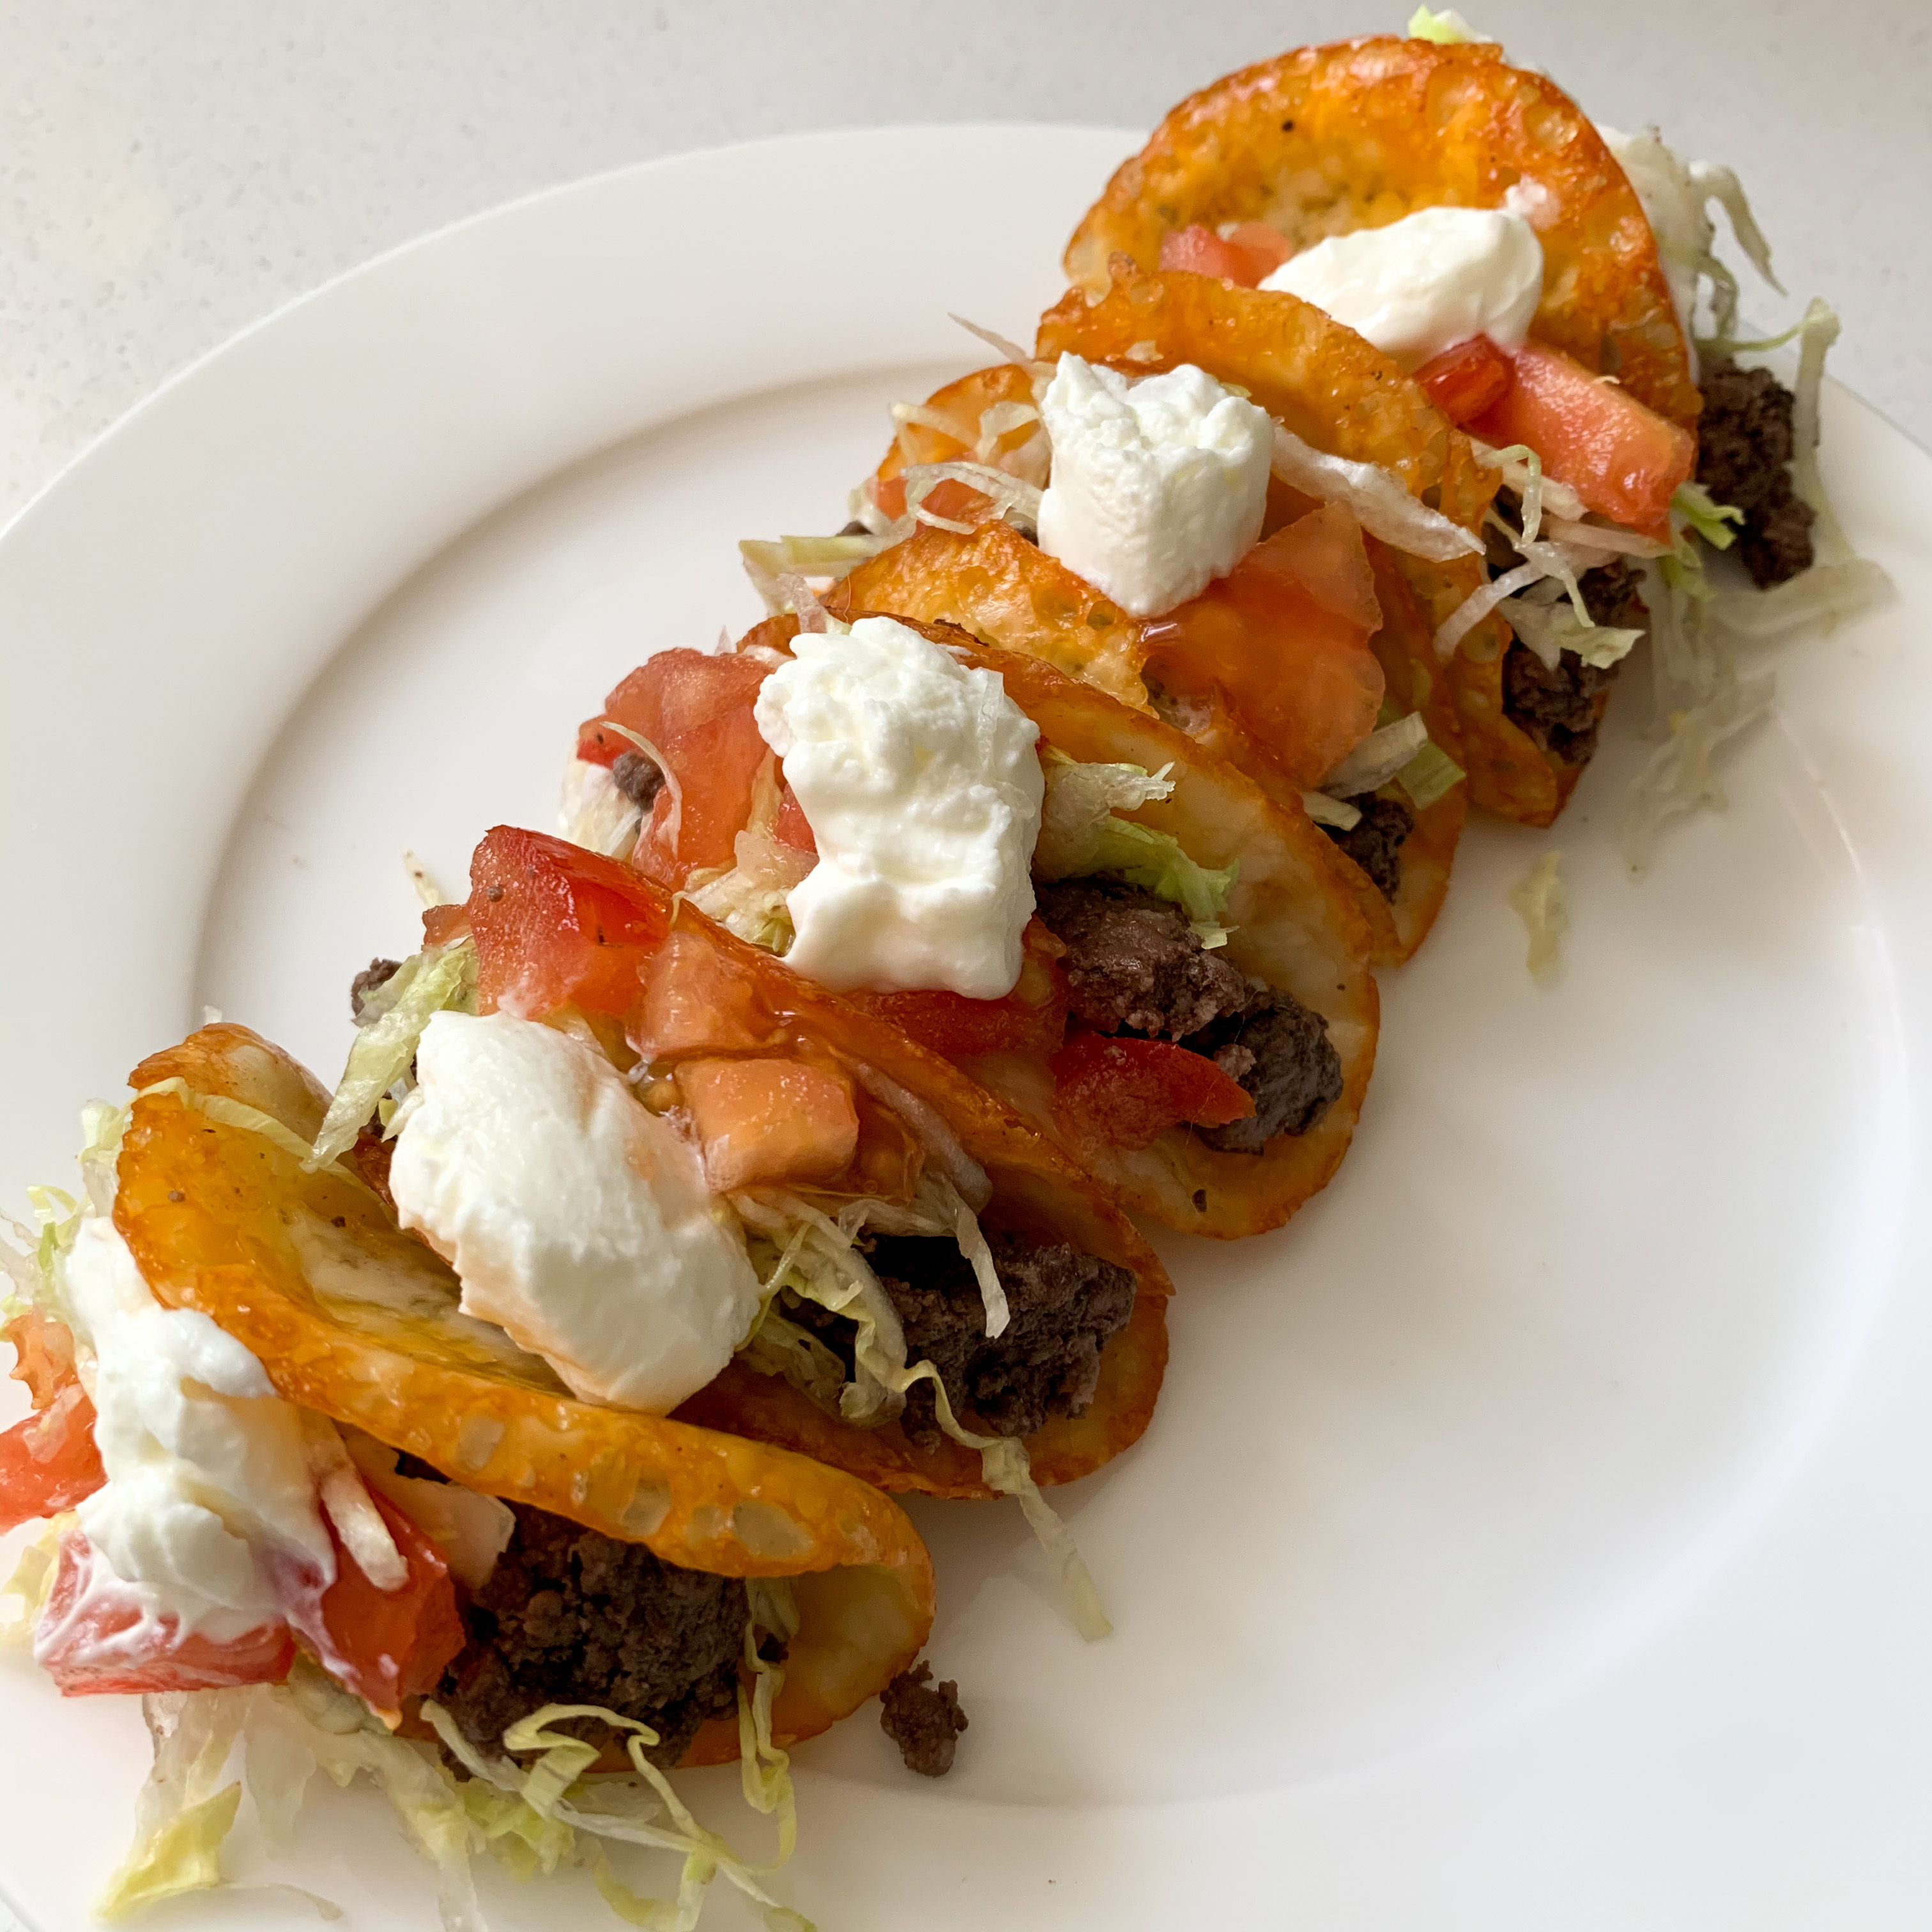
For mine, I added tomatoes and shredded iceberg lettuce and topped with nonfat Greek yogurt {you could use non-fat sour cream as well…I just had Greek yogurt, so went with that.} These shells are small though, so you’ll likely end up with a side salad to complete your Greens. Or, you can add Greens somewhere else throughout your day: grilled mushrooms on your smashed potatoes, roasted peppers on top of your rosemary cheddar biscuit, etc.
If you don’t want ANY meat at all, you can double the amount of cheese and fill them with veggies only. It’s entirely up to you. Get creative! This is the perfect opportunity to play around with your favorite taco combination!
Instructions:
- Preheat oven to 375.
- Measure out your shredded cheese and cook up your choice of ground meat.
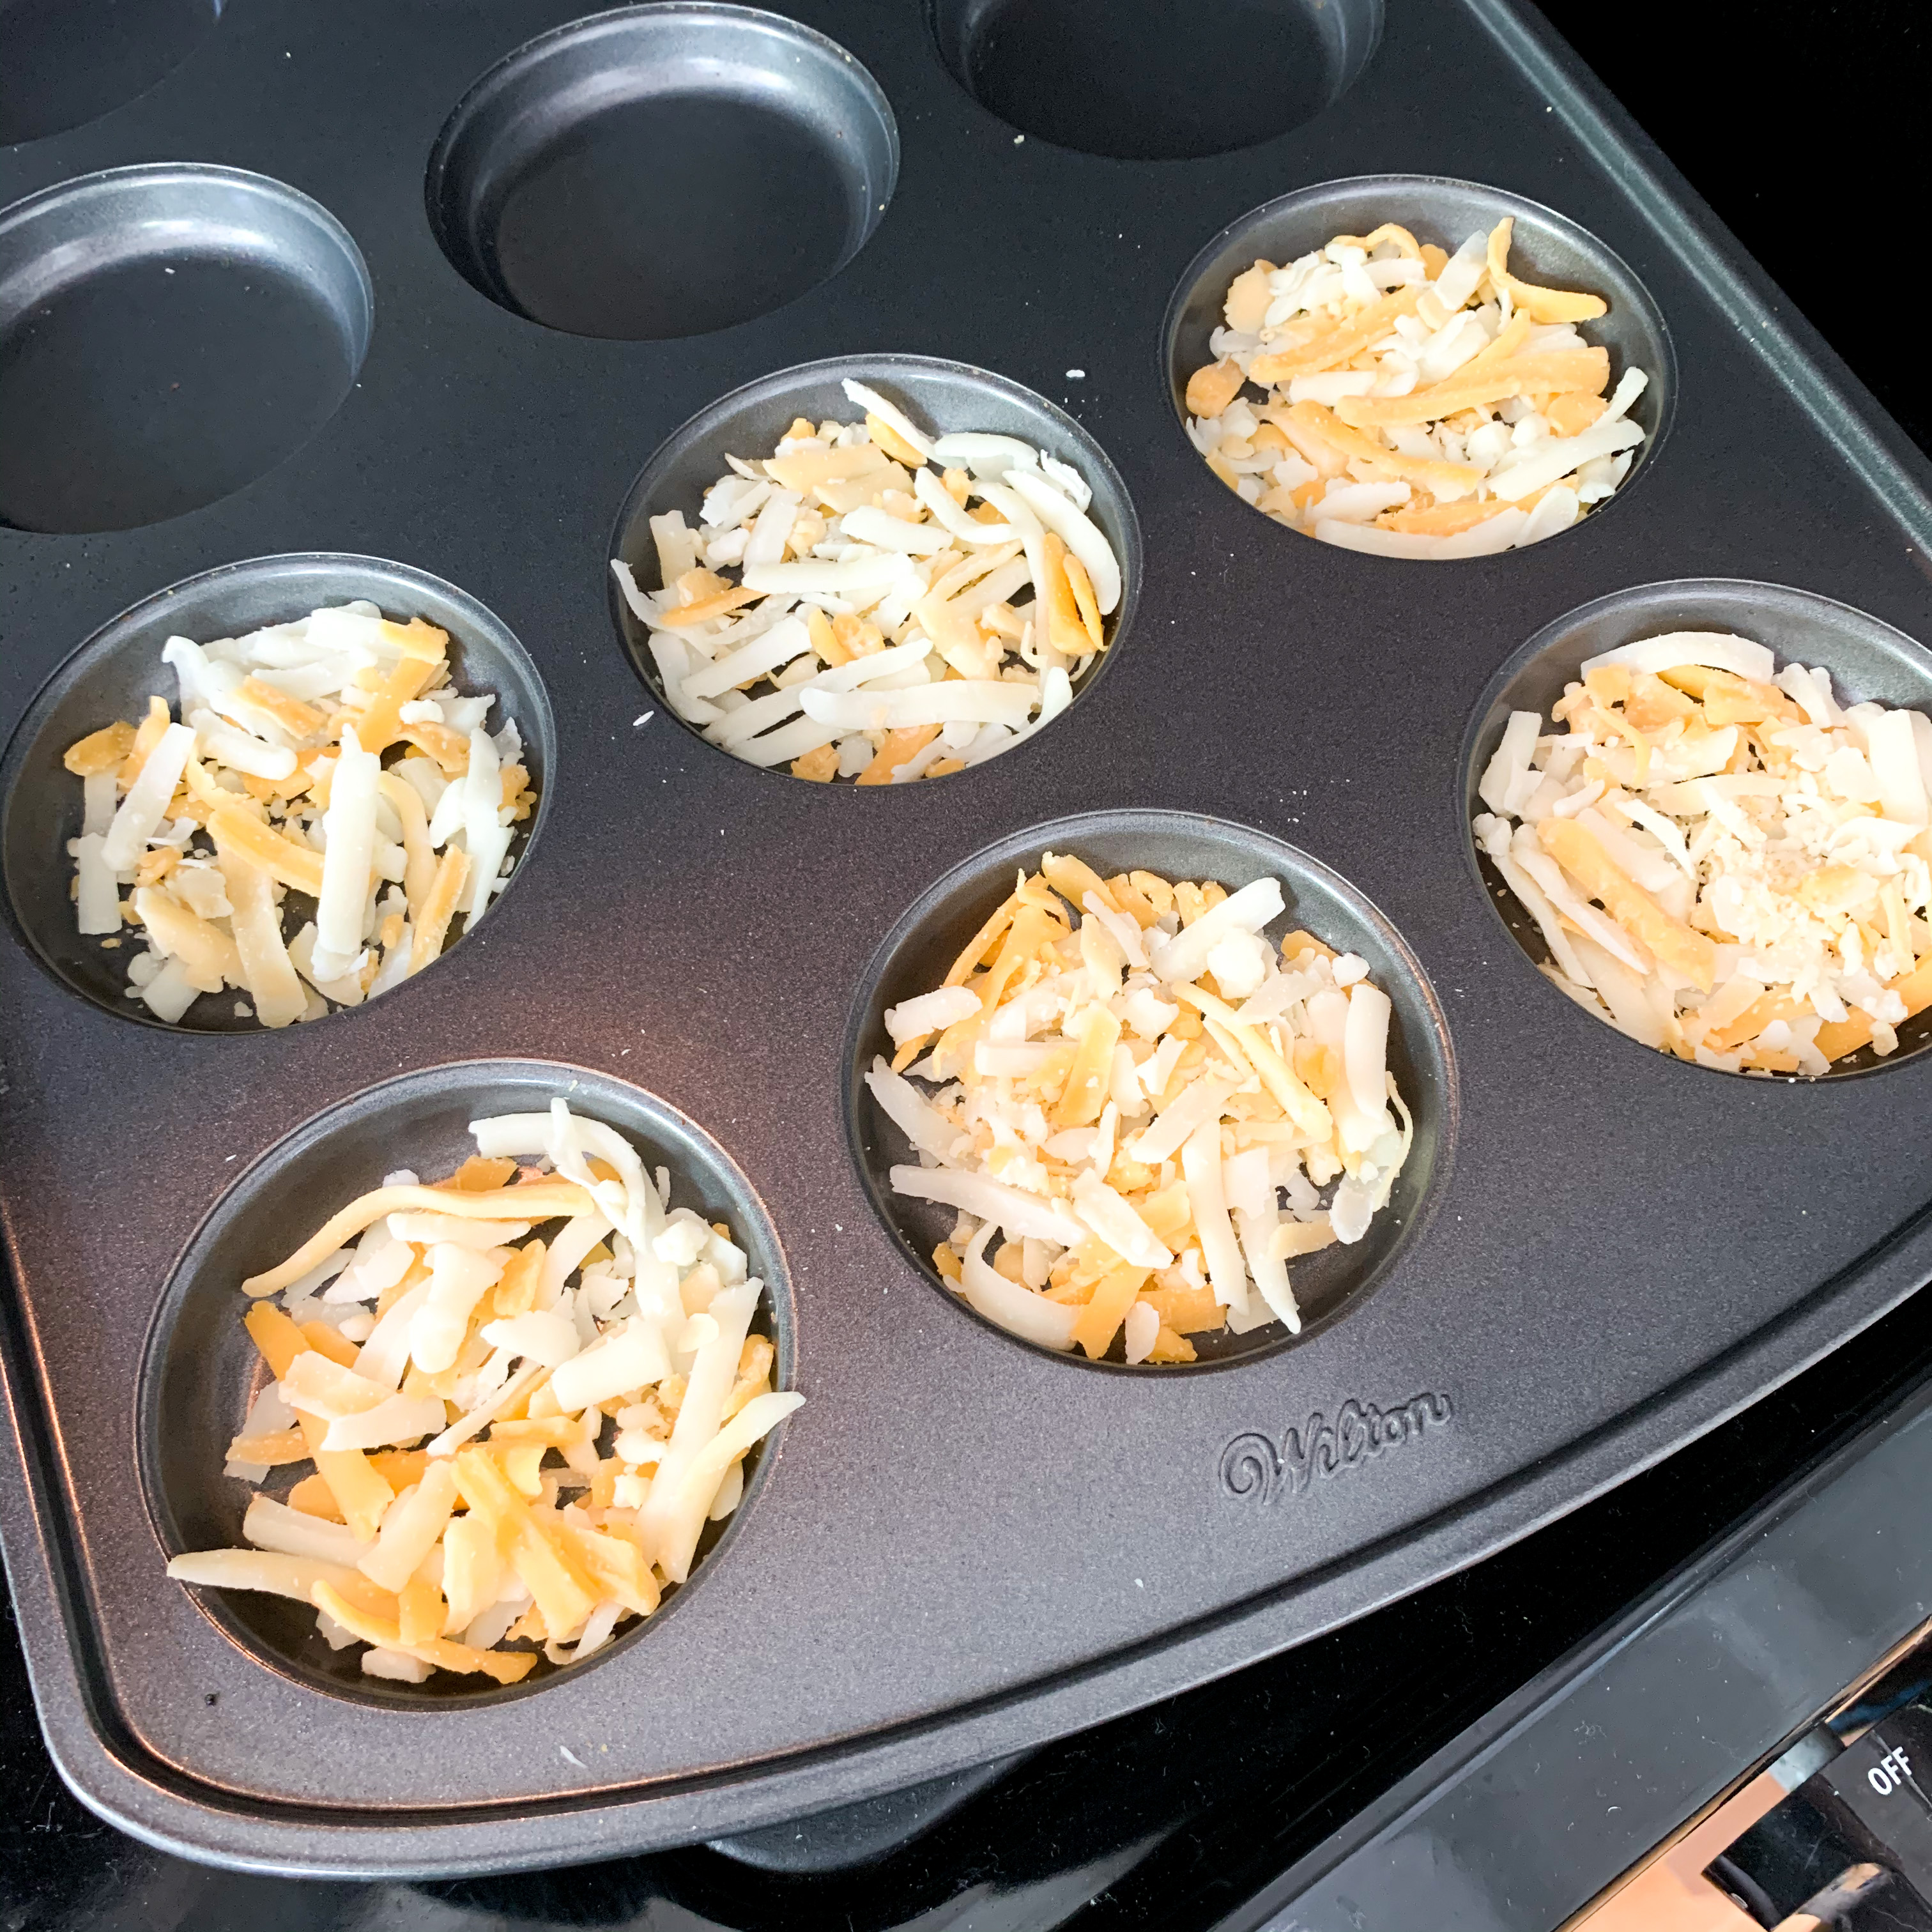
- Once oven is preheated, place your cheese in circles {it’s important that they’re circles to create the right shape} on a parchment lined baking sheet or use a pan like mine. Bake for 5-7 minutes, until the edges turn brown and the cheese is bubbly.
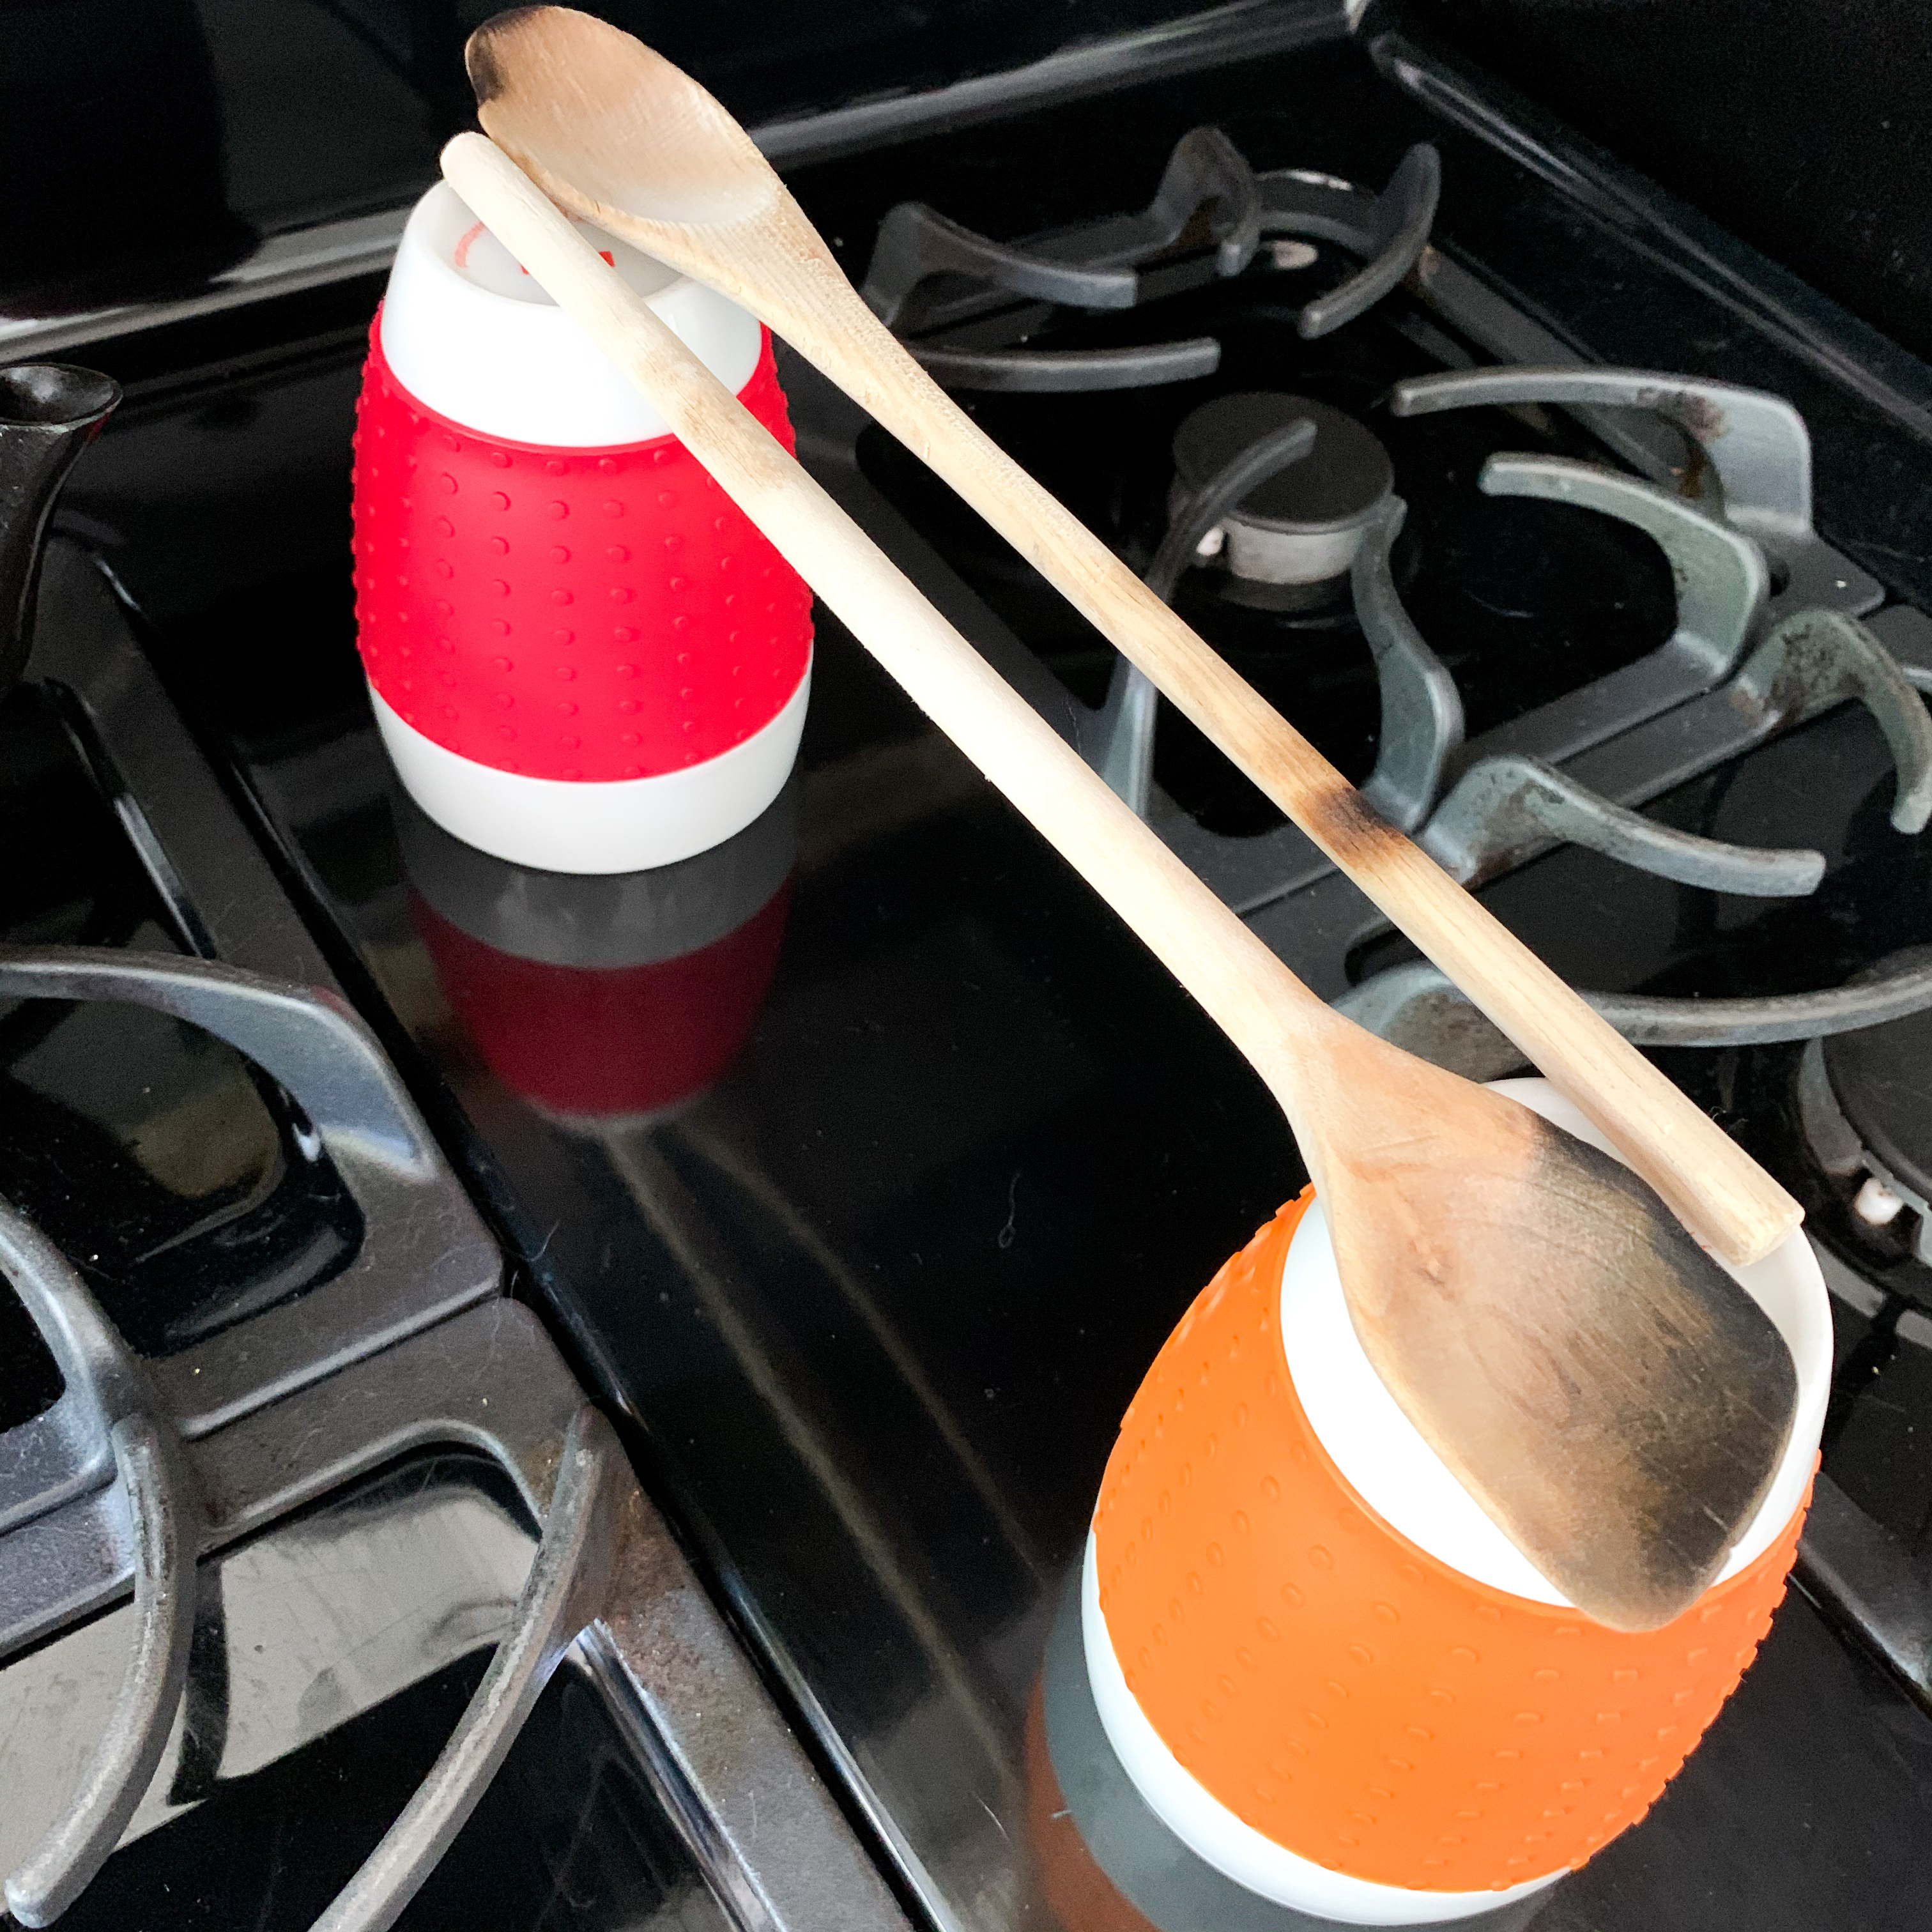
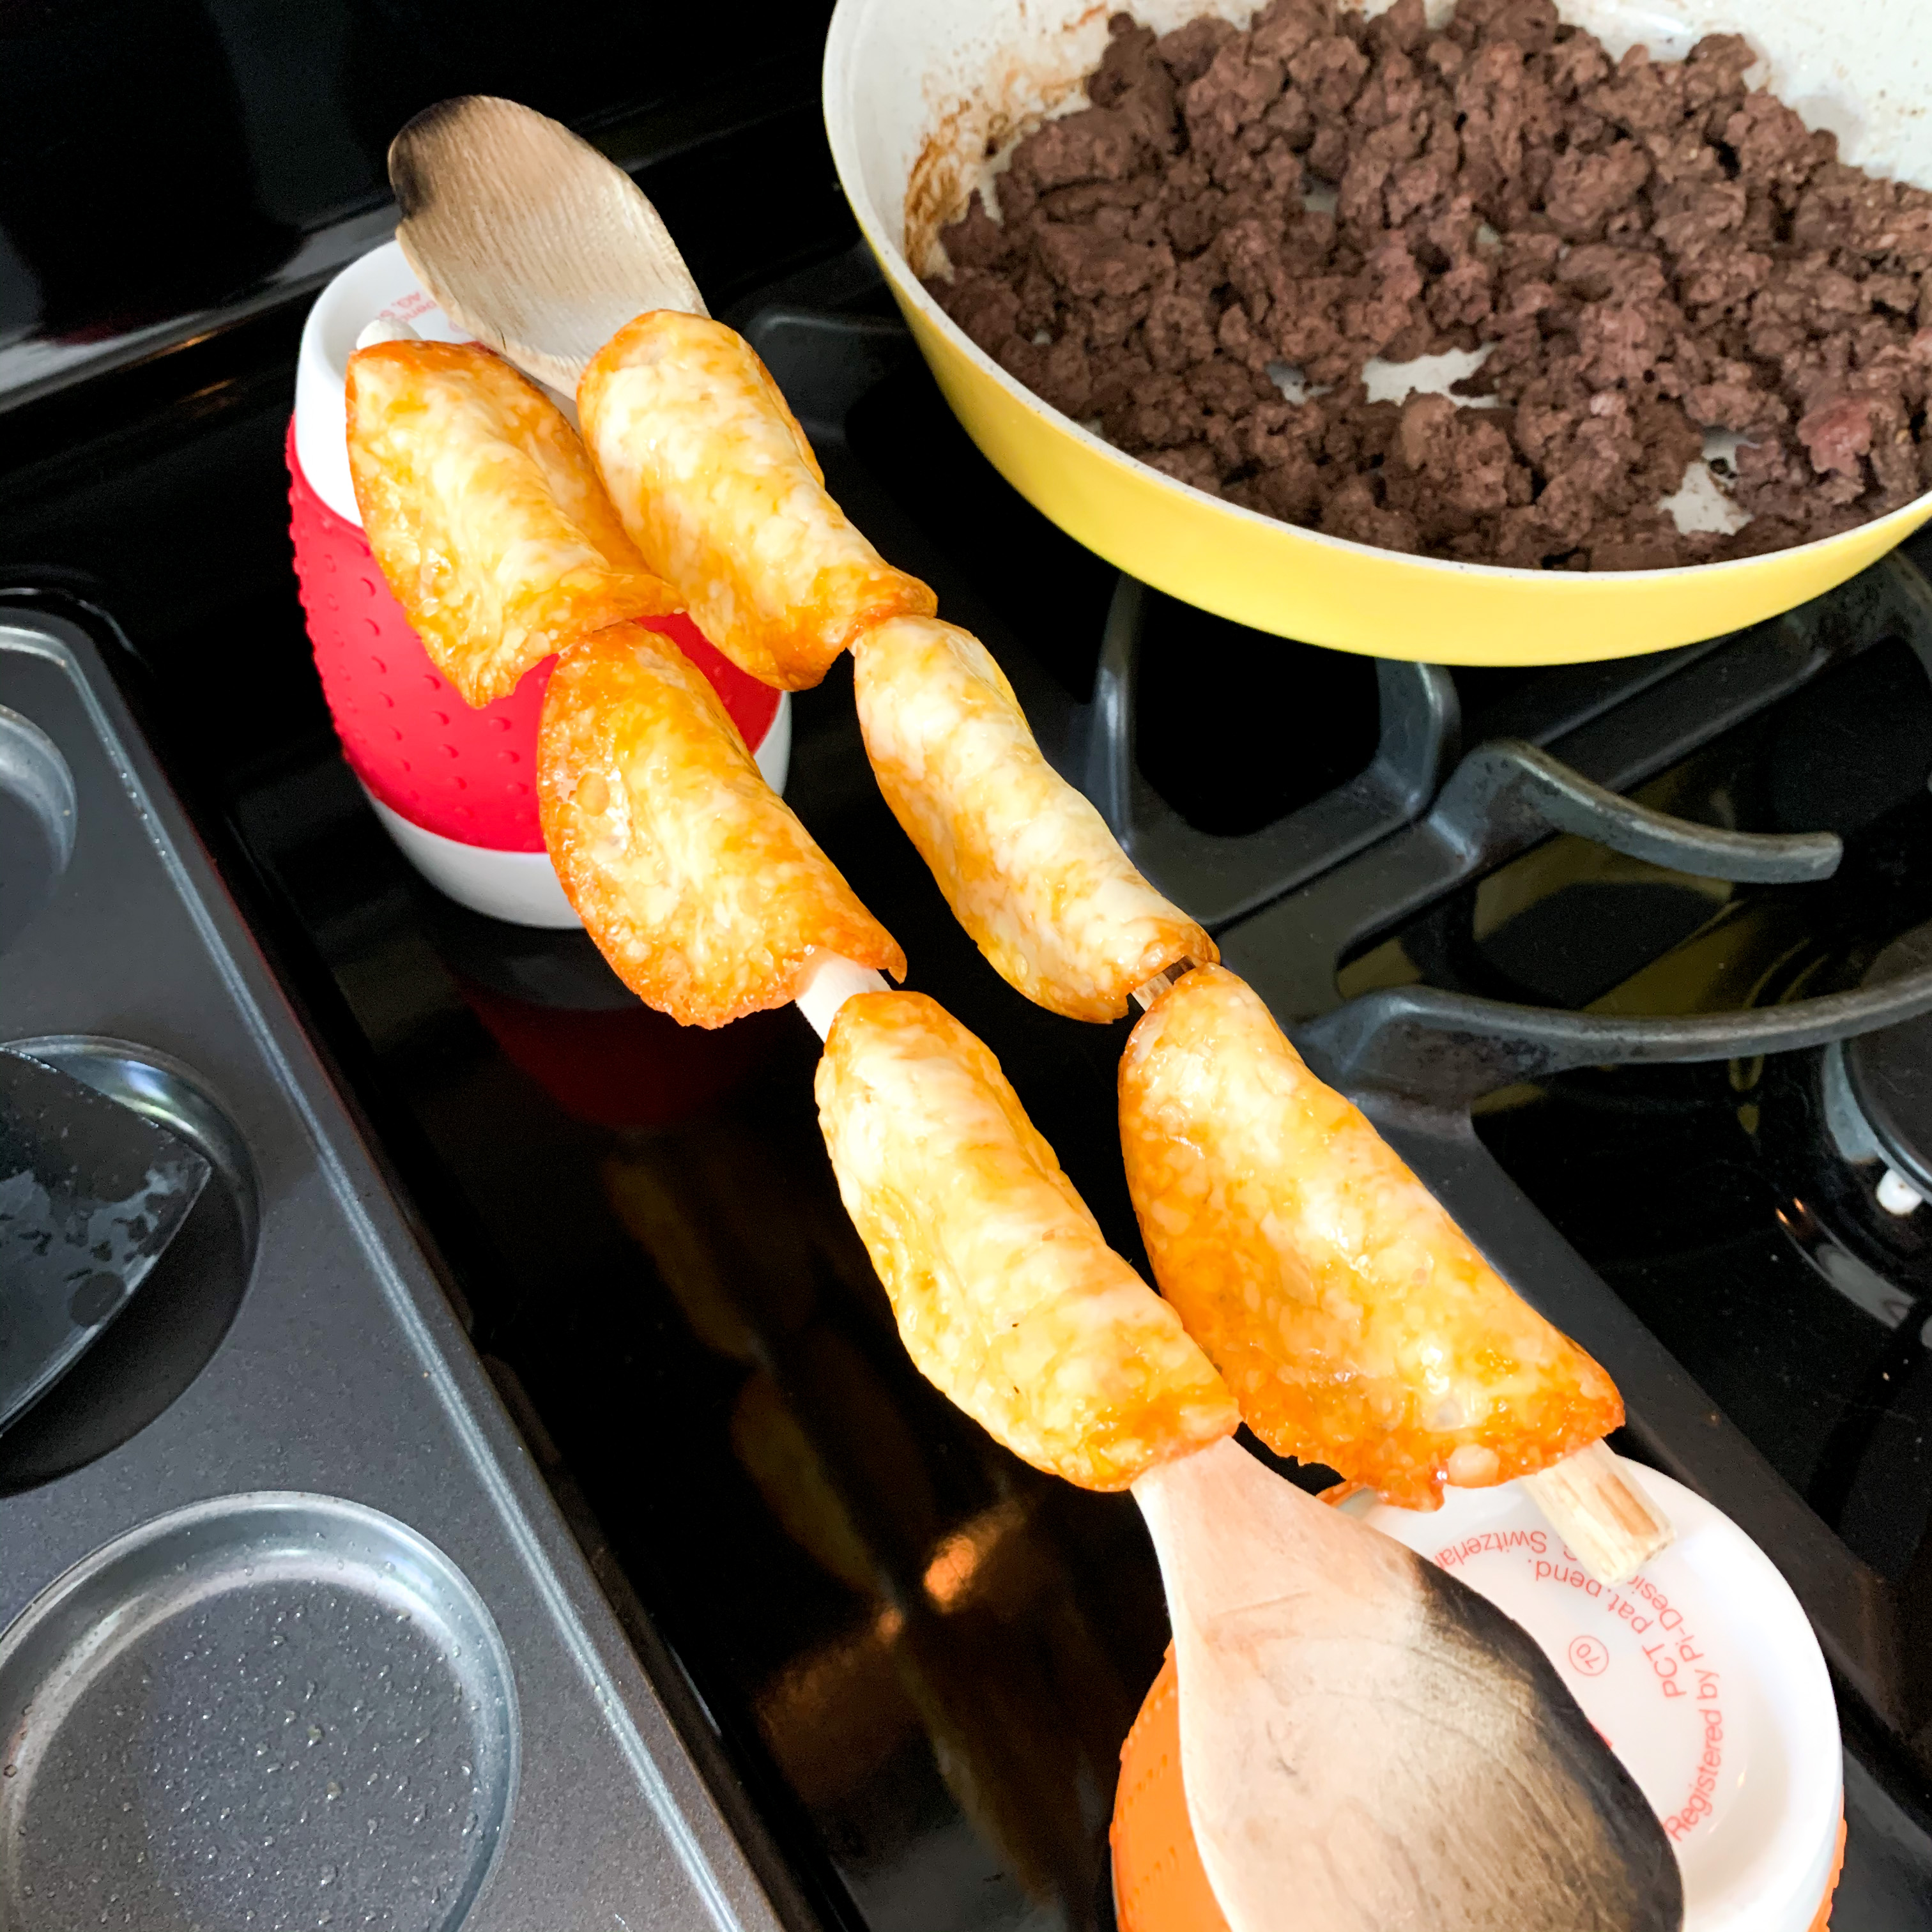
- While your cheese is cooking, set up your “drying racks”— turn two {or more, depending on how many batches you’re making} glasses over and set wooden spoons across them.
- Remove the pan from the oven and allow it to cool for approximately one minute. It needs to rest and firm up, but keep an eye on it. It’s important that you not let them cool too much, as they’ll need to be slightly warm to mold into the taco shell shape.
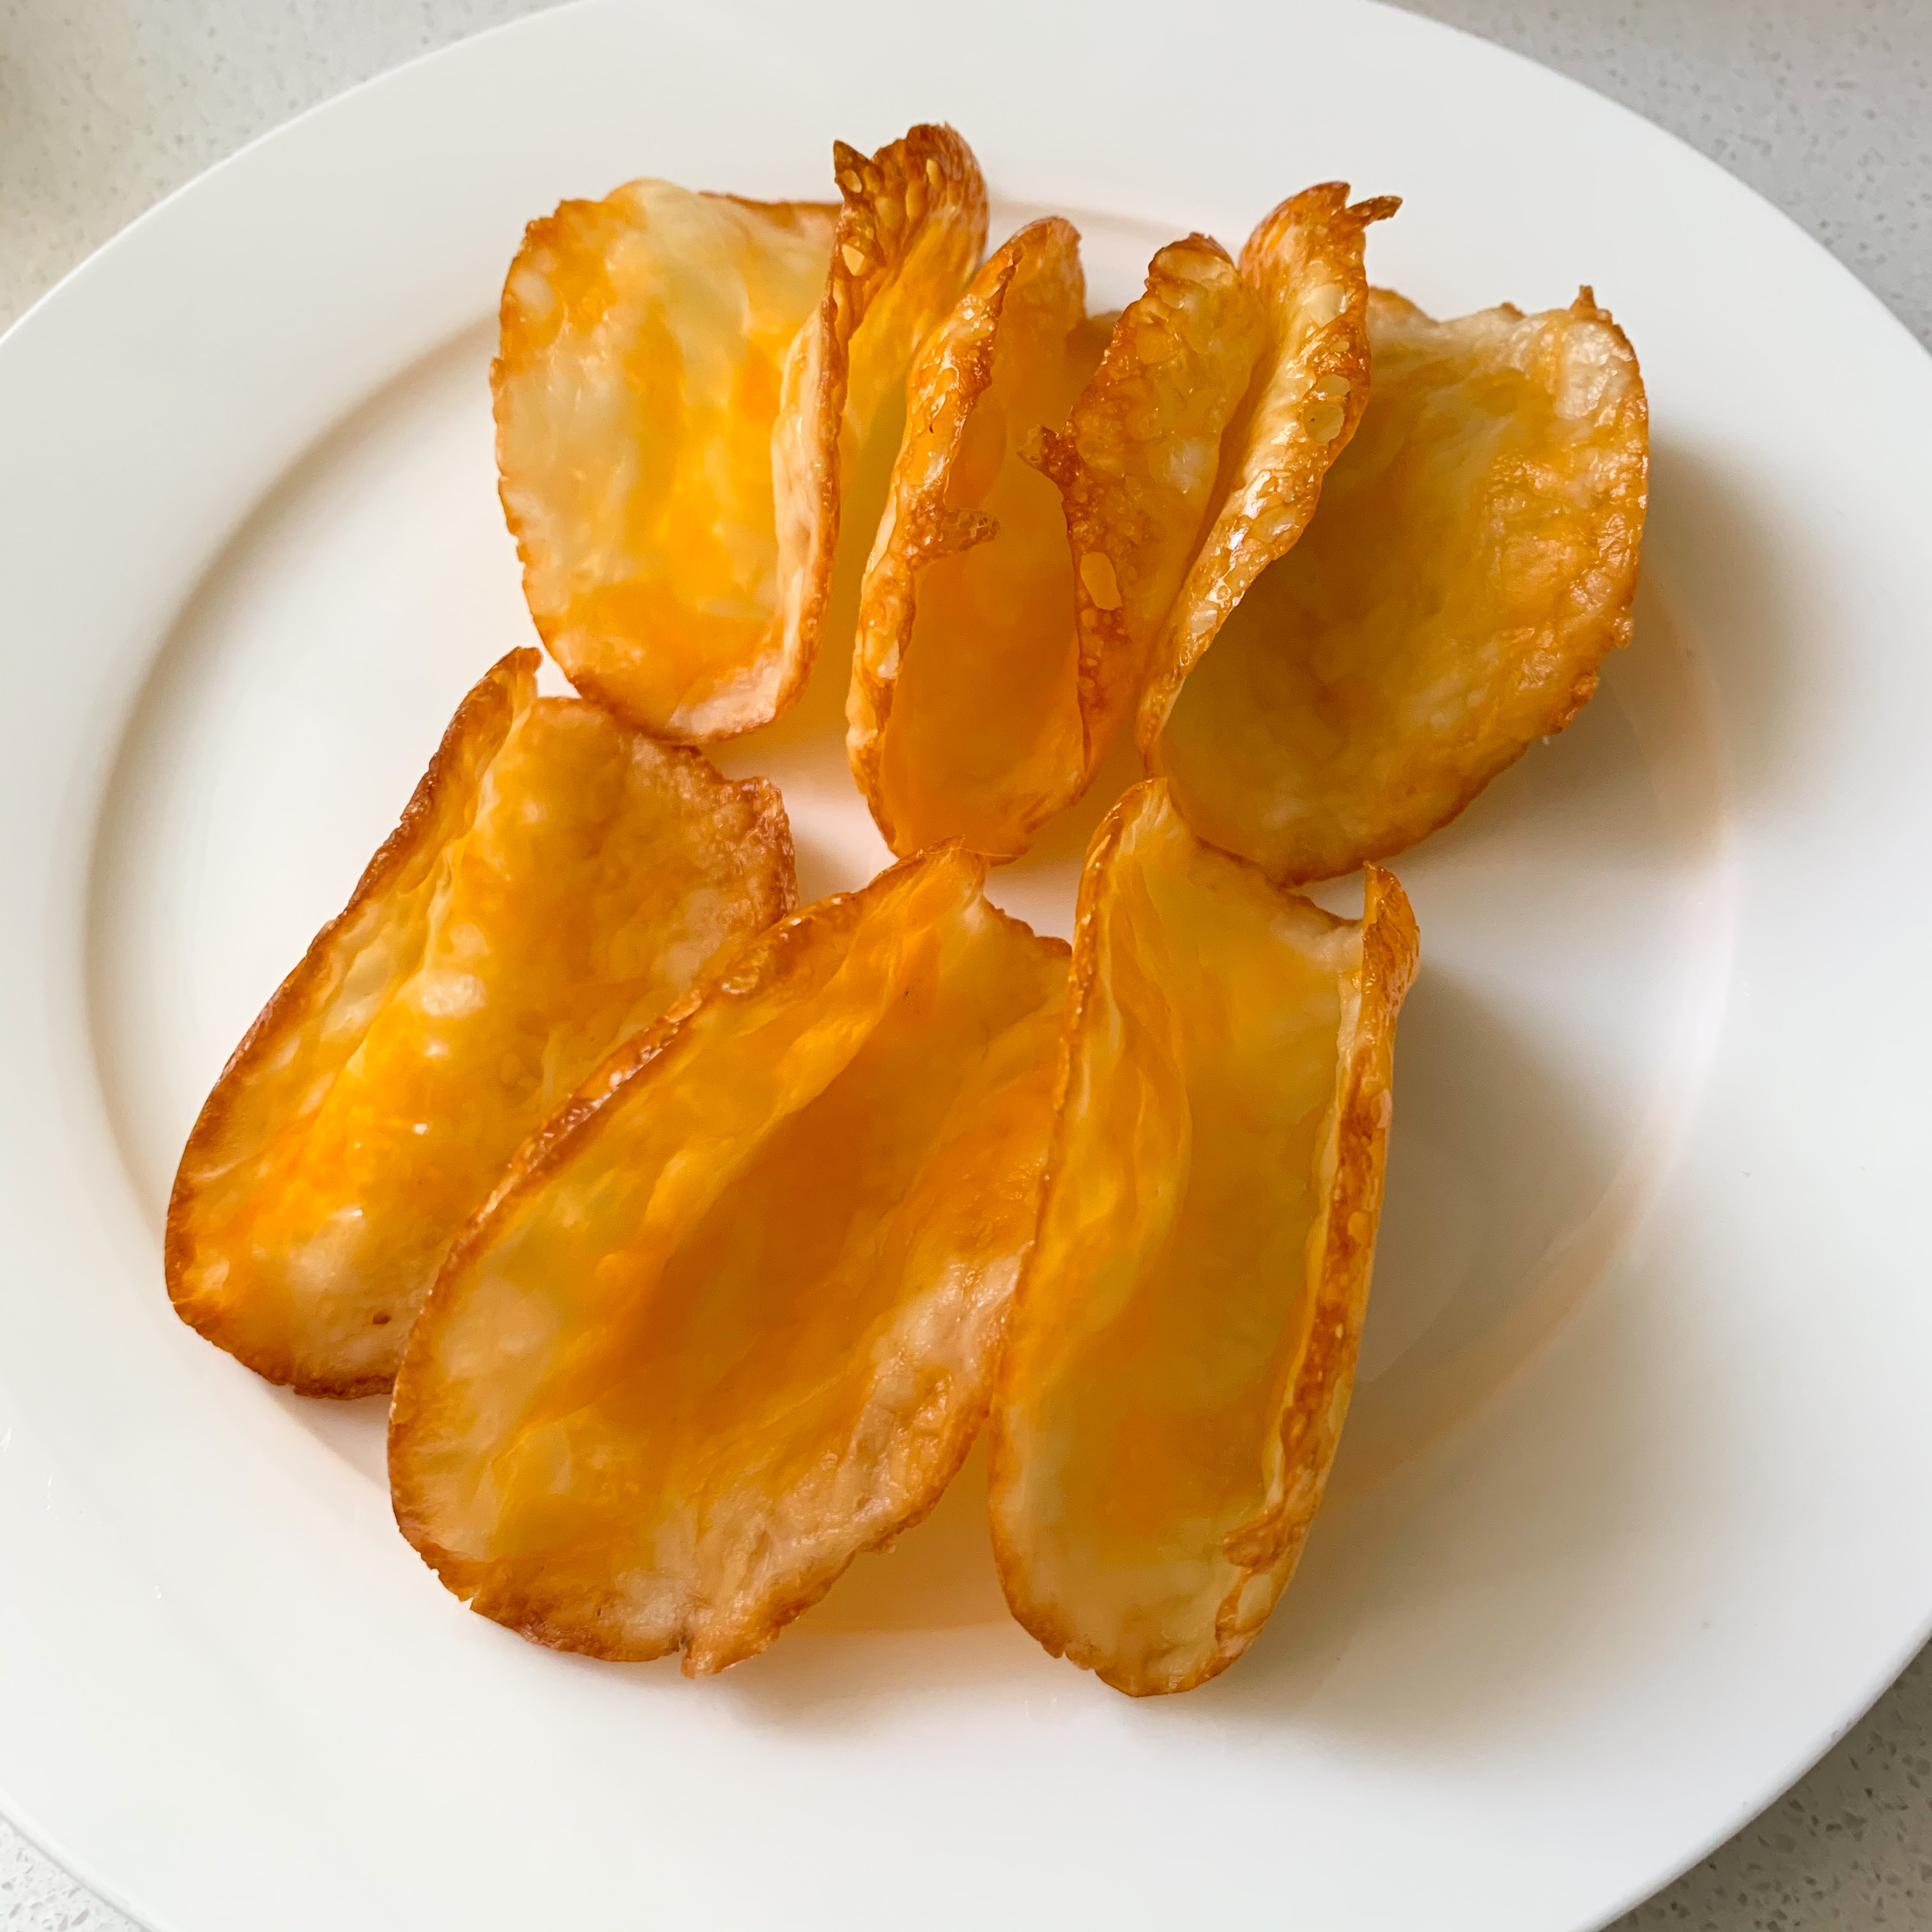
- Use a thin rubber spatula to remove the shells from the pan and then hang them on your “drying rack.” Allow them to harden for approximately five minutes.
- Remove, fill and enjoy!


Lastly, these don’t store well. For me, they lost their crispiness and you definitely cannot reheat them. My recommendation: make only what you intend to eat for that meal.
Hope these add some fun and versatility to your Lean & Green arsenal!

5 thoughts on “Cheese Taco Shells”