Low Carb Seafood and Scallion Pajeon {Korean Savory Pancake}

I’m a big fan of Asian food, but don’t always find Optavia fuelings friendly to hacking that way. The flavors just aren’t always compatible. When ‘hacking’, I like to dip into my Leans or Greens versus adding a ton of extra ingredients/condiments. Plus, I find that some days I’m just craving a bit of protein earlier in my day. Now I know a lot of people don’t count baking powder, egg whites, etc. when hacking, but it does add up, so I count them. In all transparency, I do not count salt, pepper, or cooking spray, but that’s my personal comfort level—and it doesn’t have to be yours. Do what feels right for you.

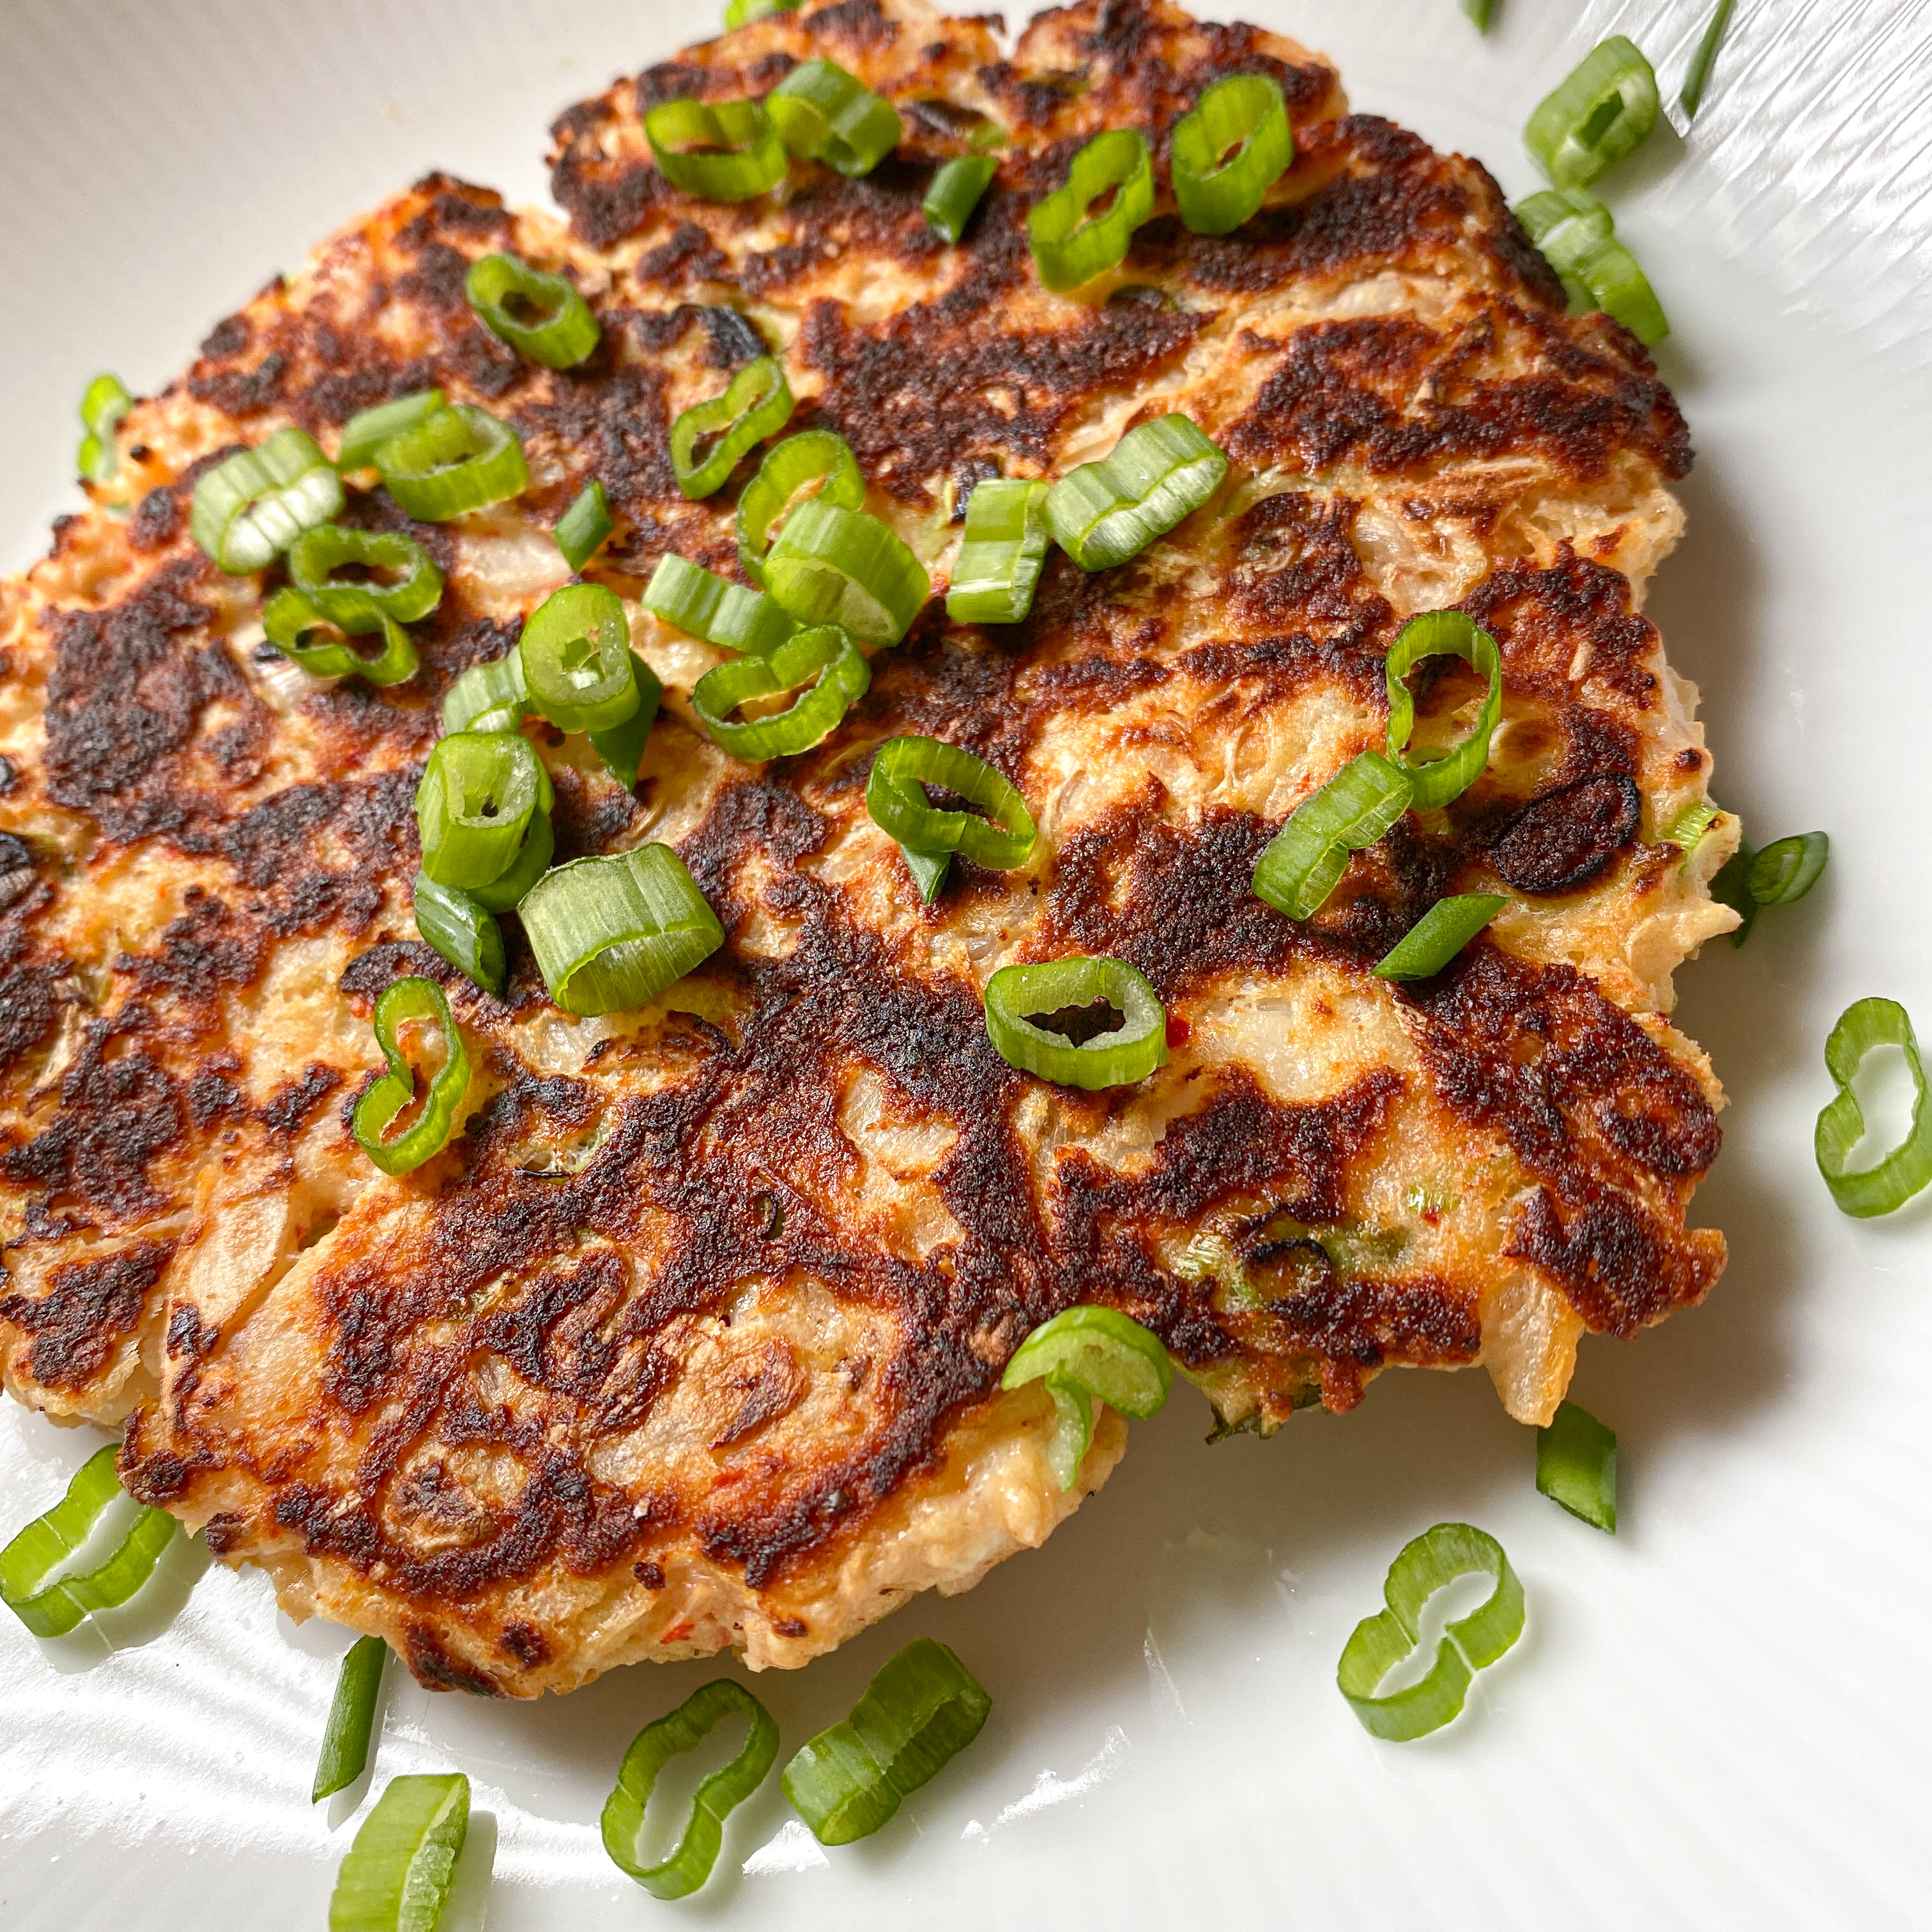
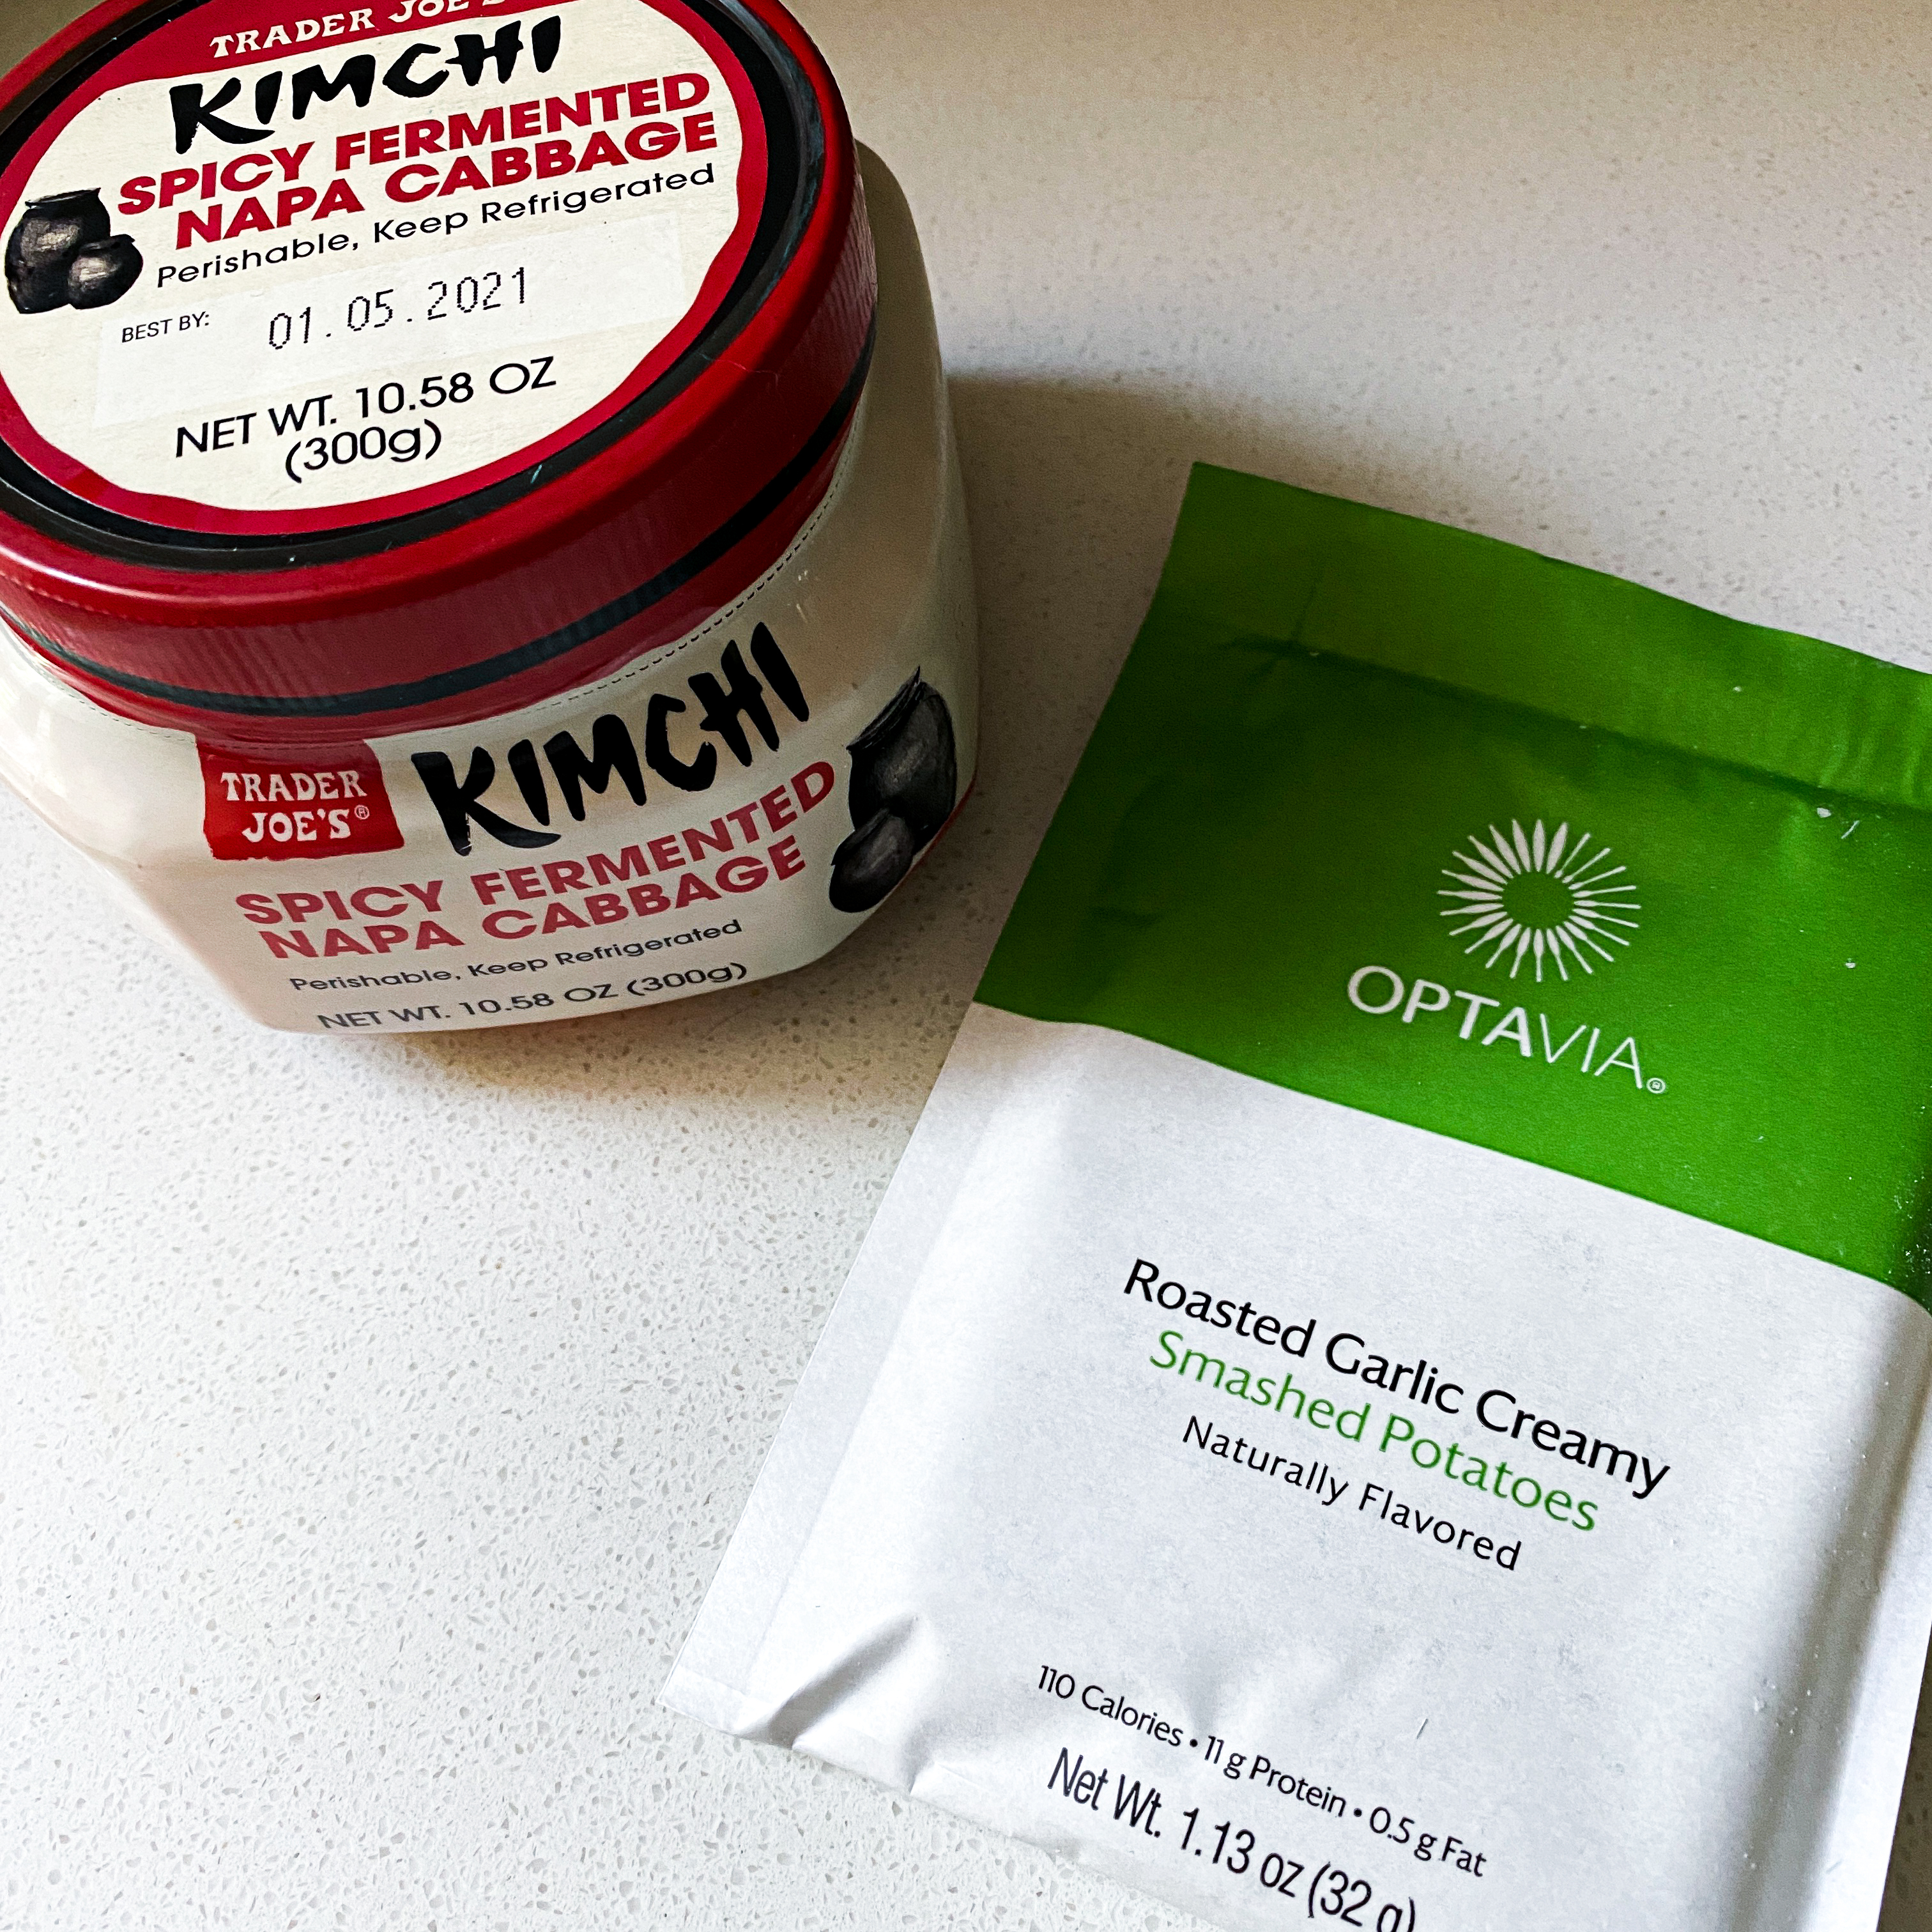
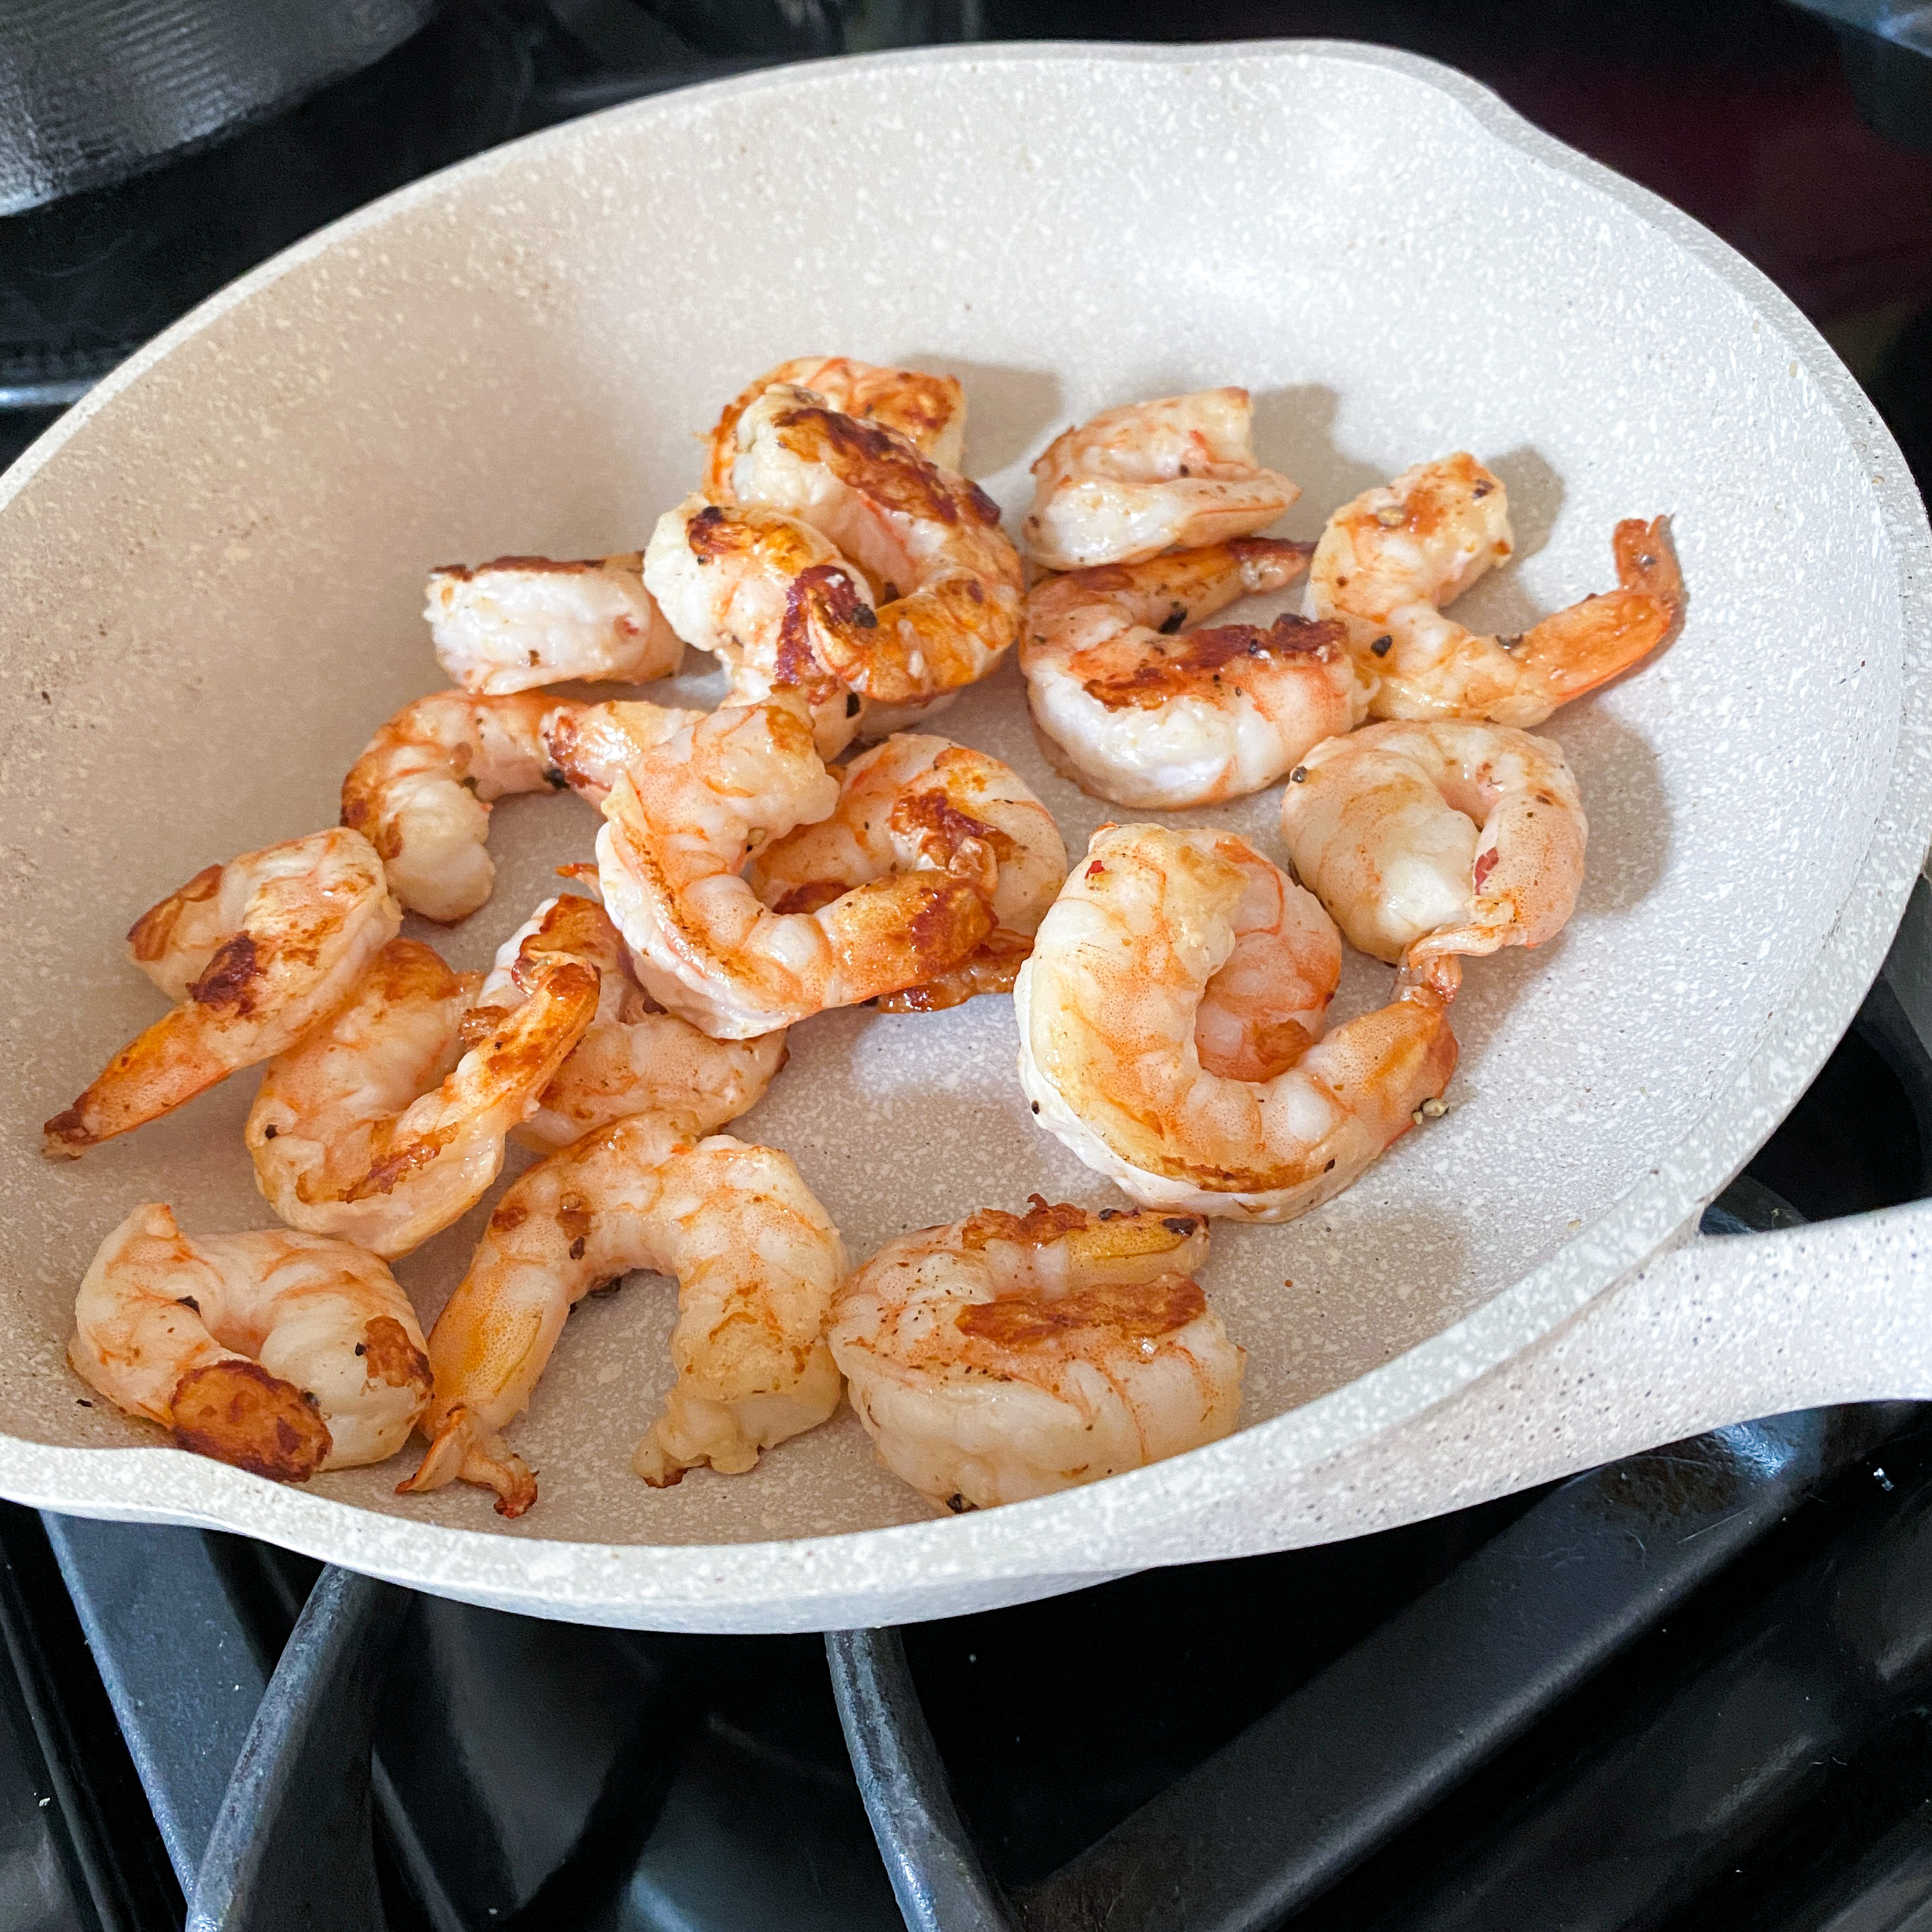
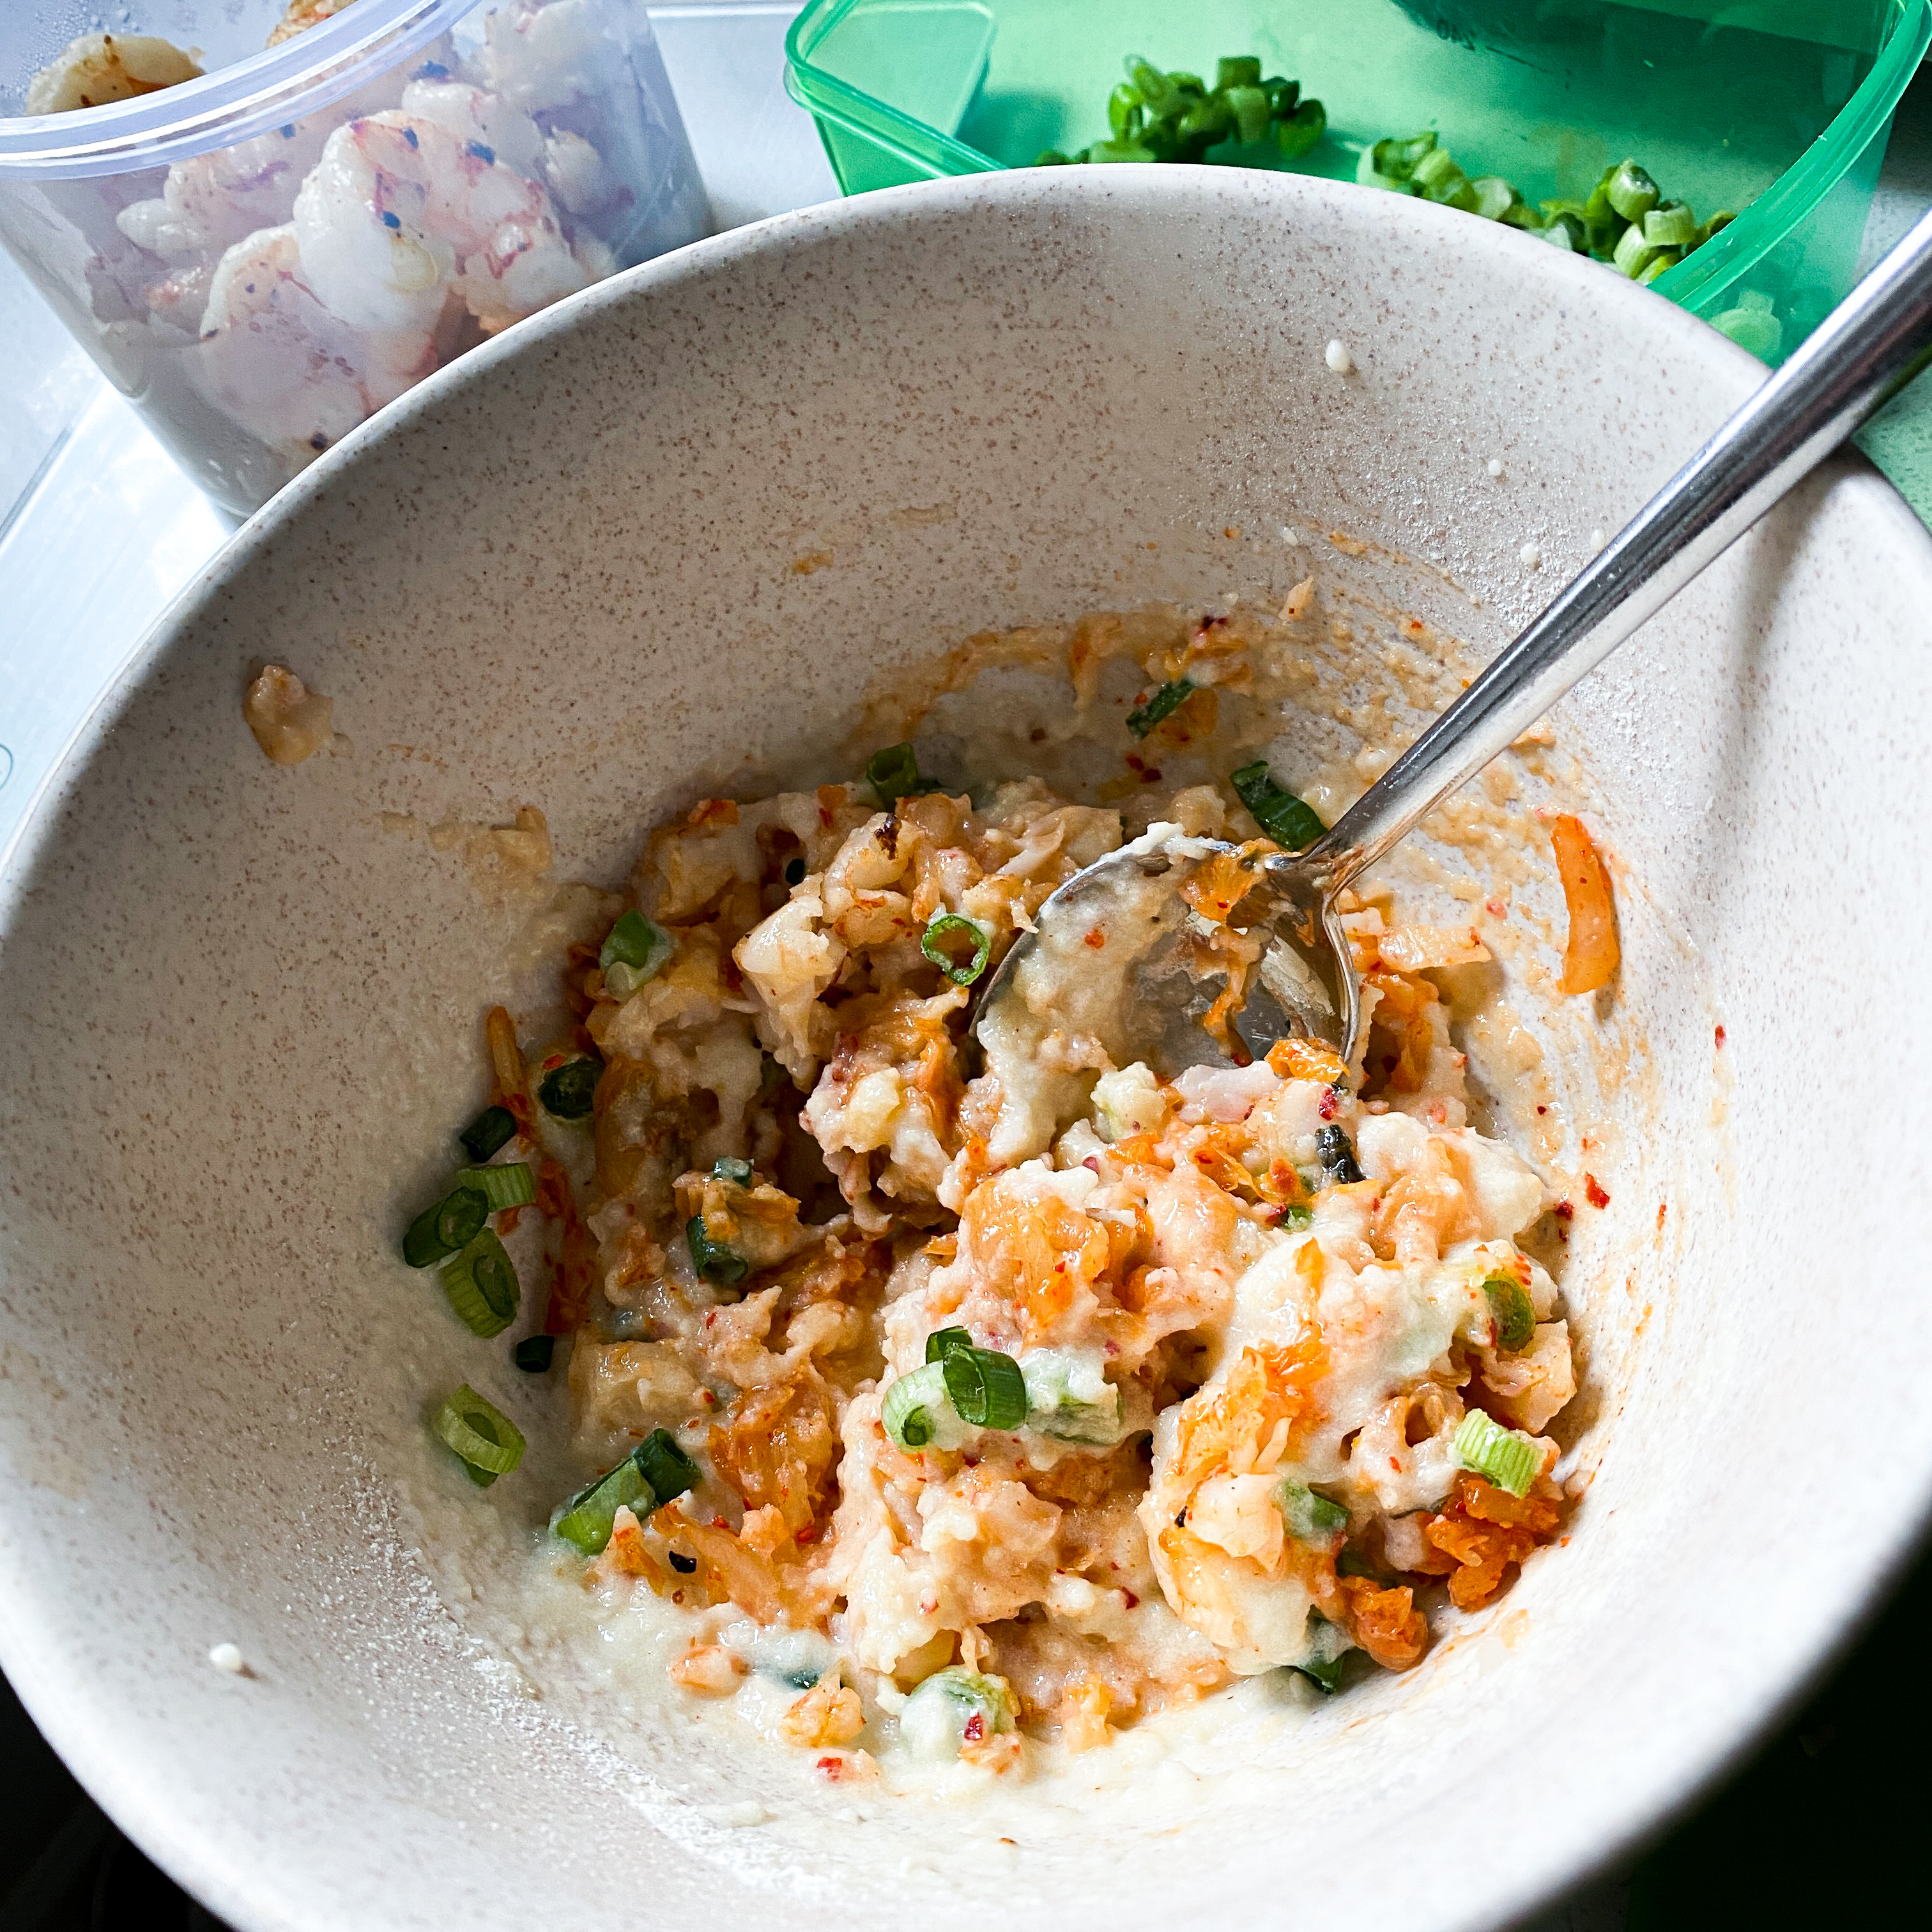
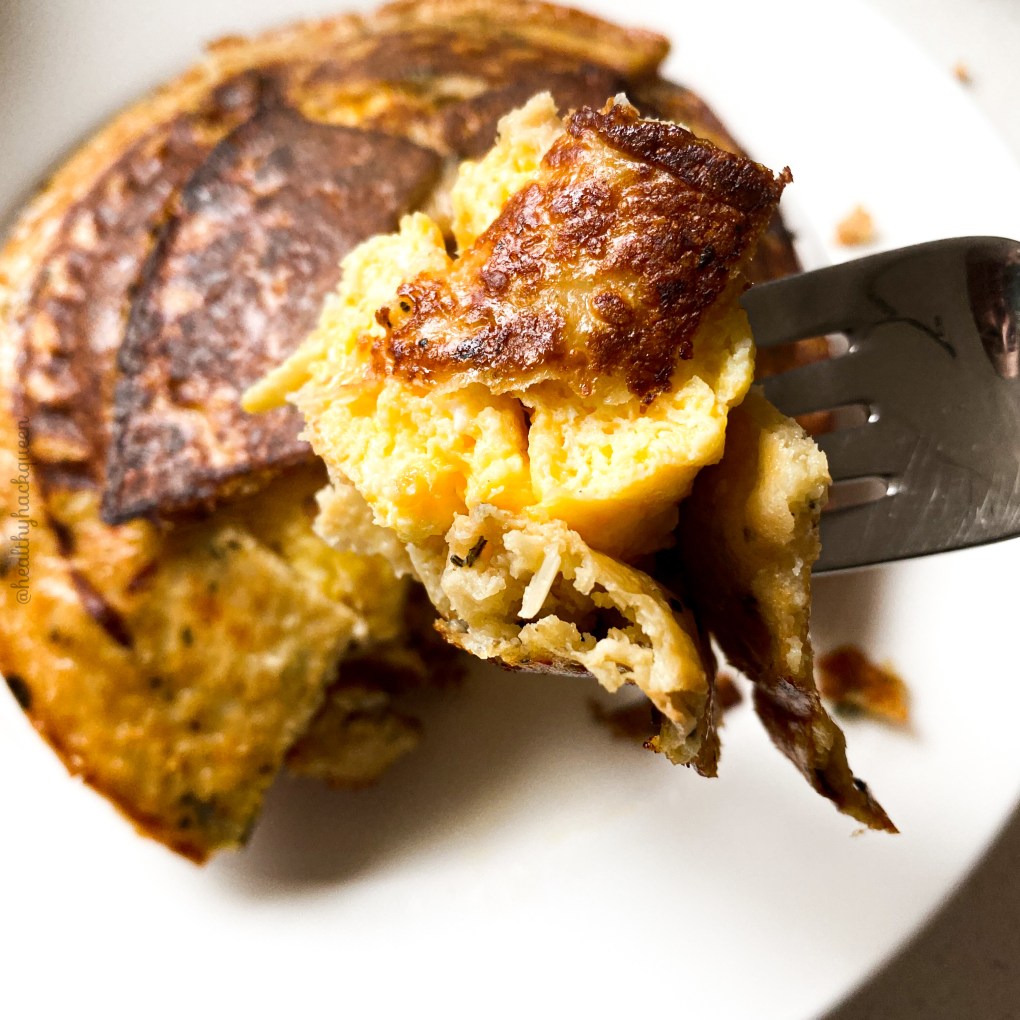
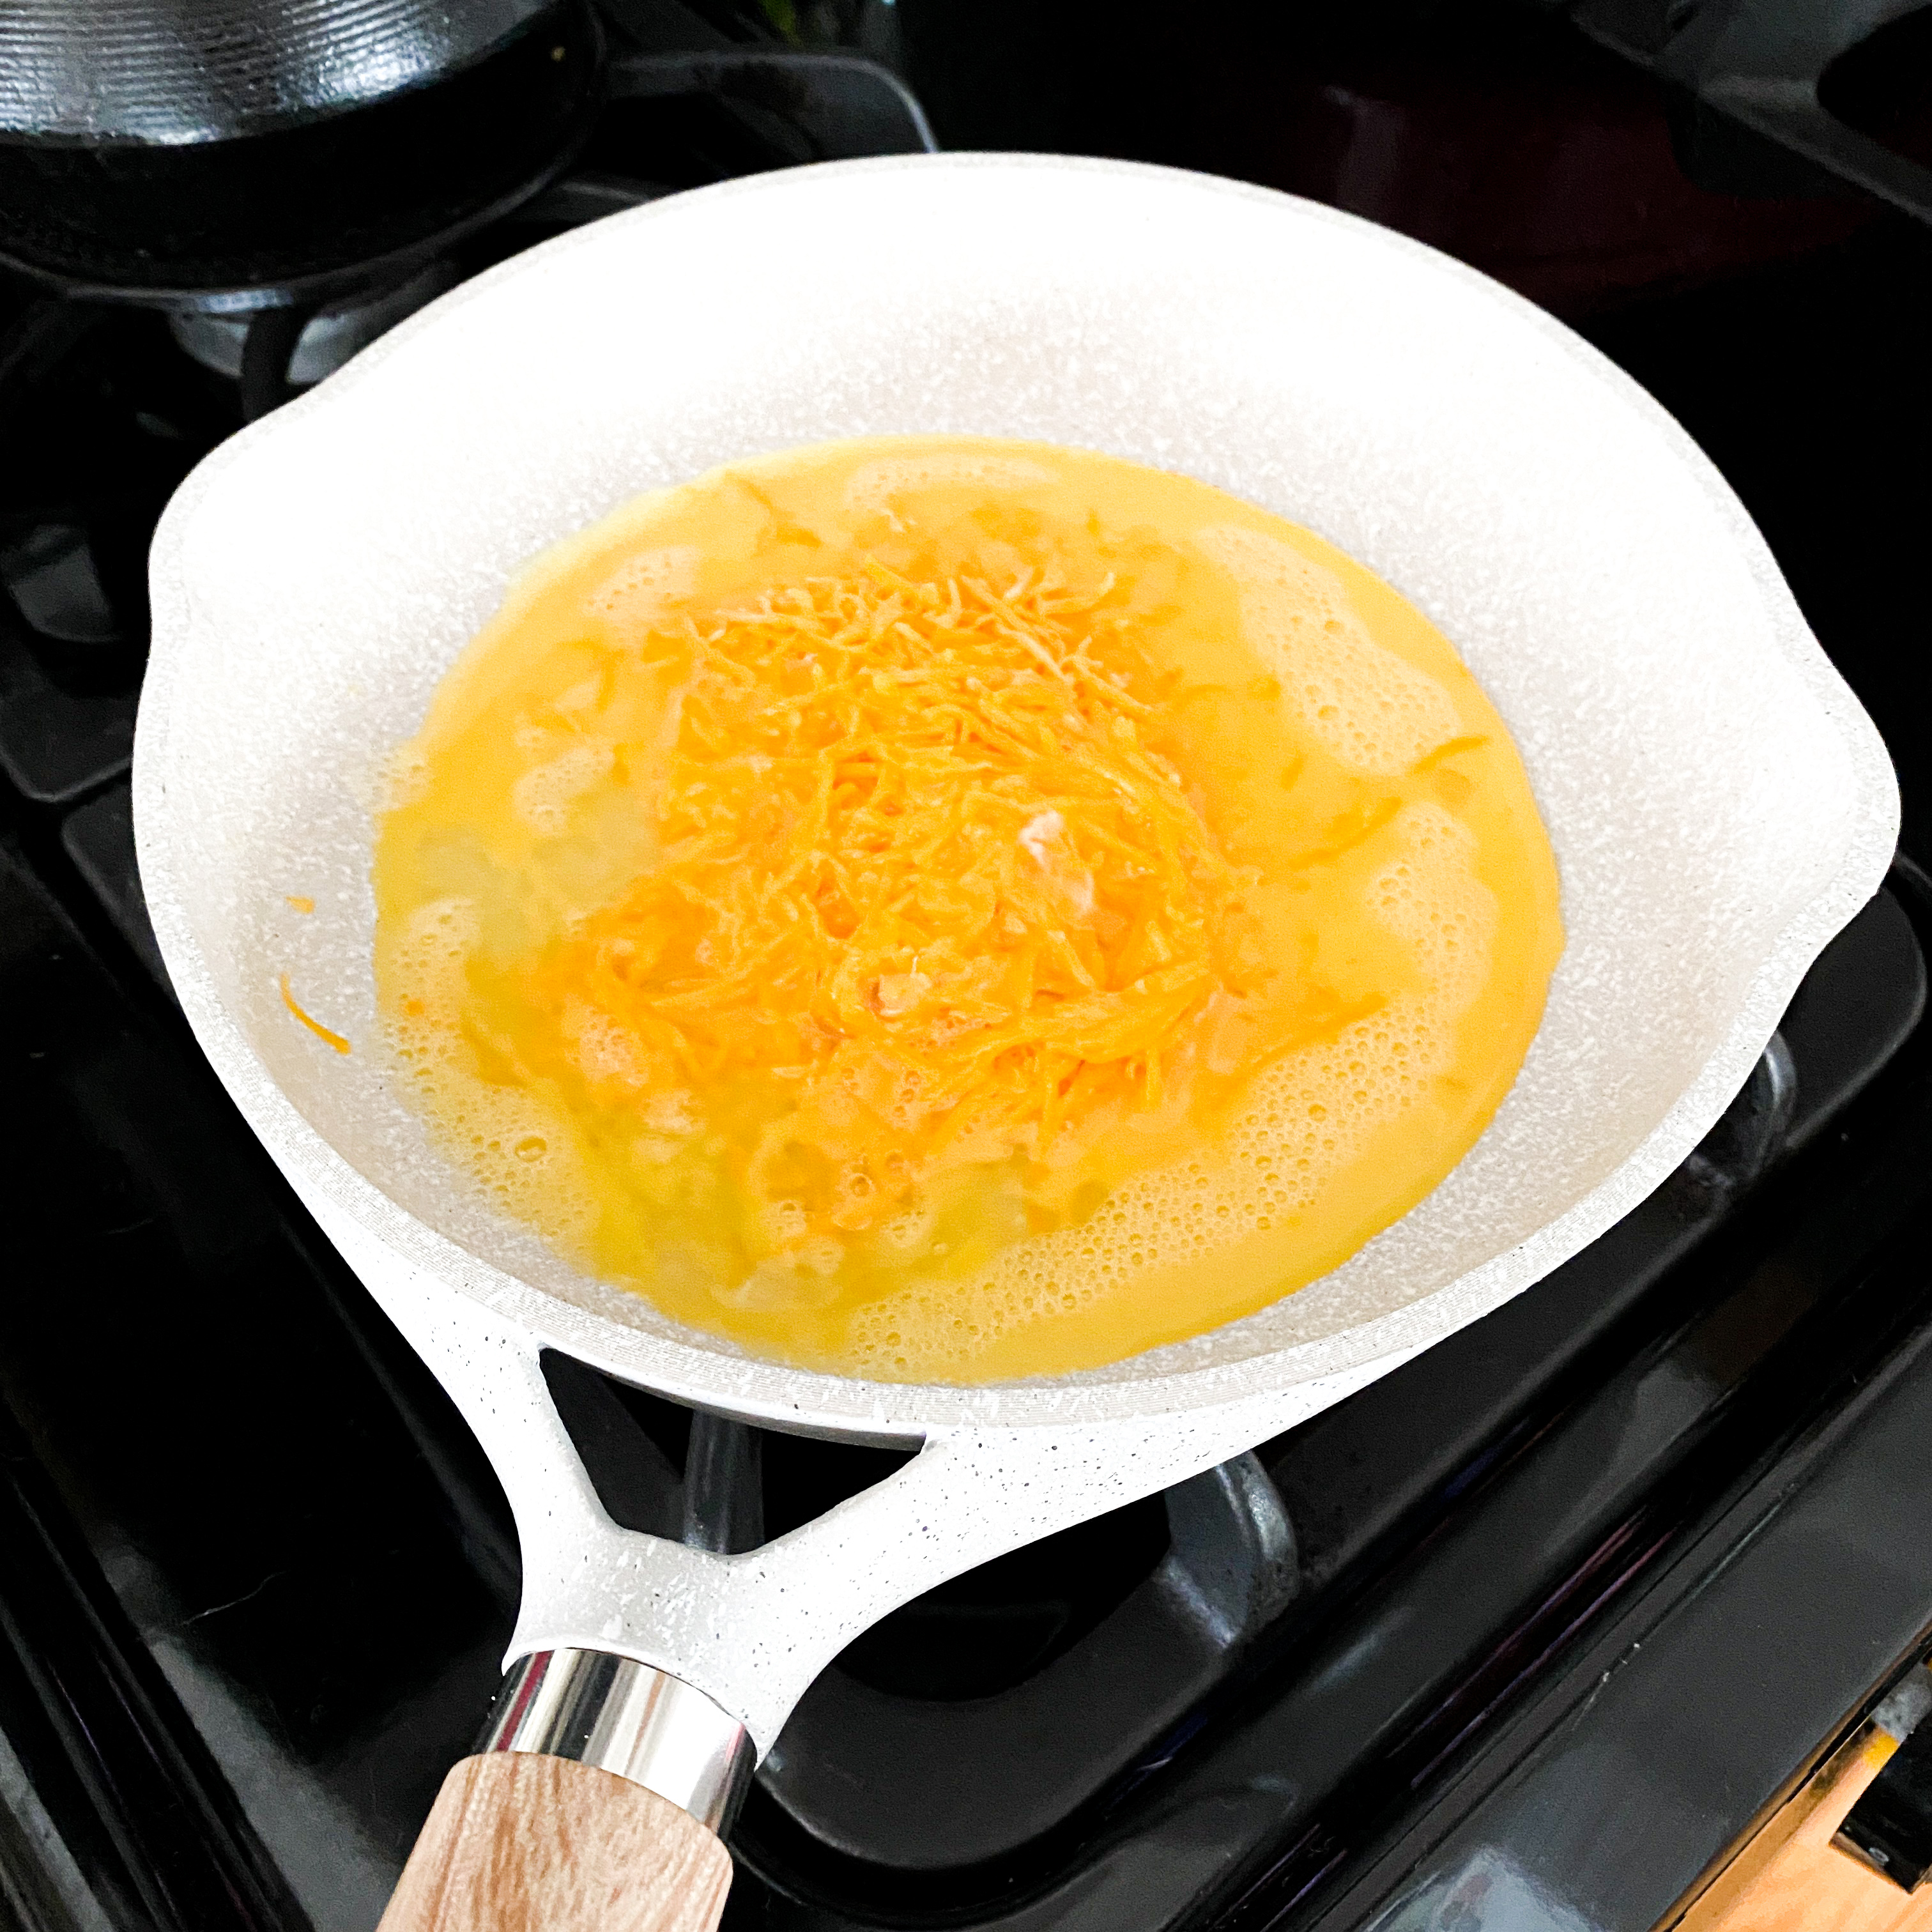
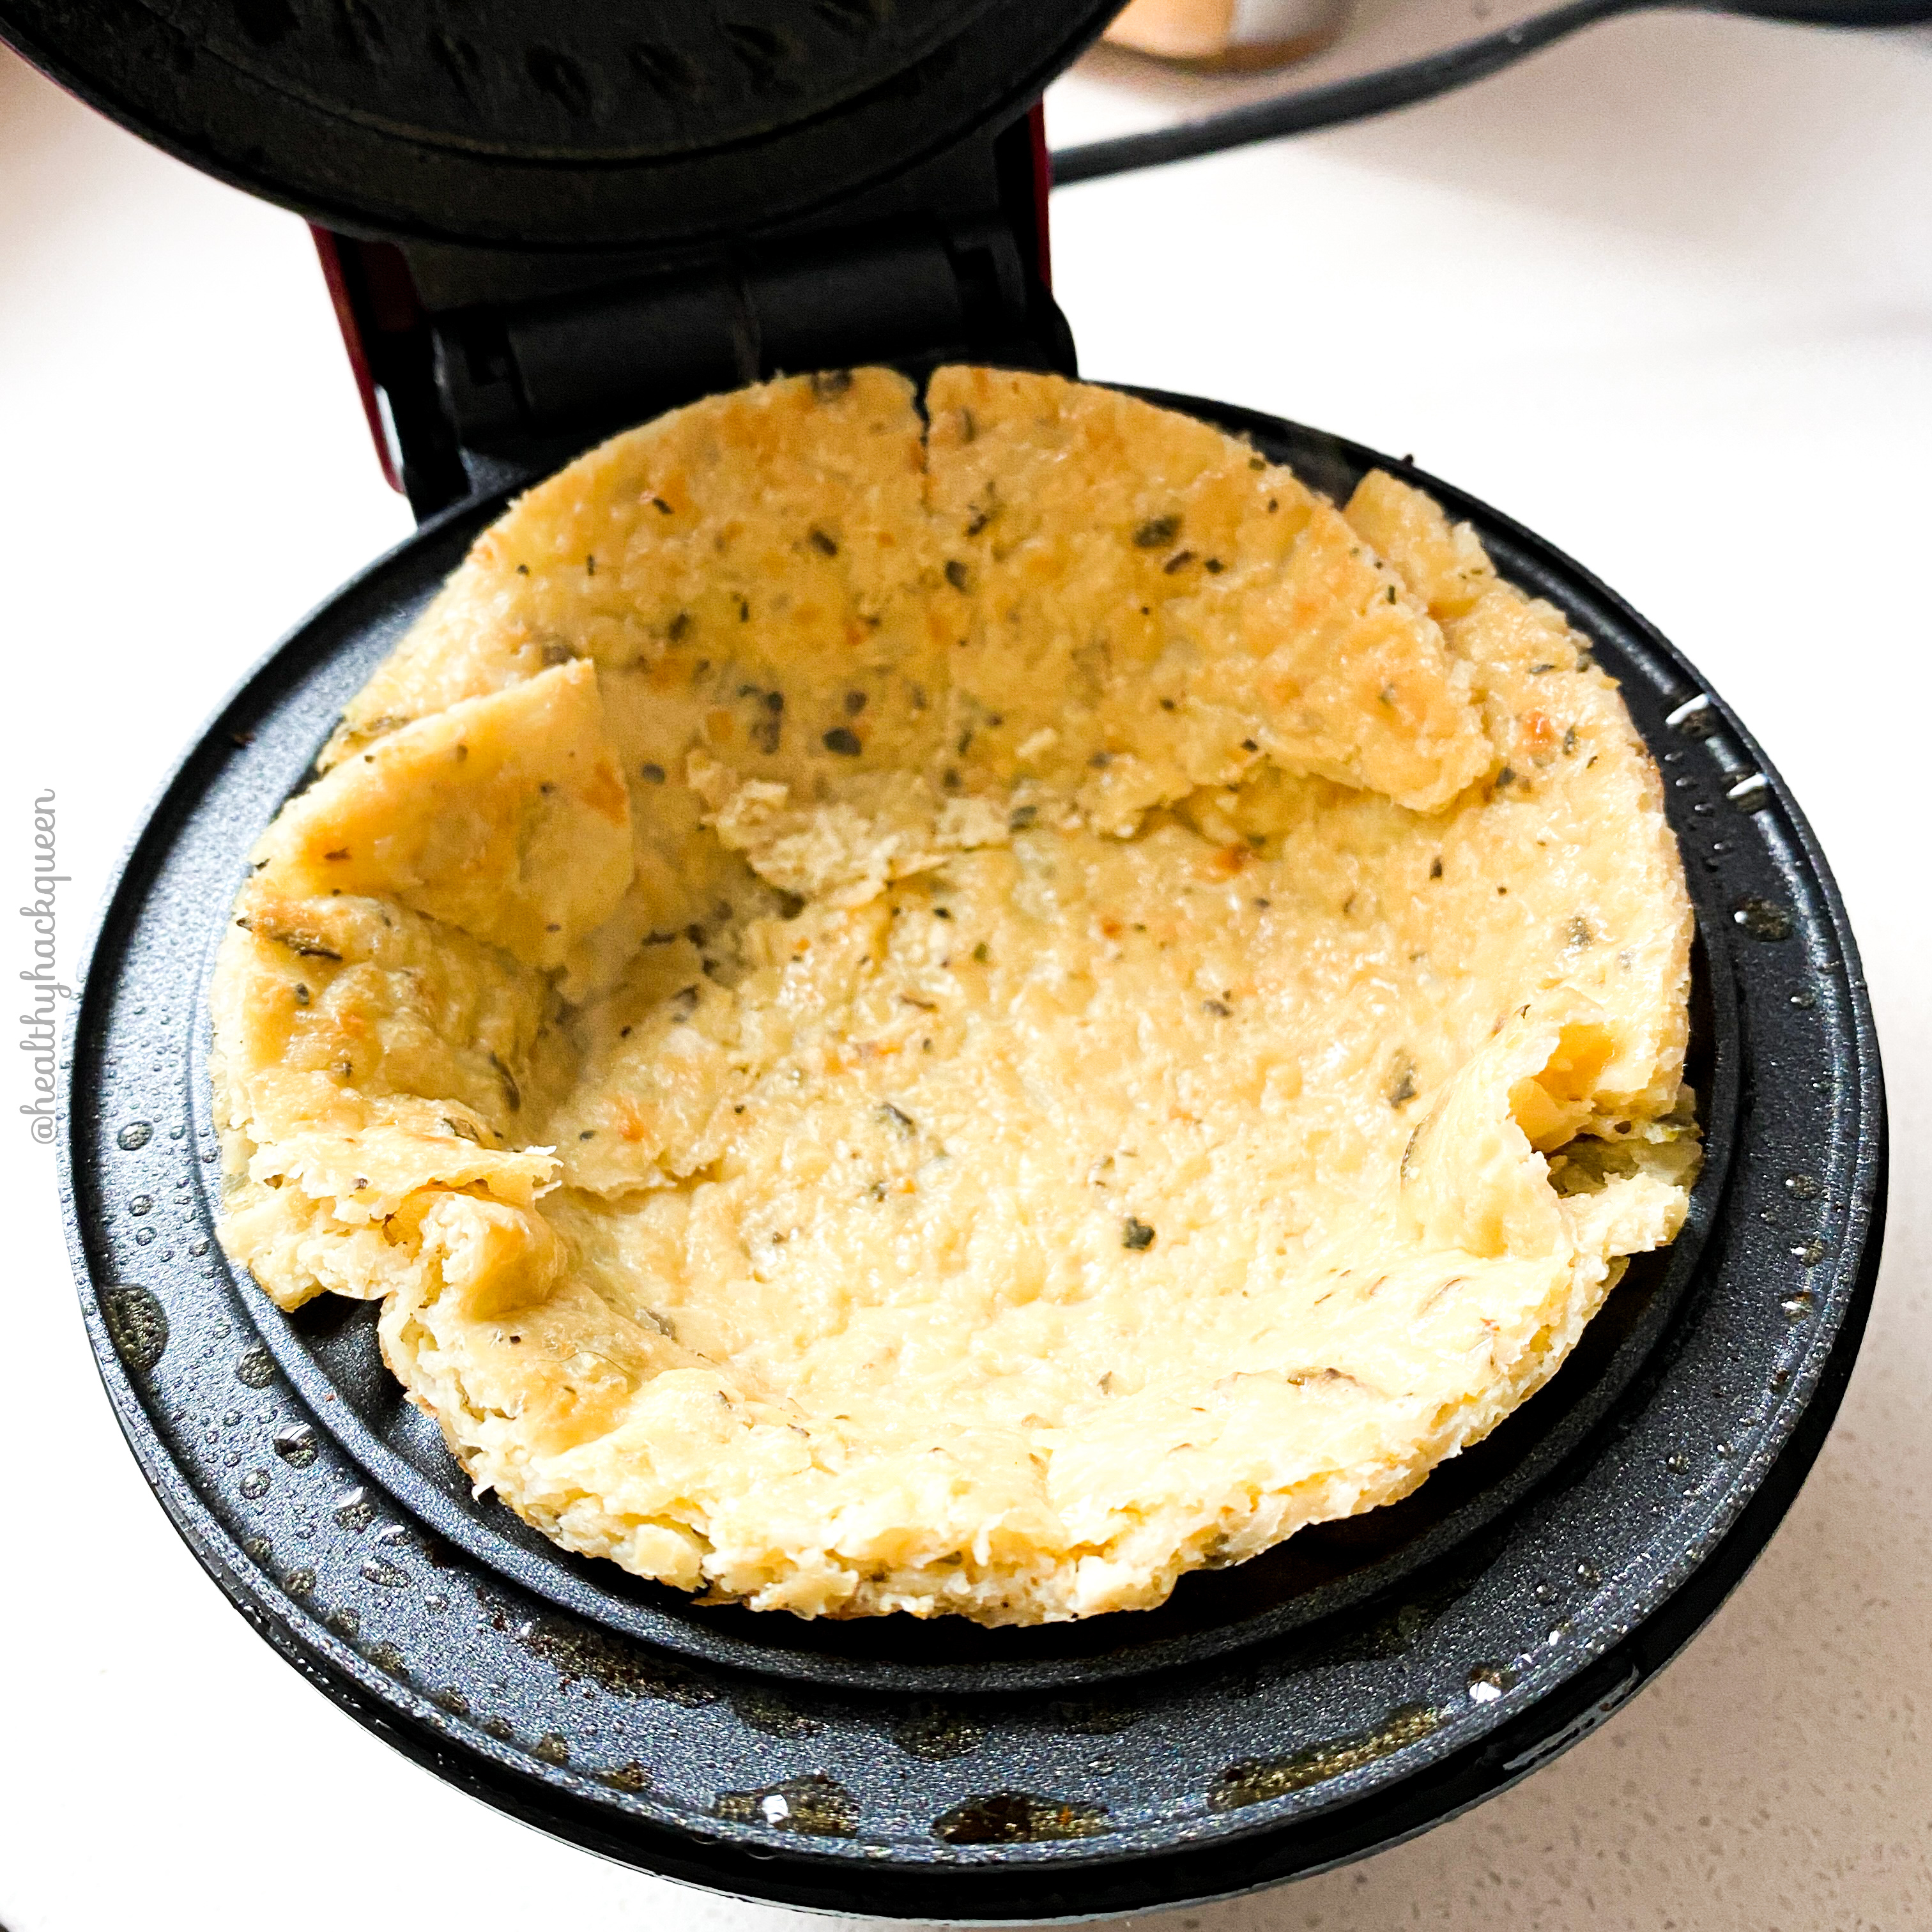
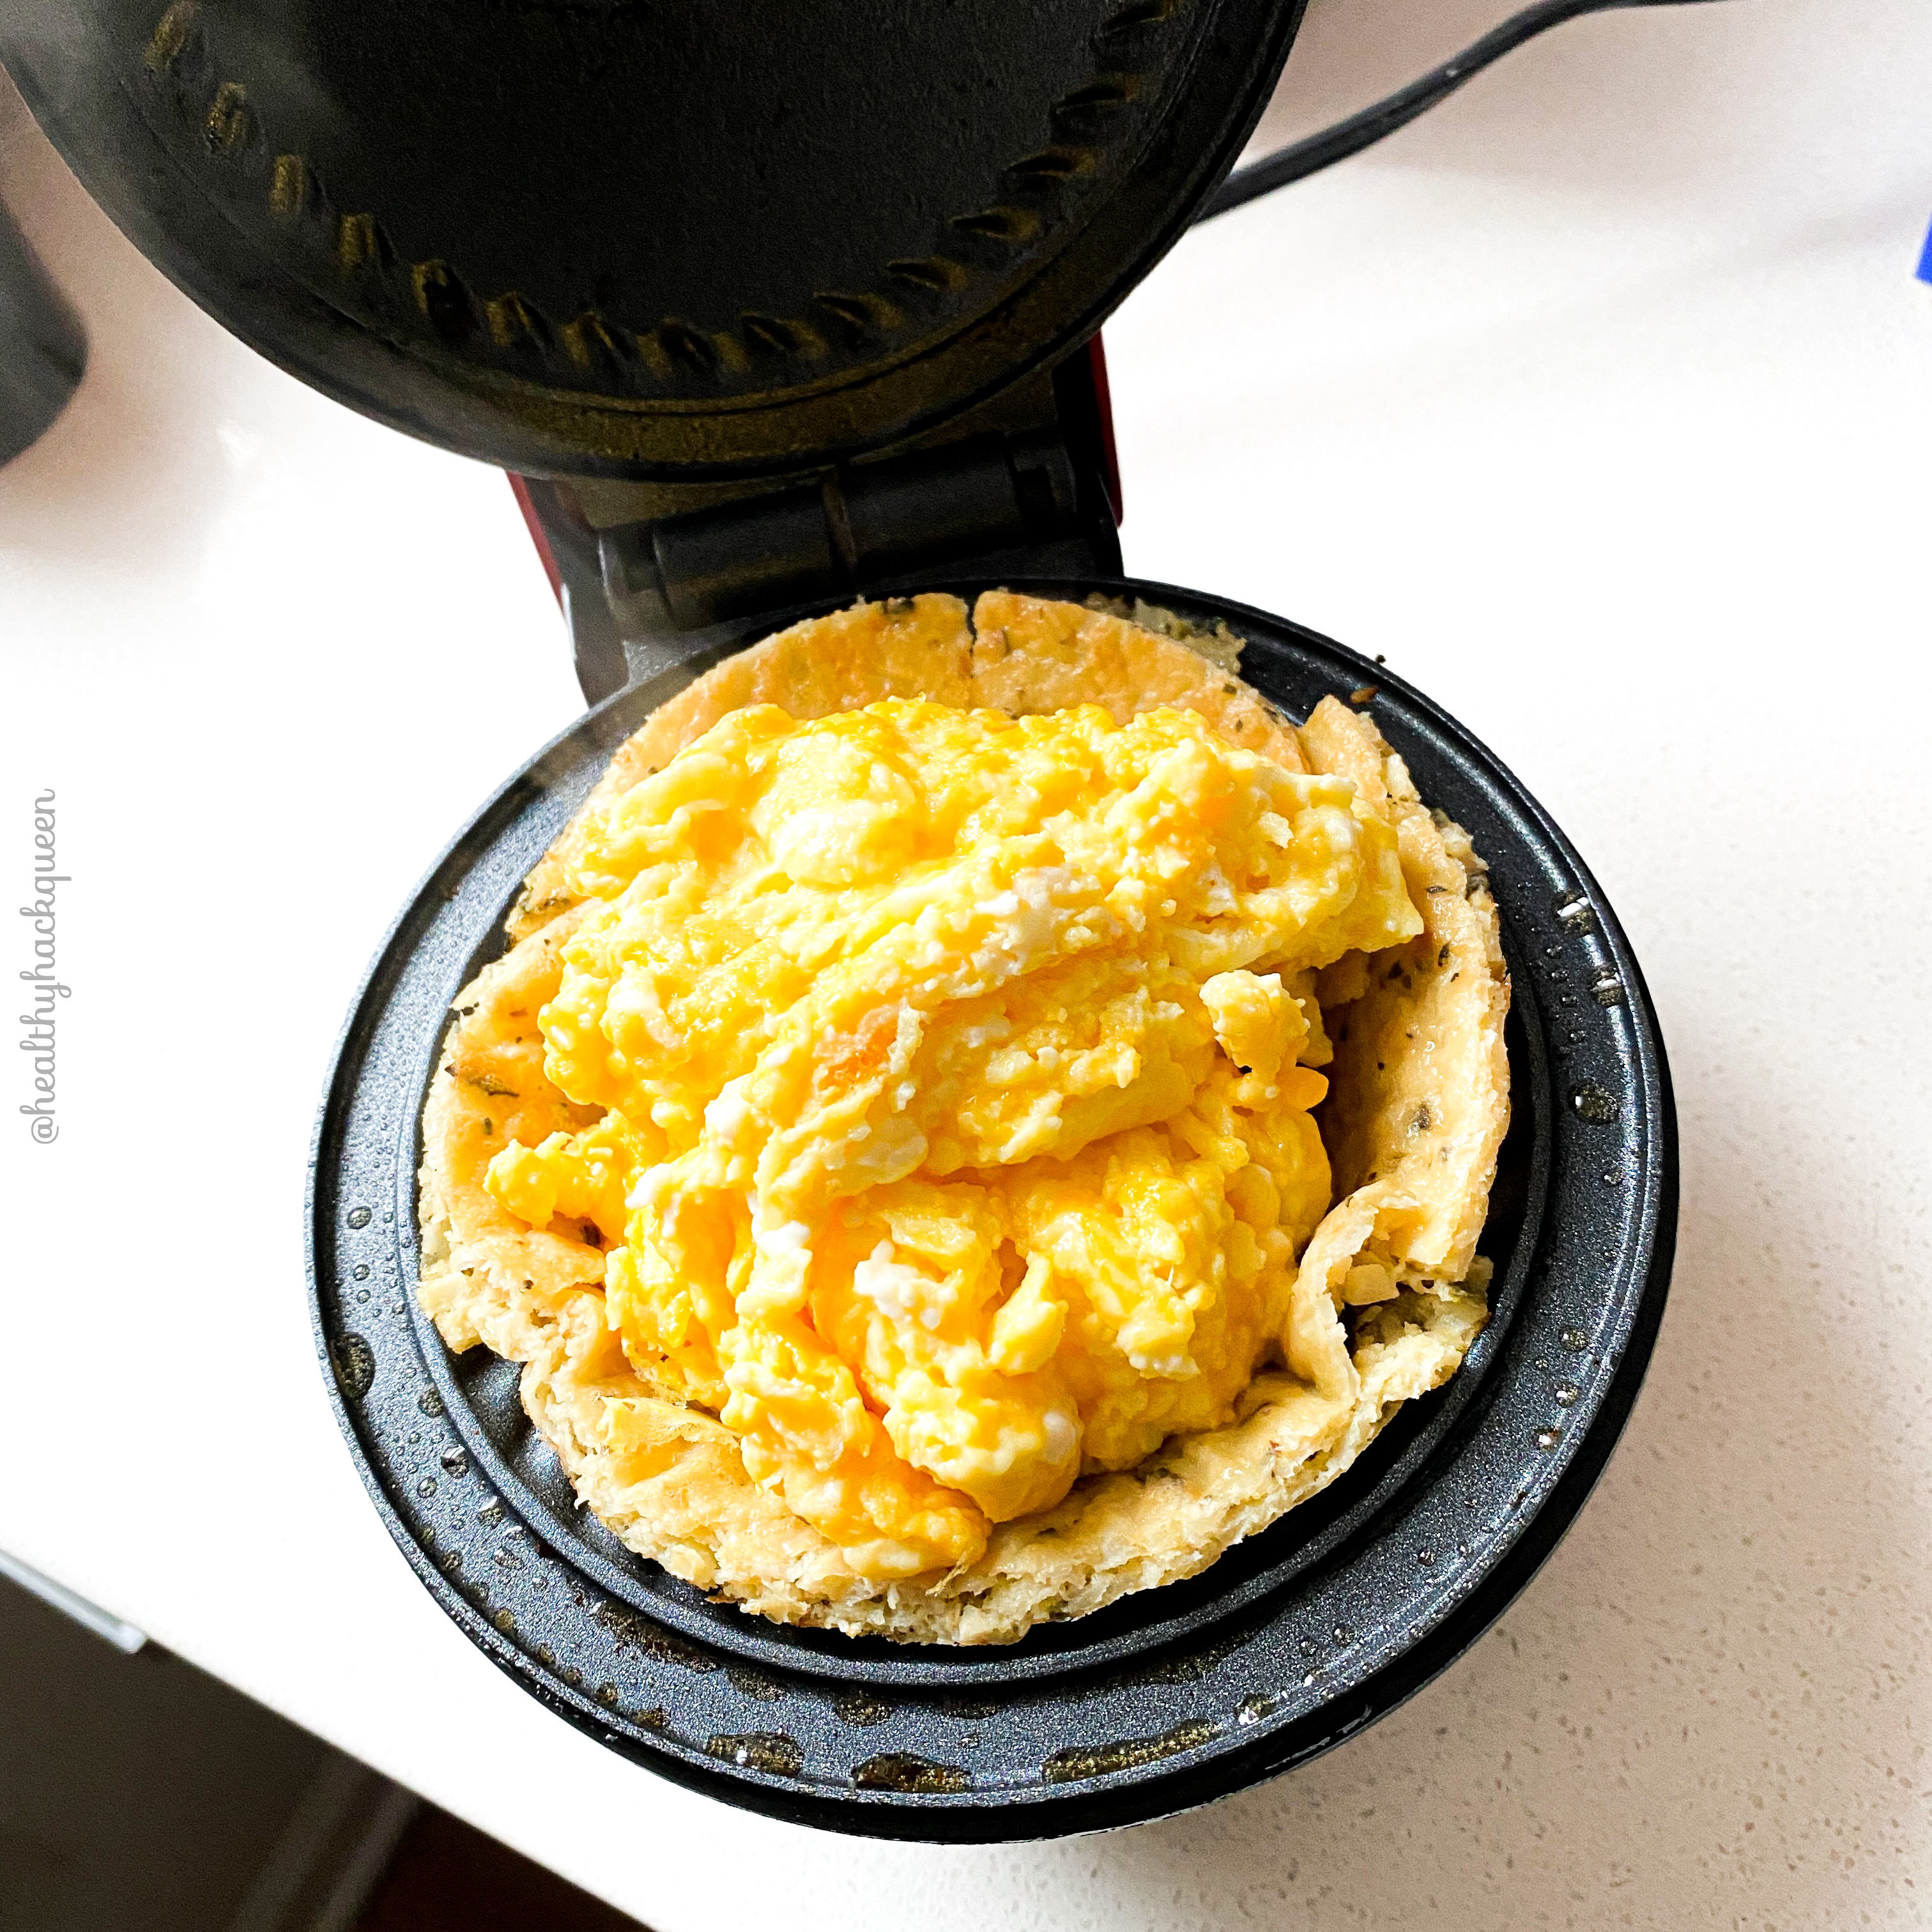
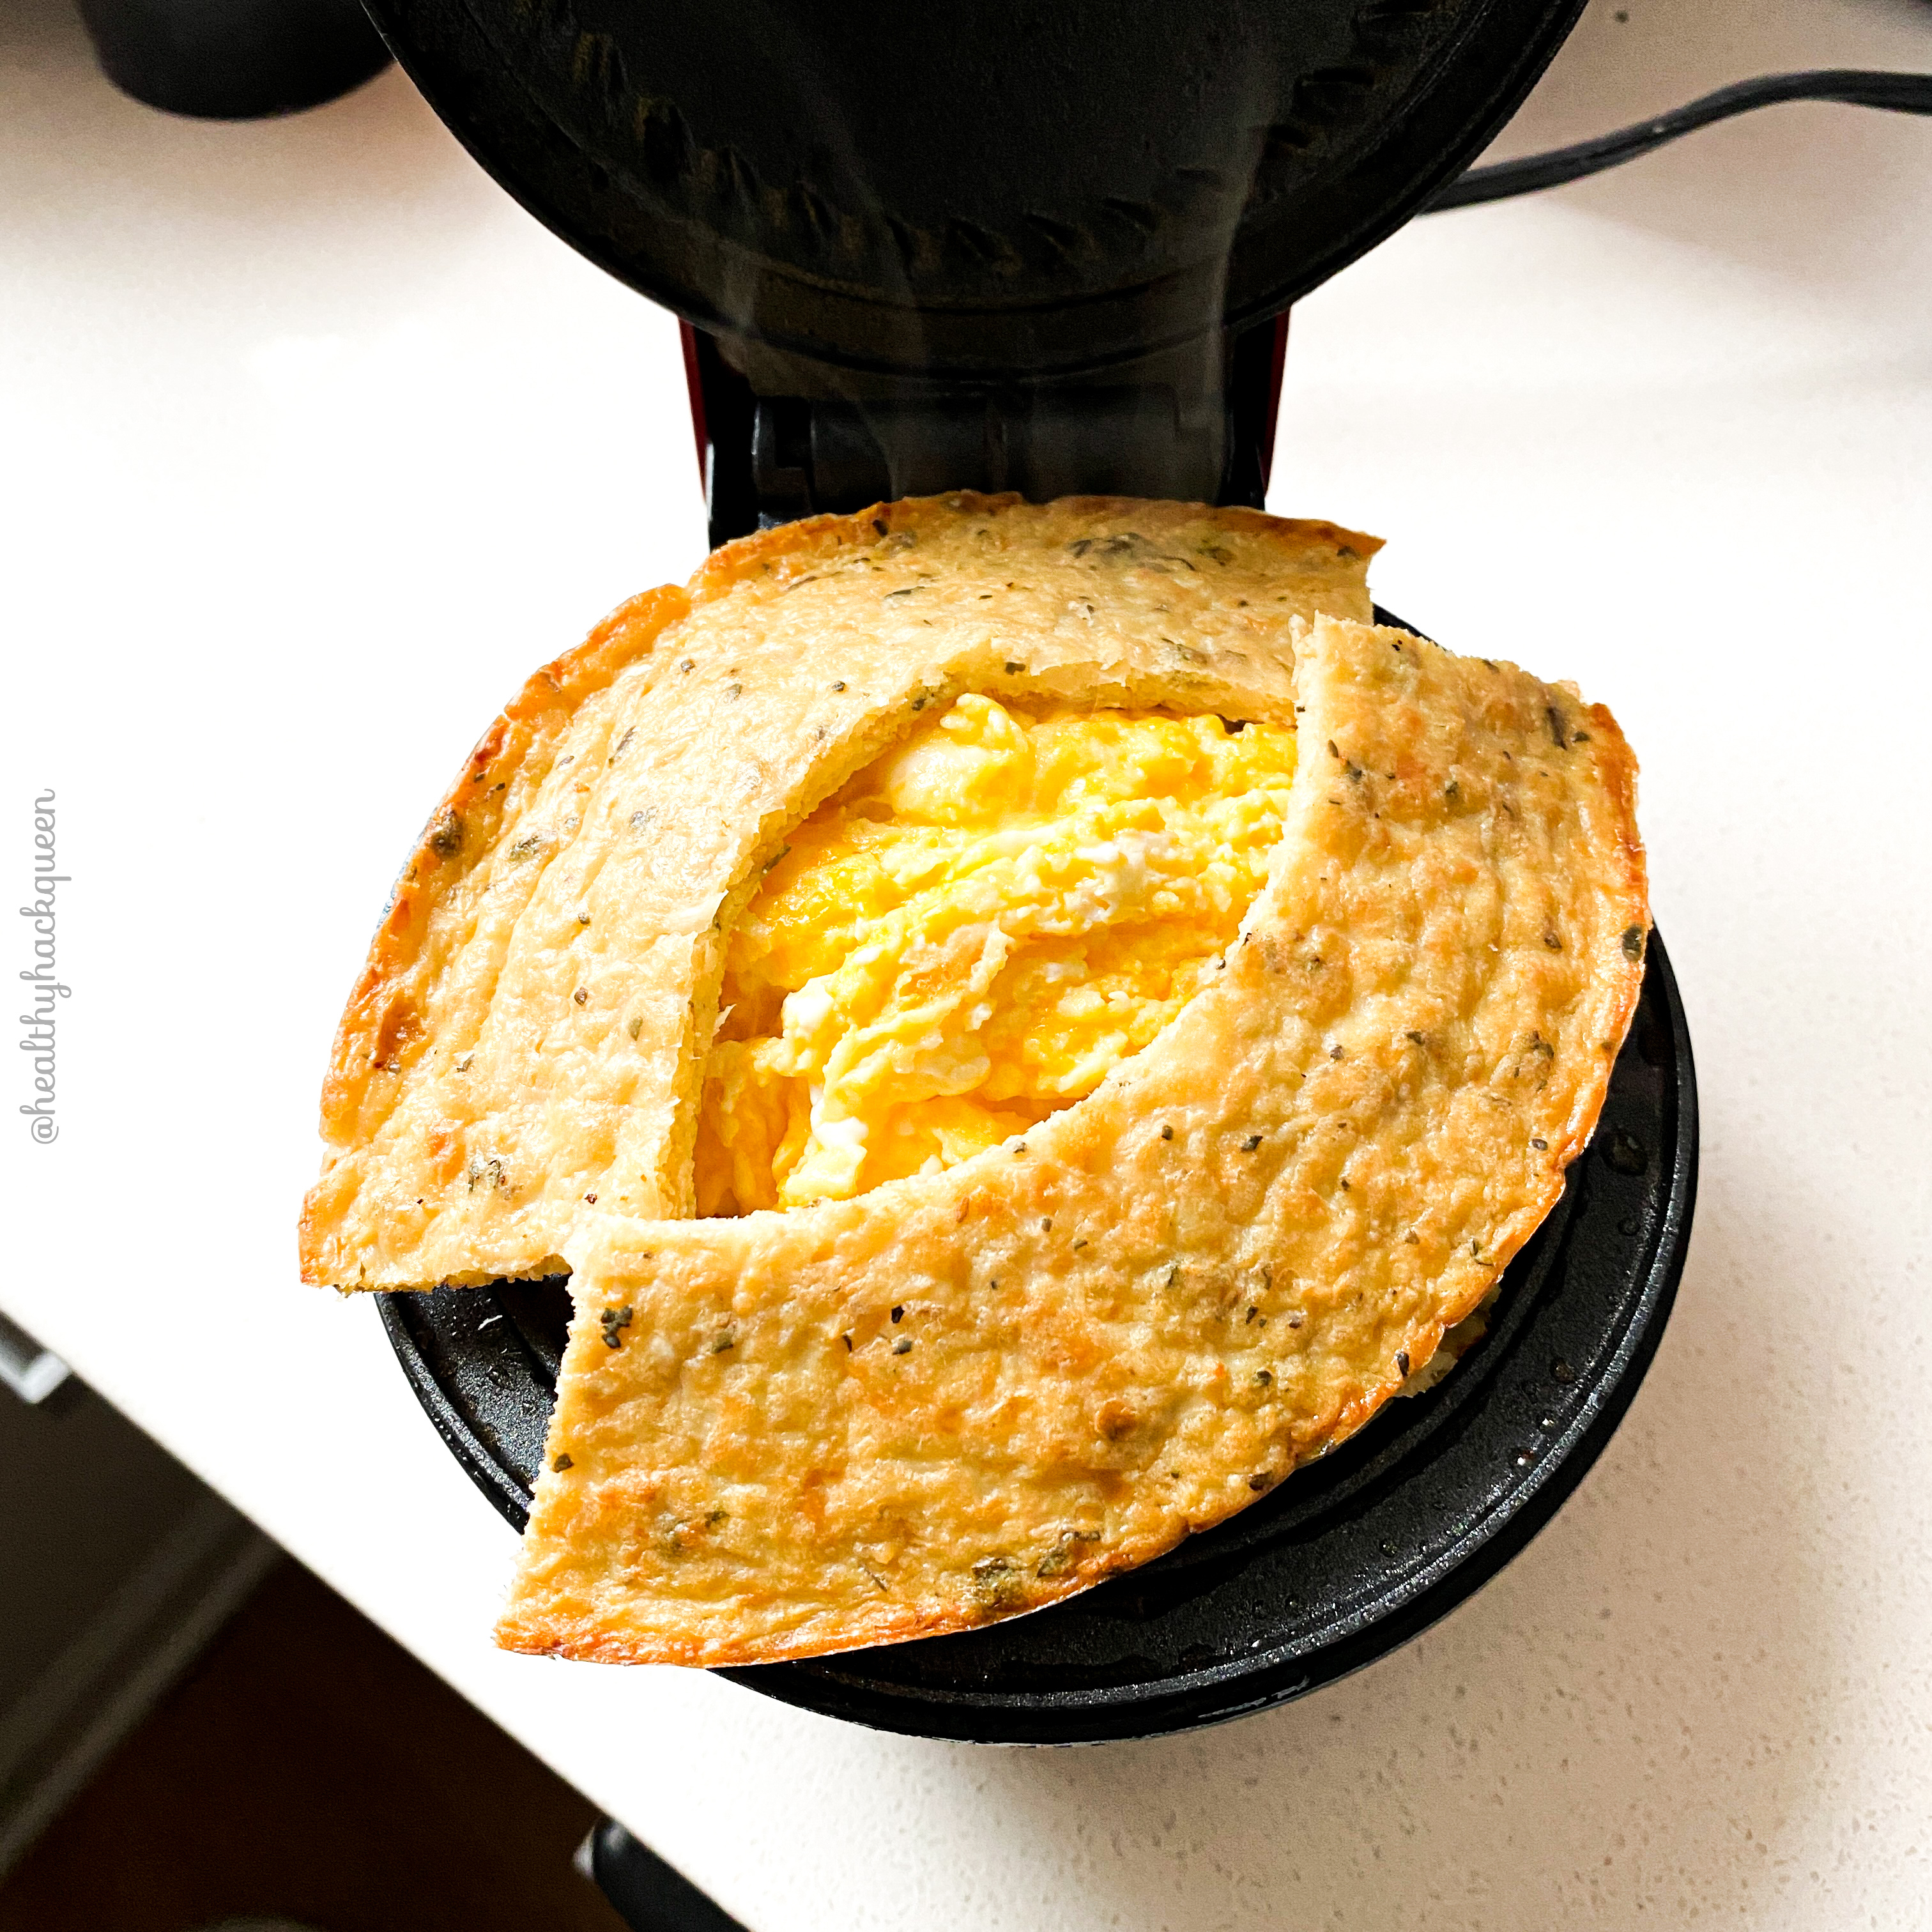
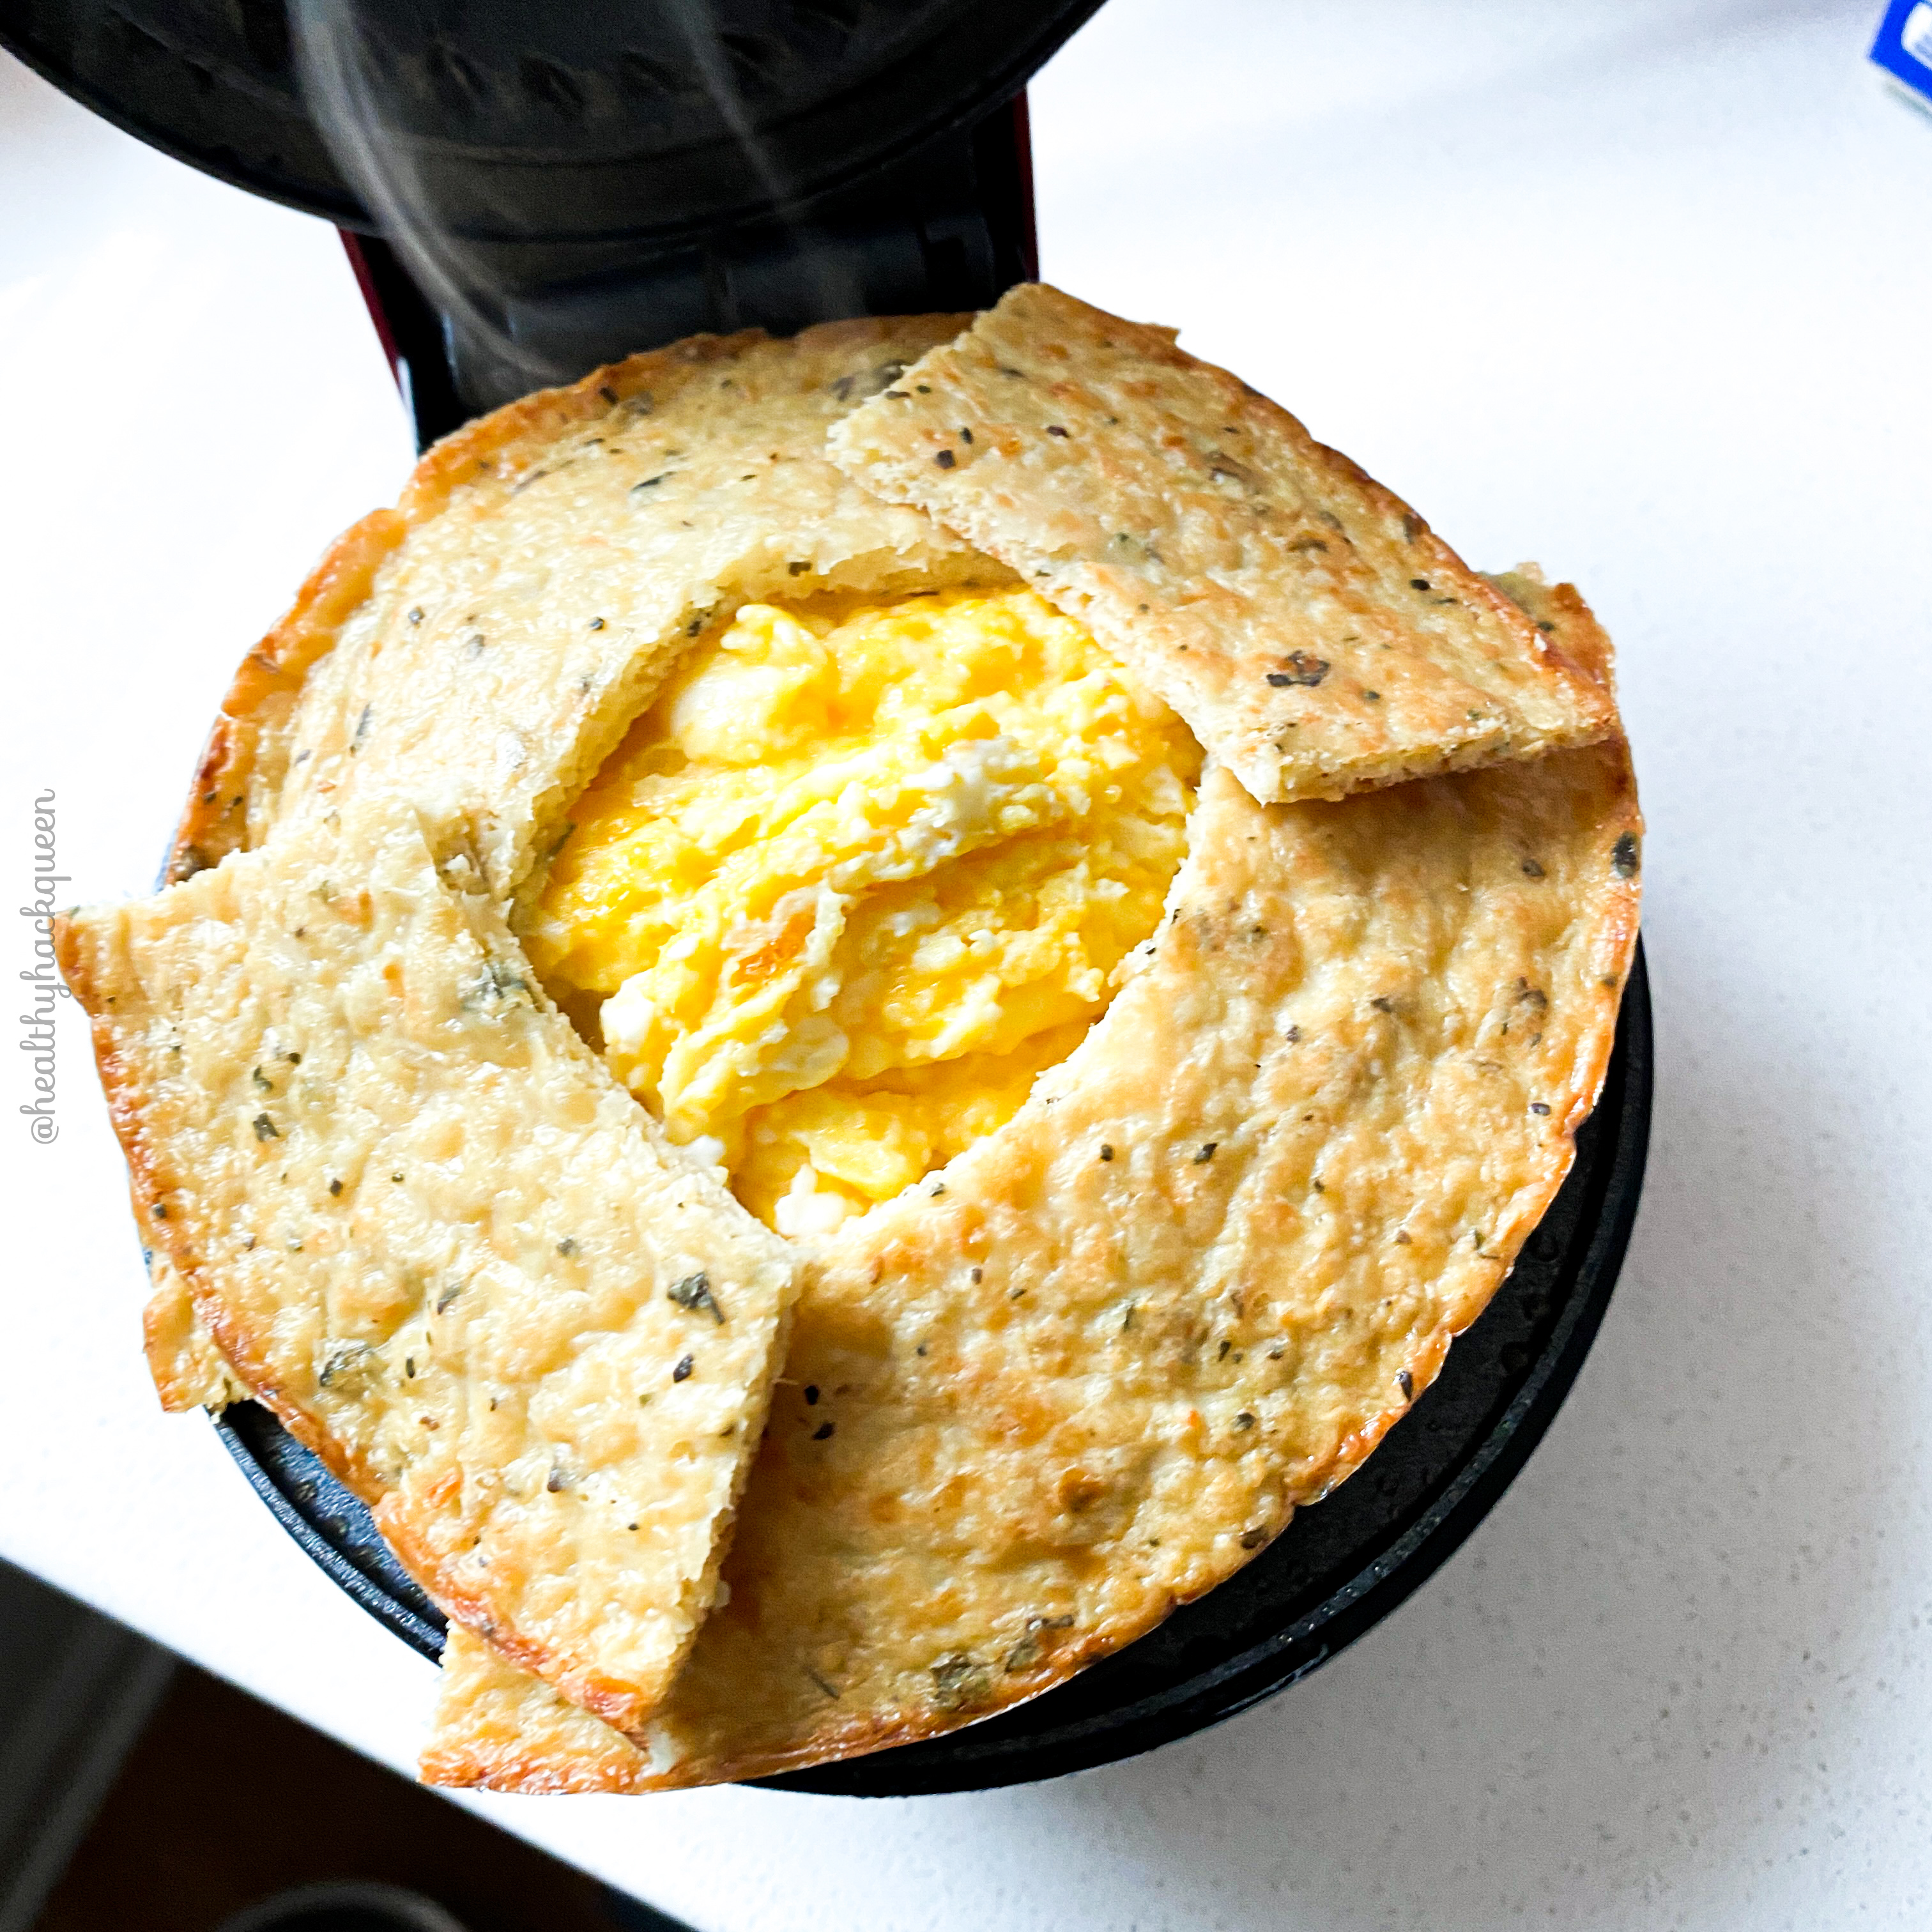
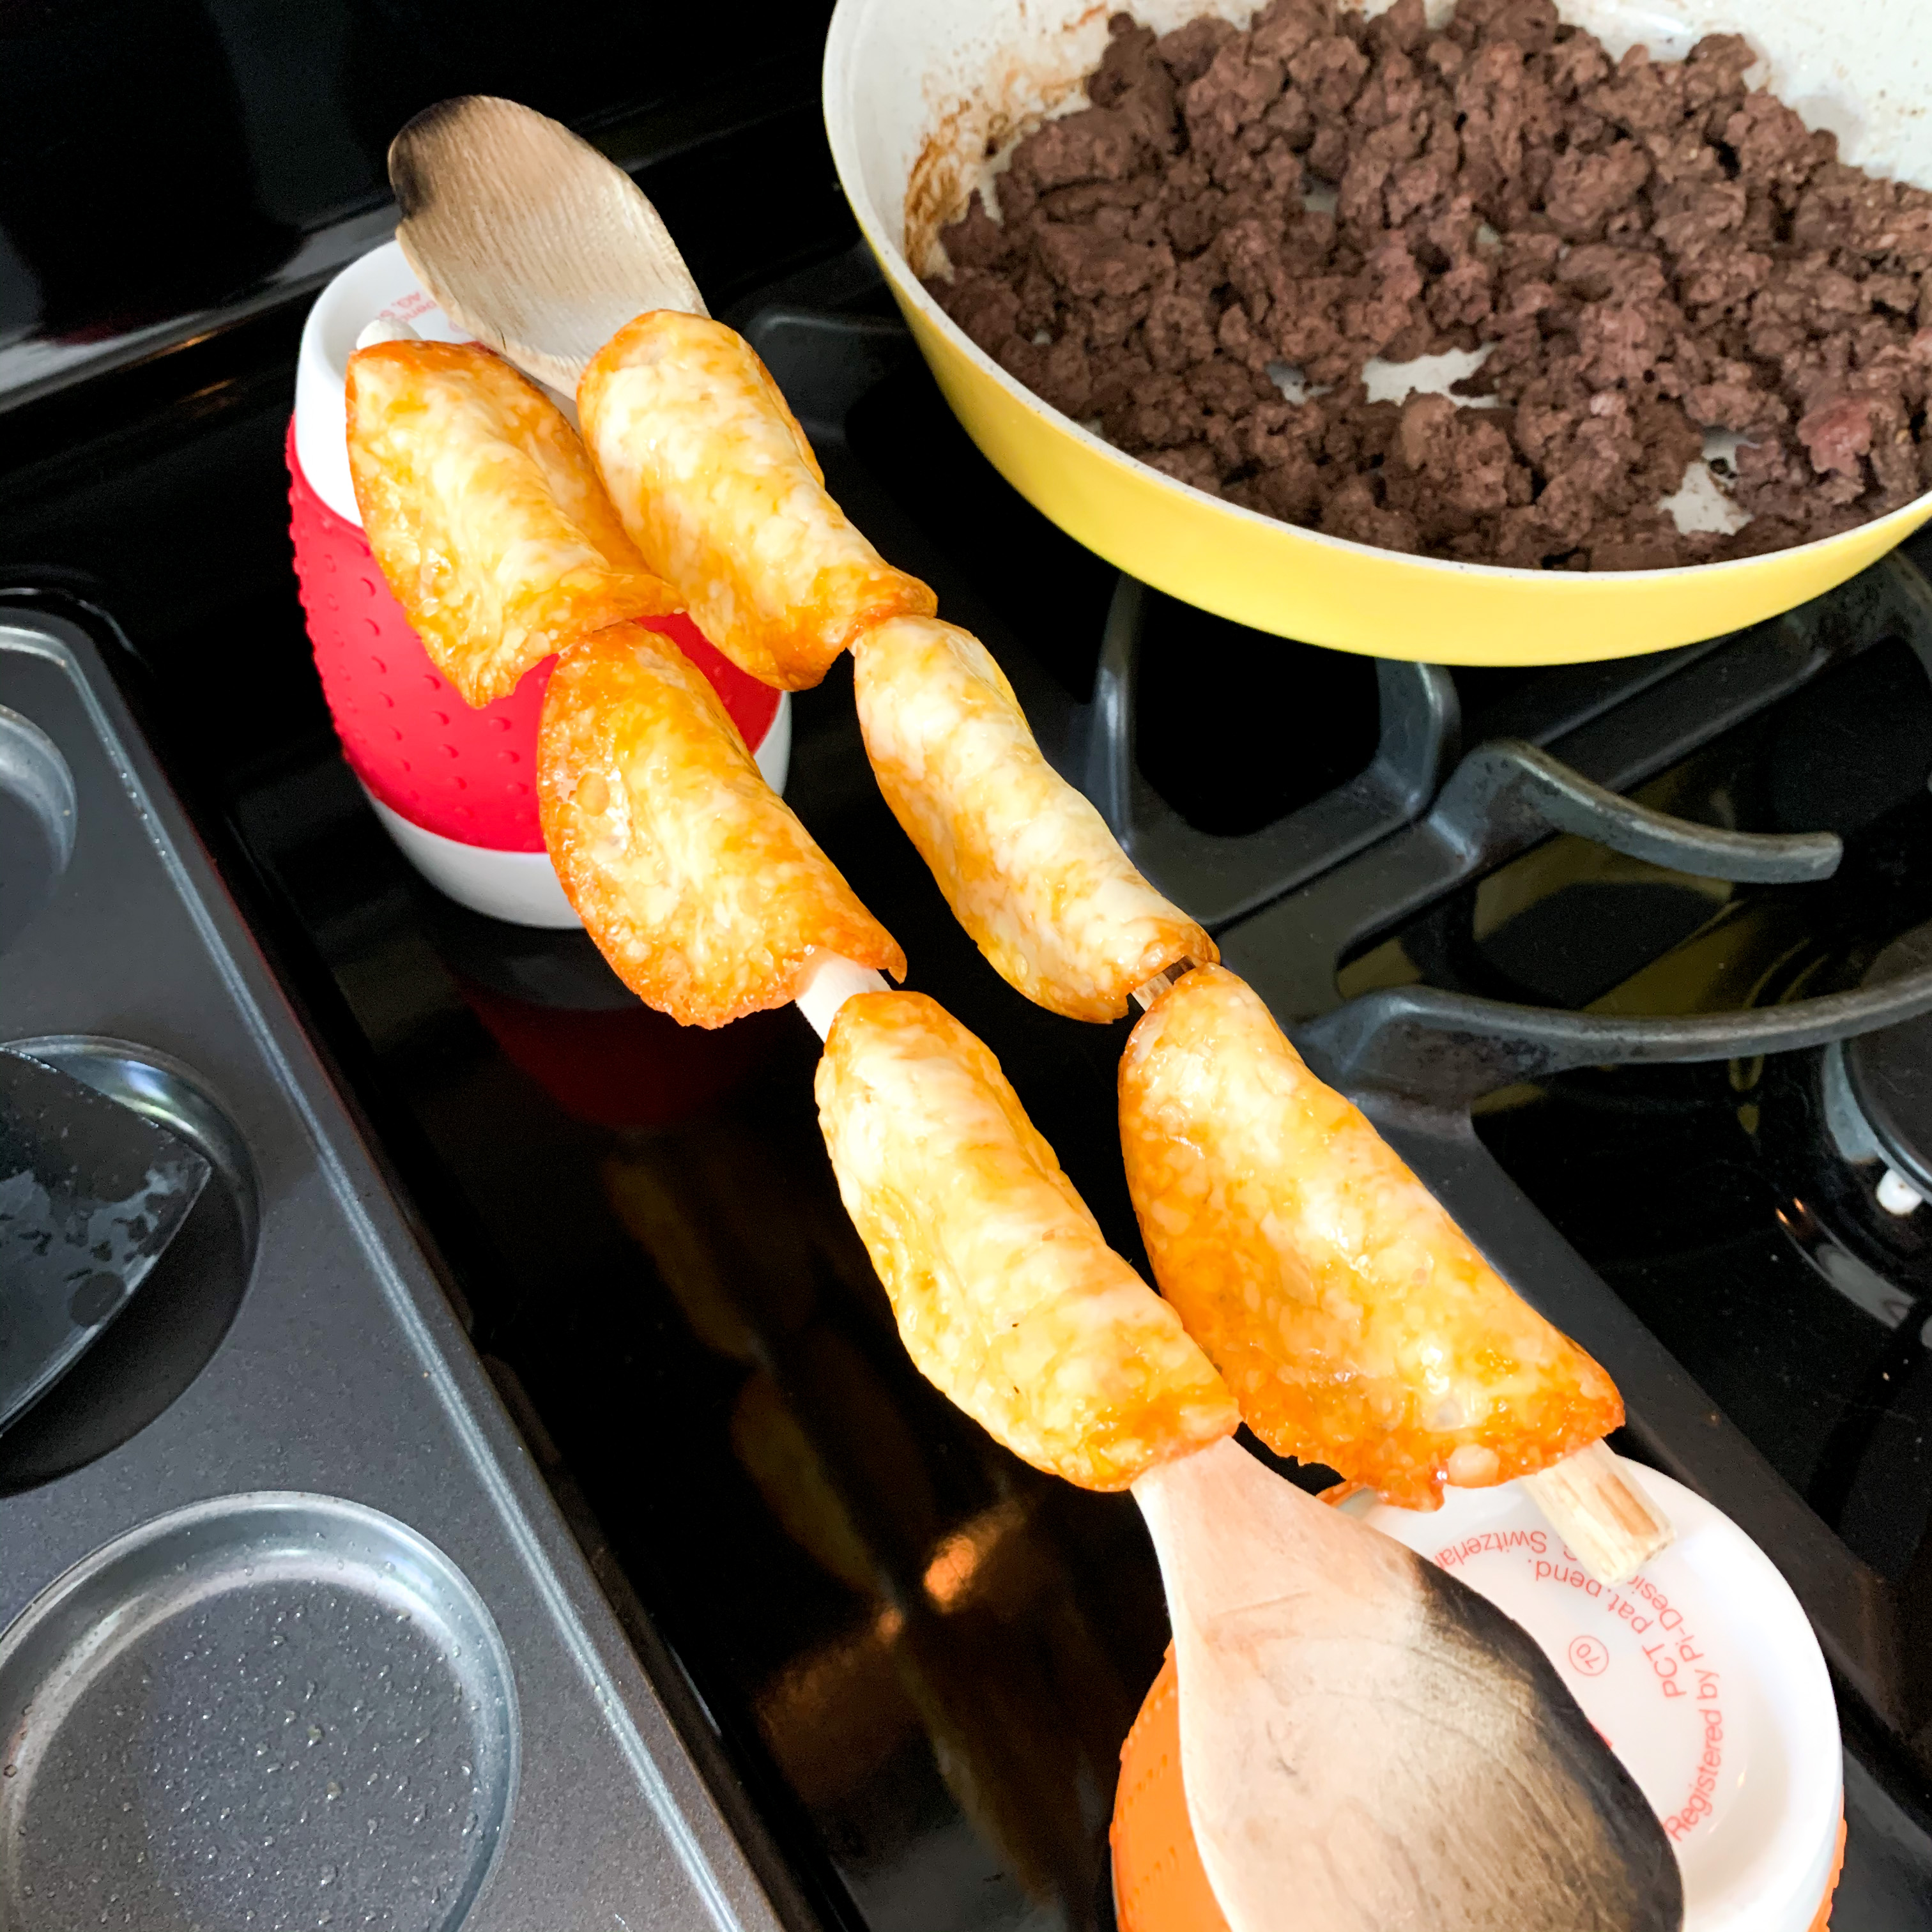
That said, this is my take on pajeon—a savory Korean pancake—one of my favorite lunchtime fuelings. Kimchi is considered a condiment; 1/4 cup equals one condiment, but I use 1/8 cup {or 1 oz}, which counts as only 1/2 a condiment and trust me, a little goes a long way. A big plus beyond the flavor it packs in there is that it has a ton of health benefits including it’s nutrient dense, contains probiotics, reduces inflammation, is purported to aid in weight loss, and supports heart health. I also add one ounce of shrimp from my daily Lean & Green. And 99% of the time, I’ll cook up the full seven ounces for the day, use the one ounce chopped up in this fueling, and then just reheat the other six ounces for dinner. 

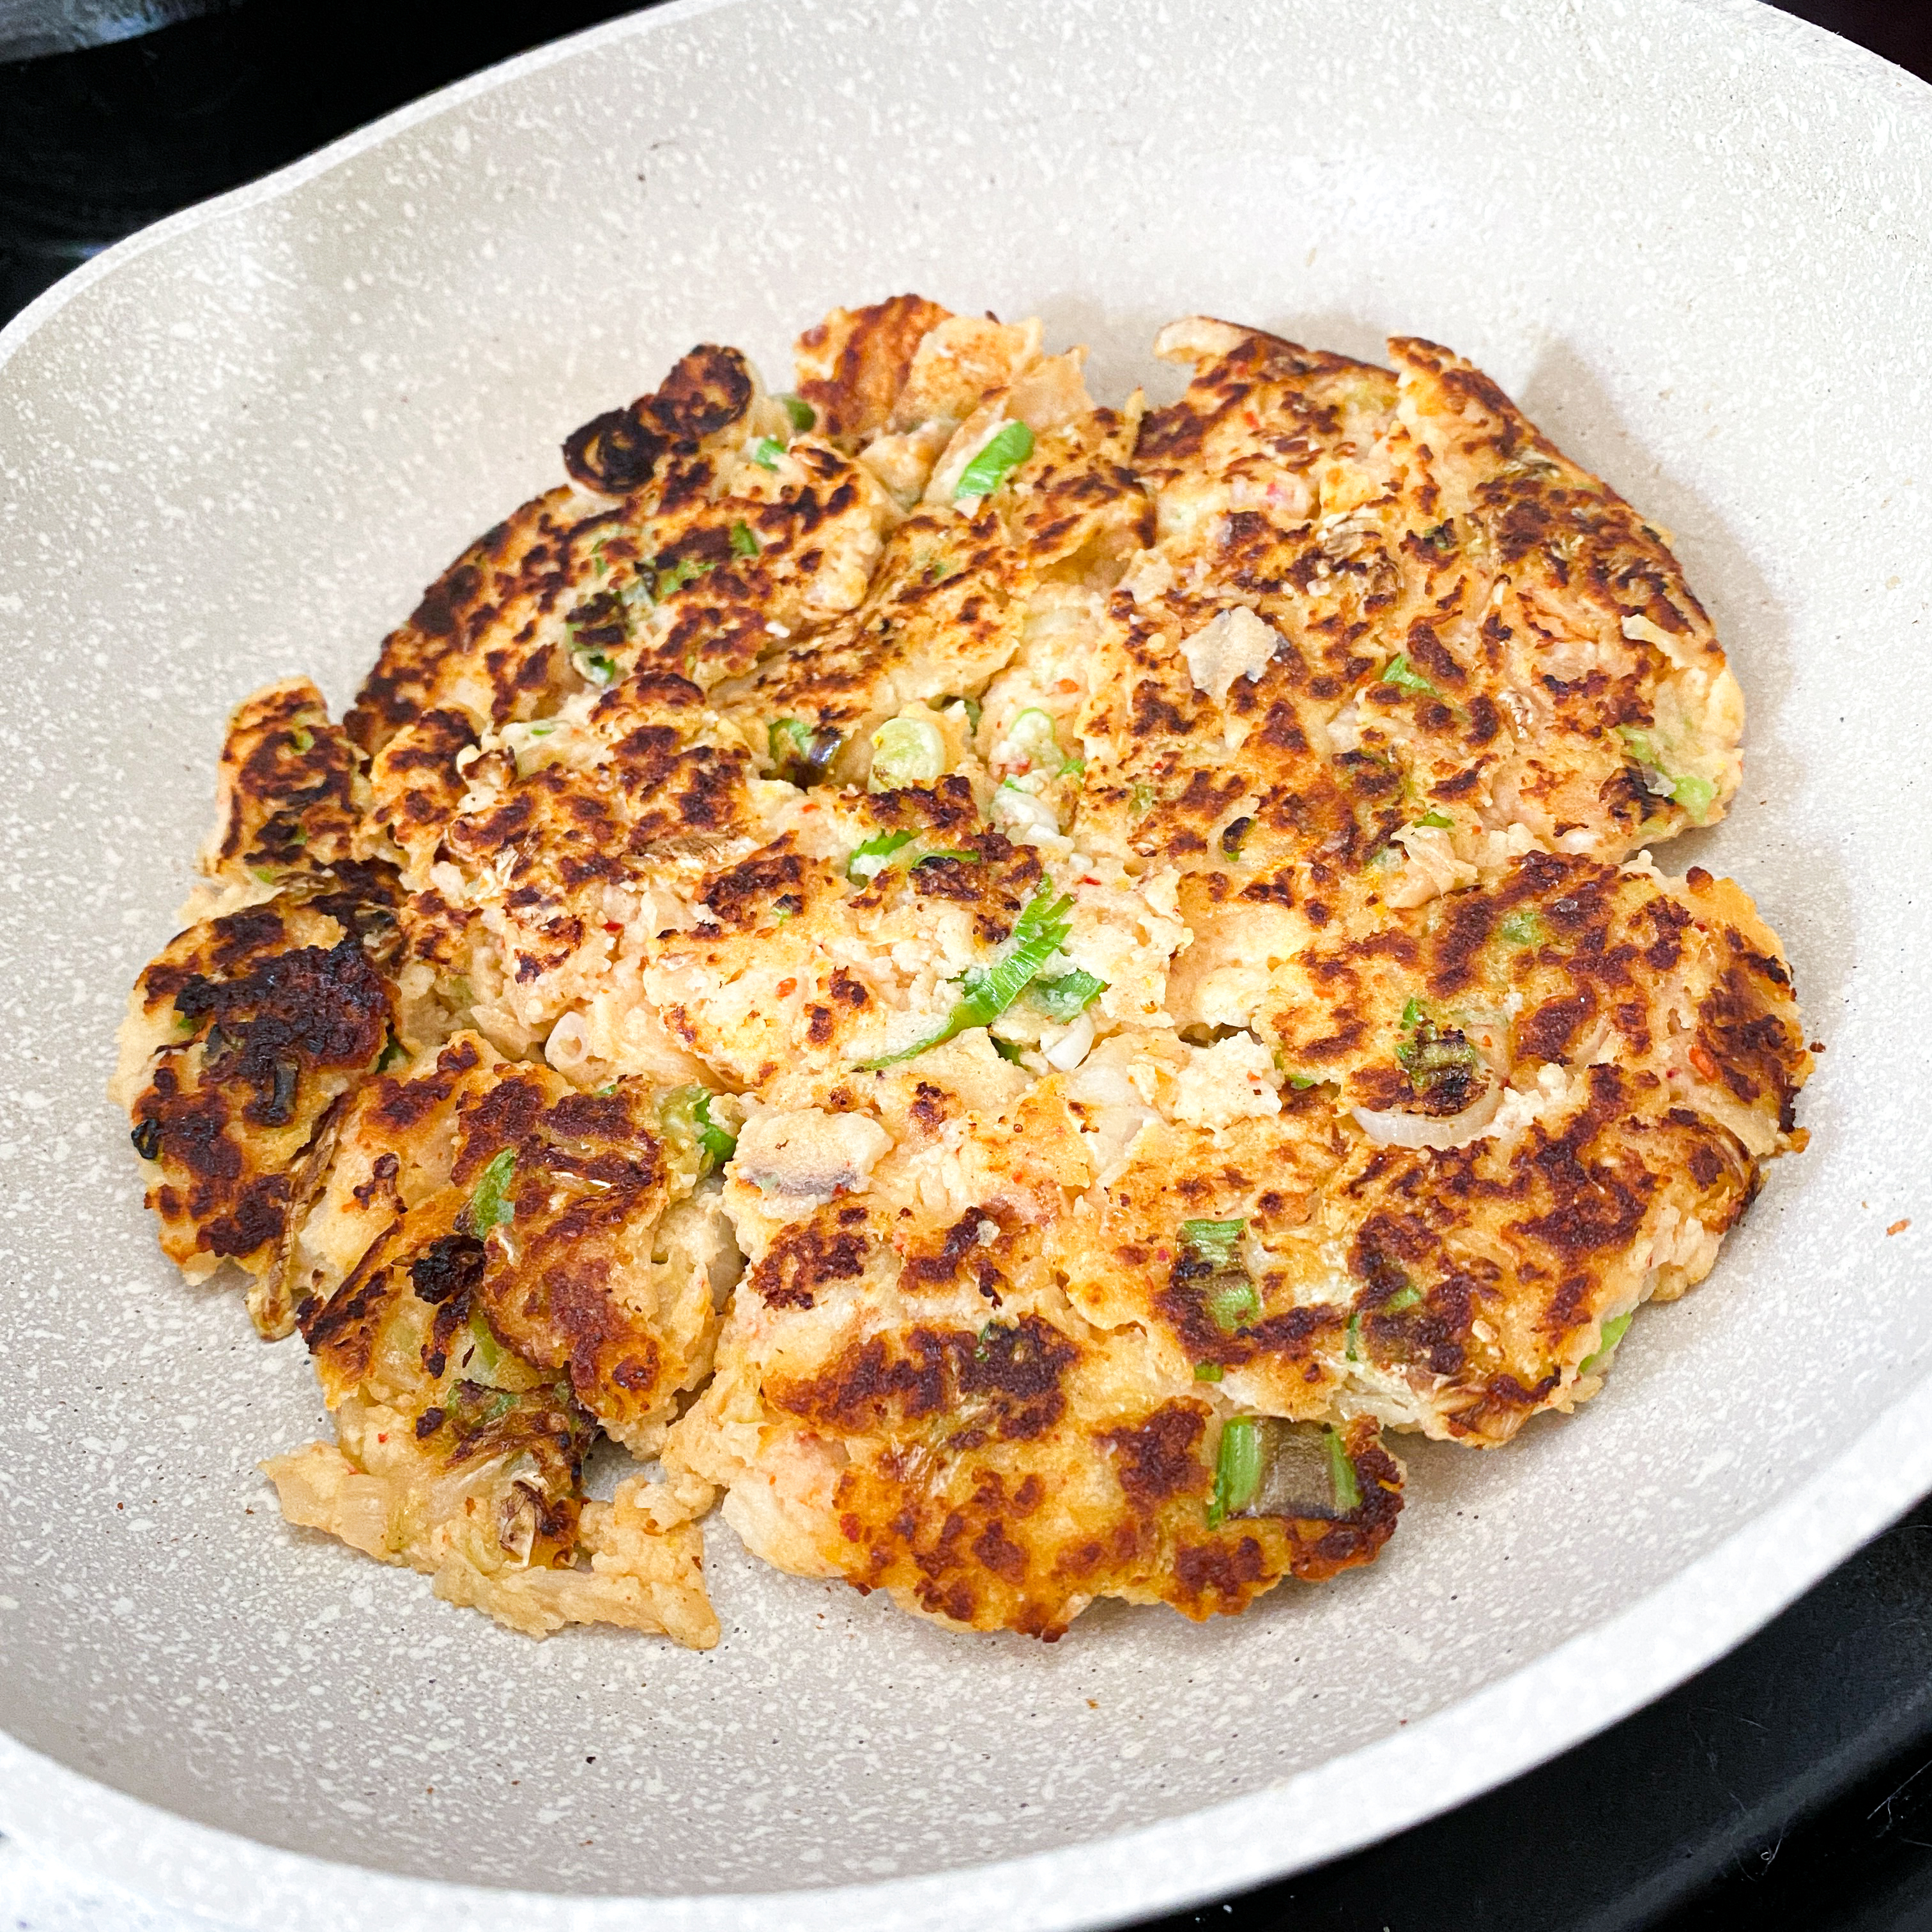
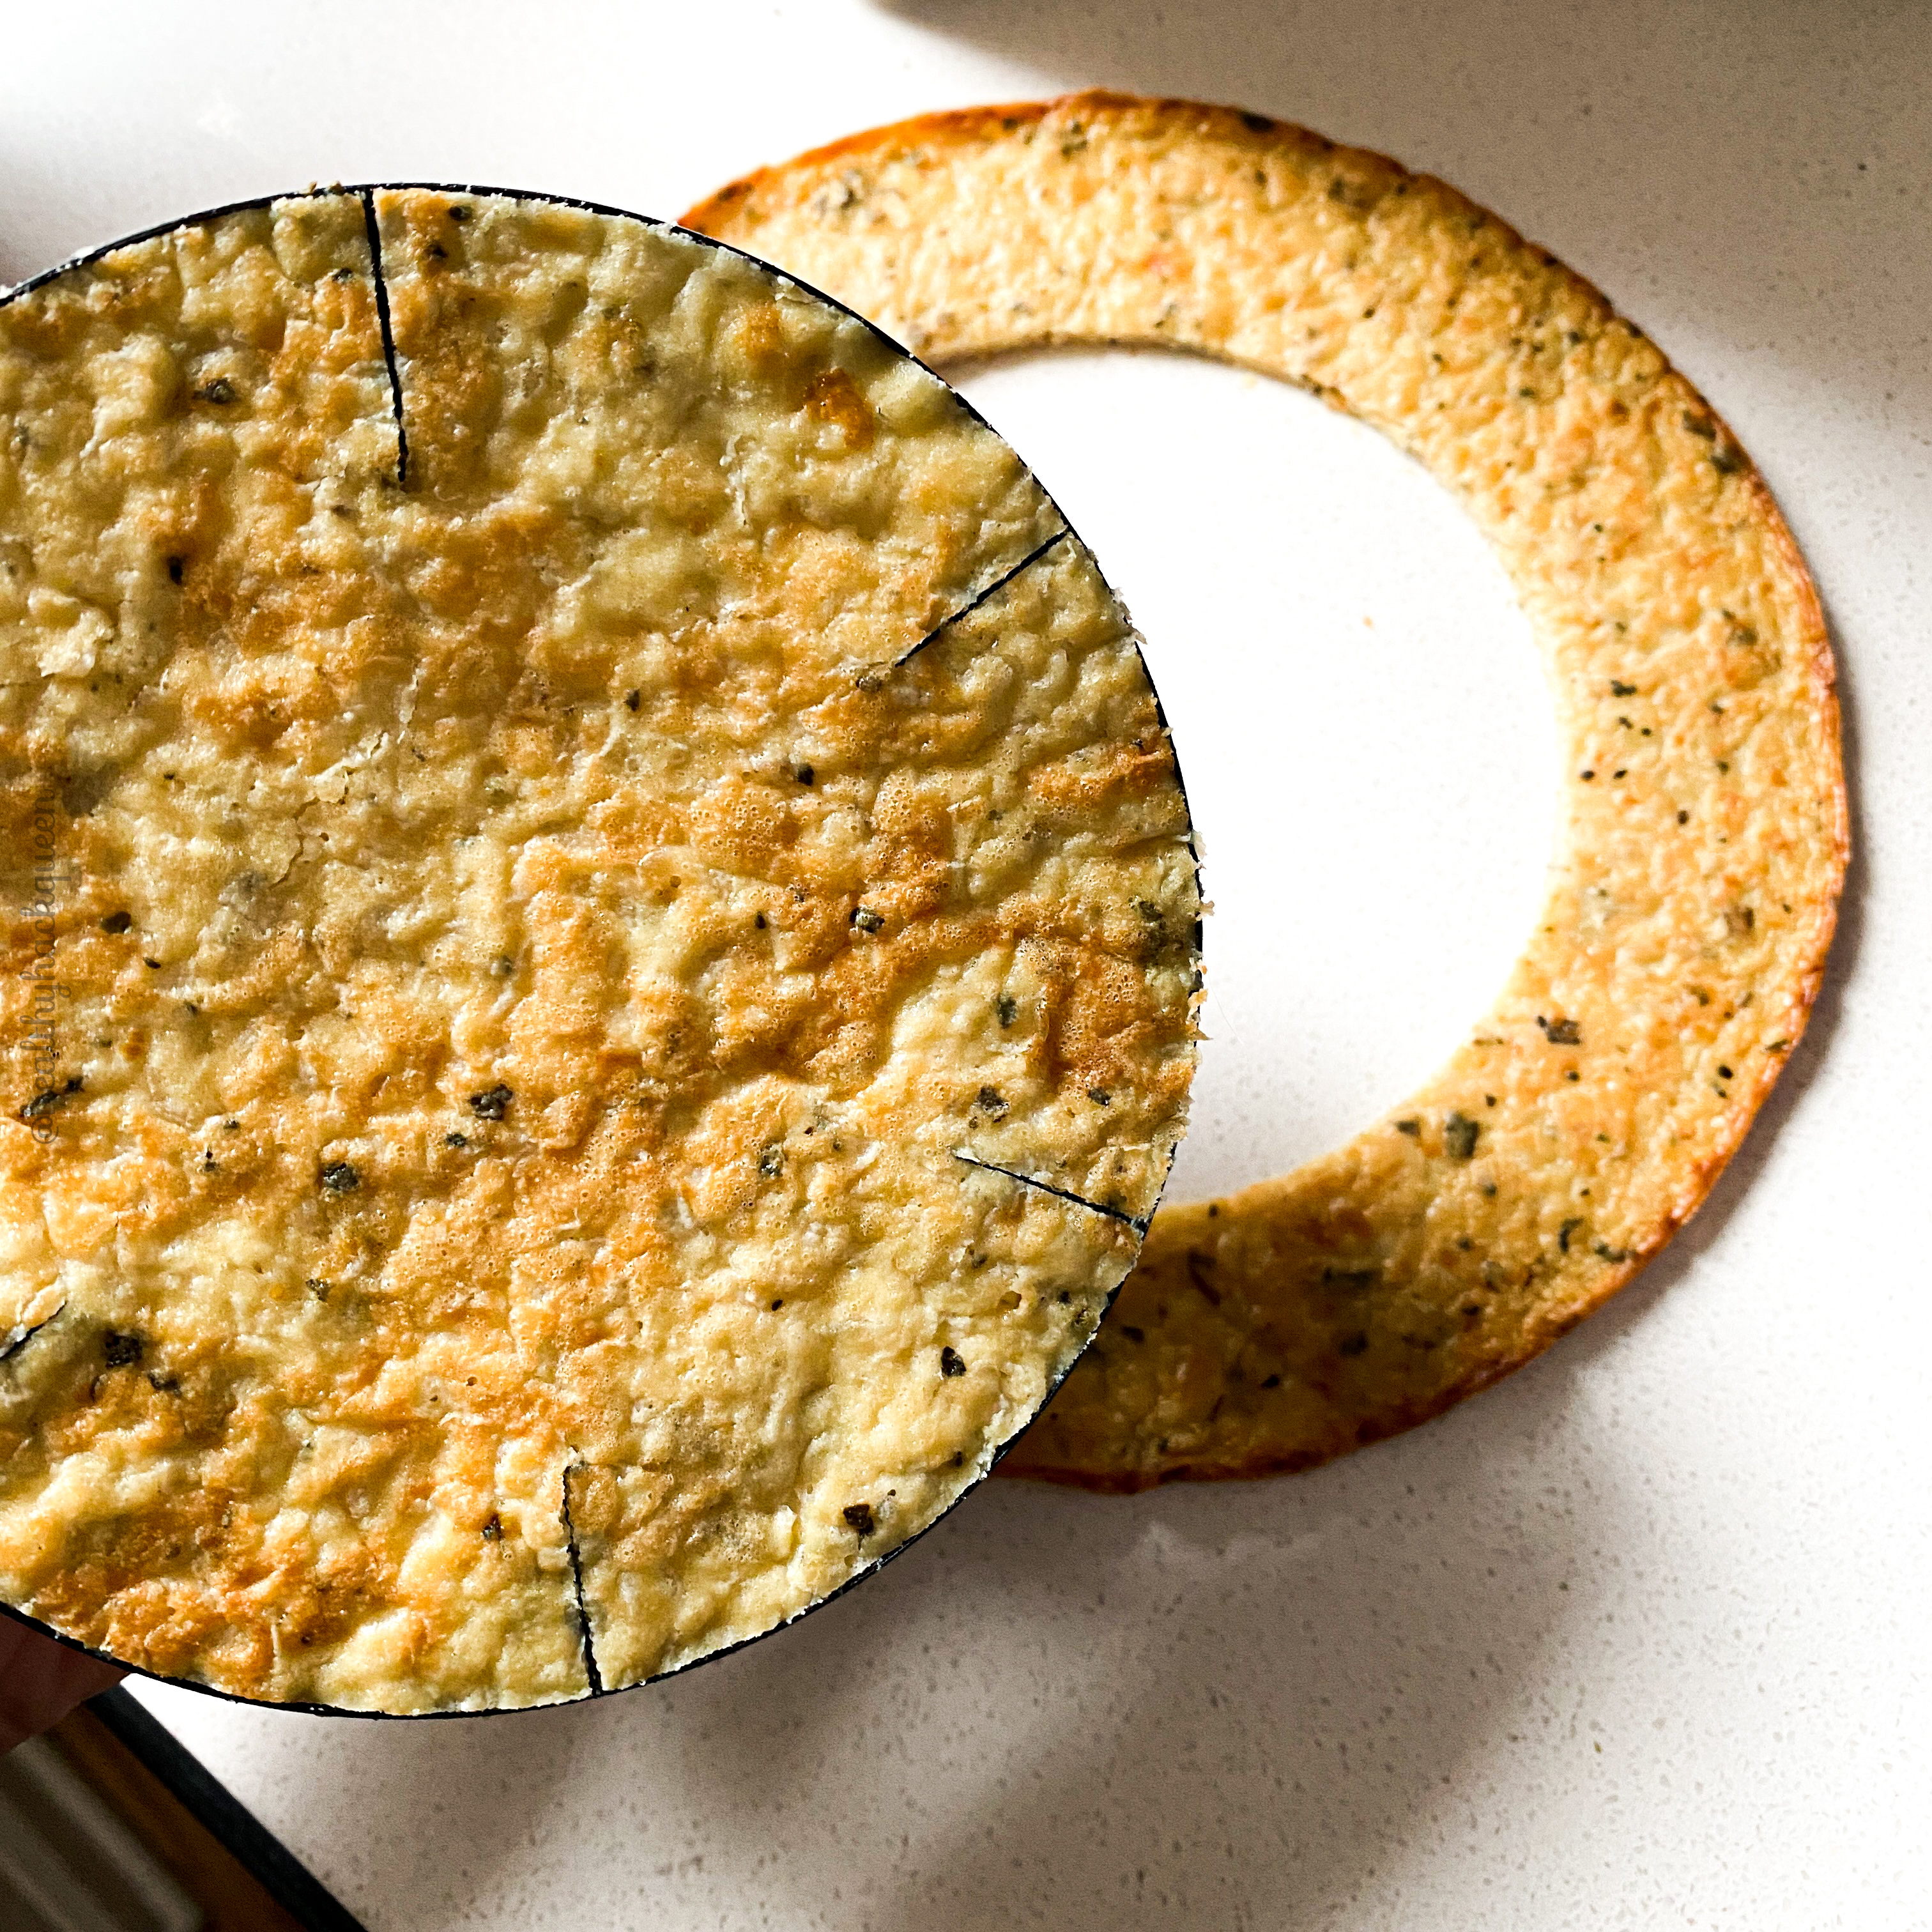
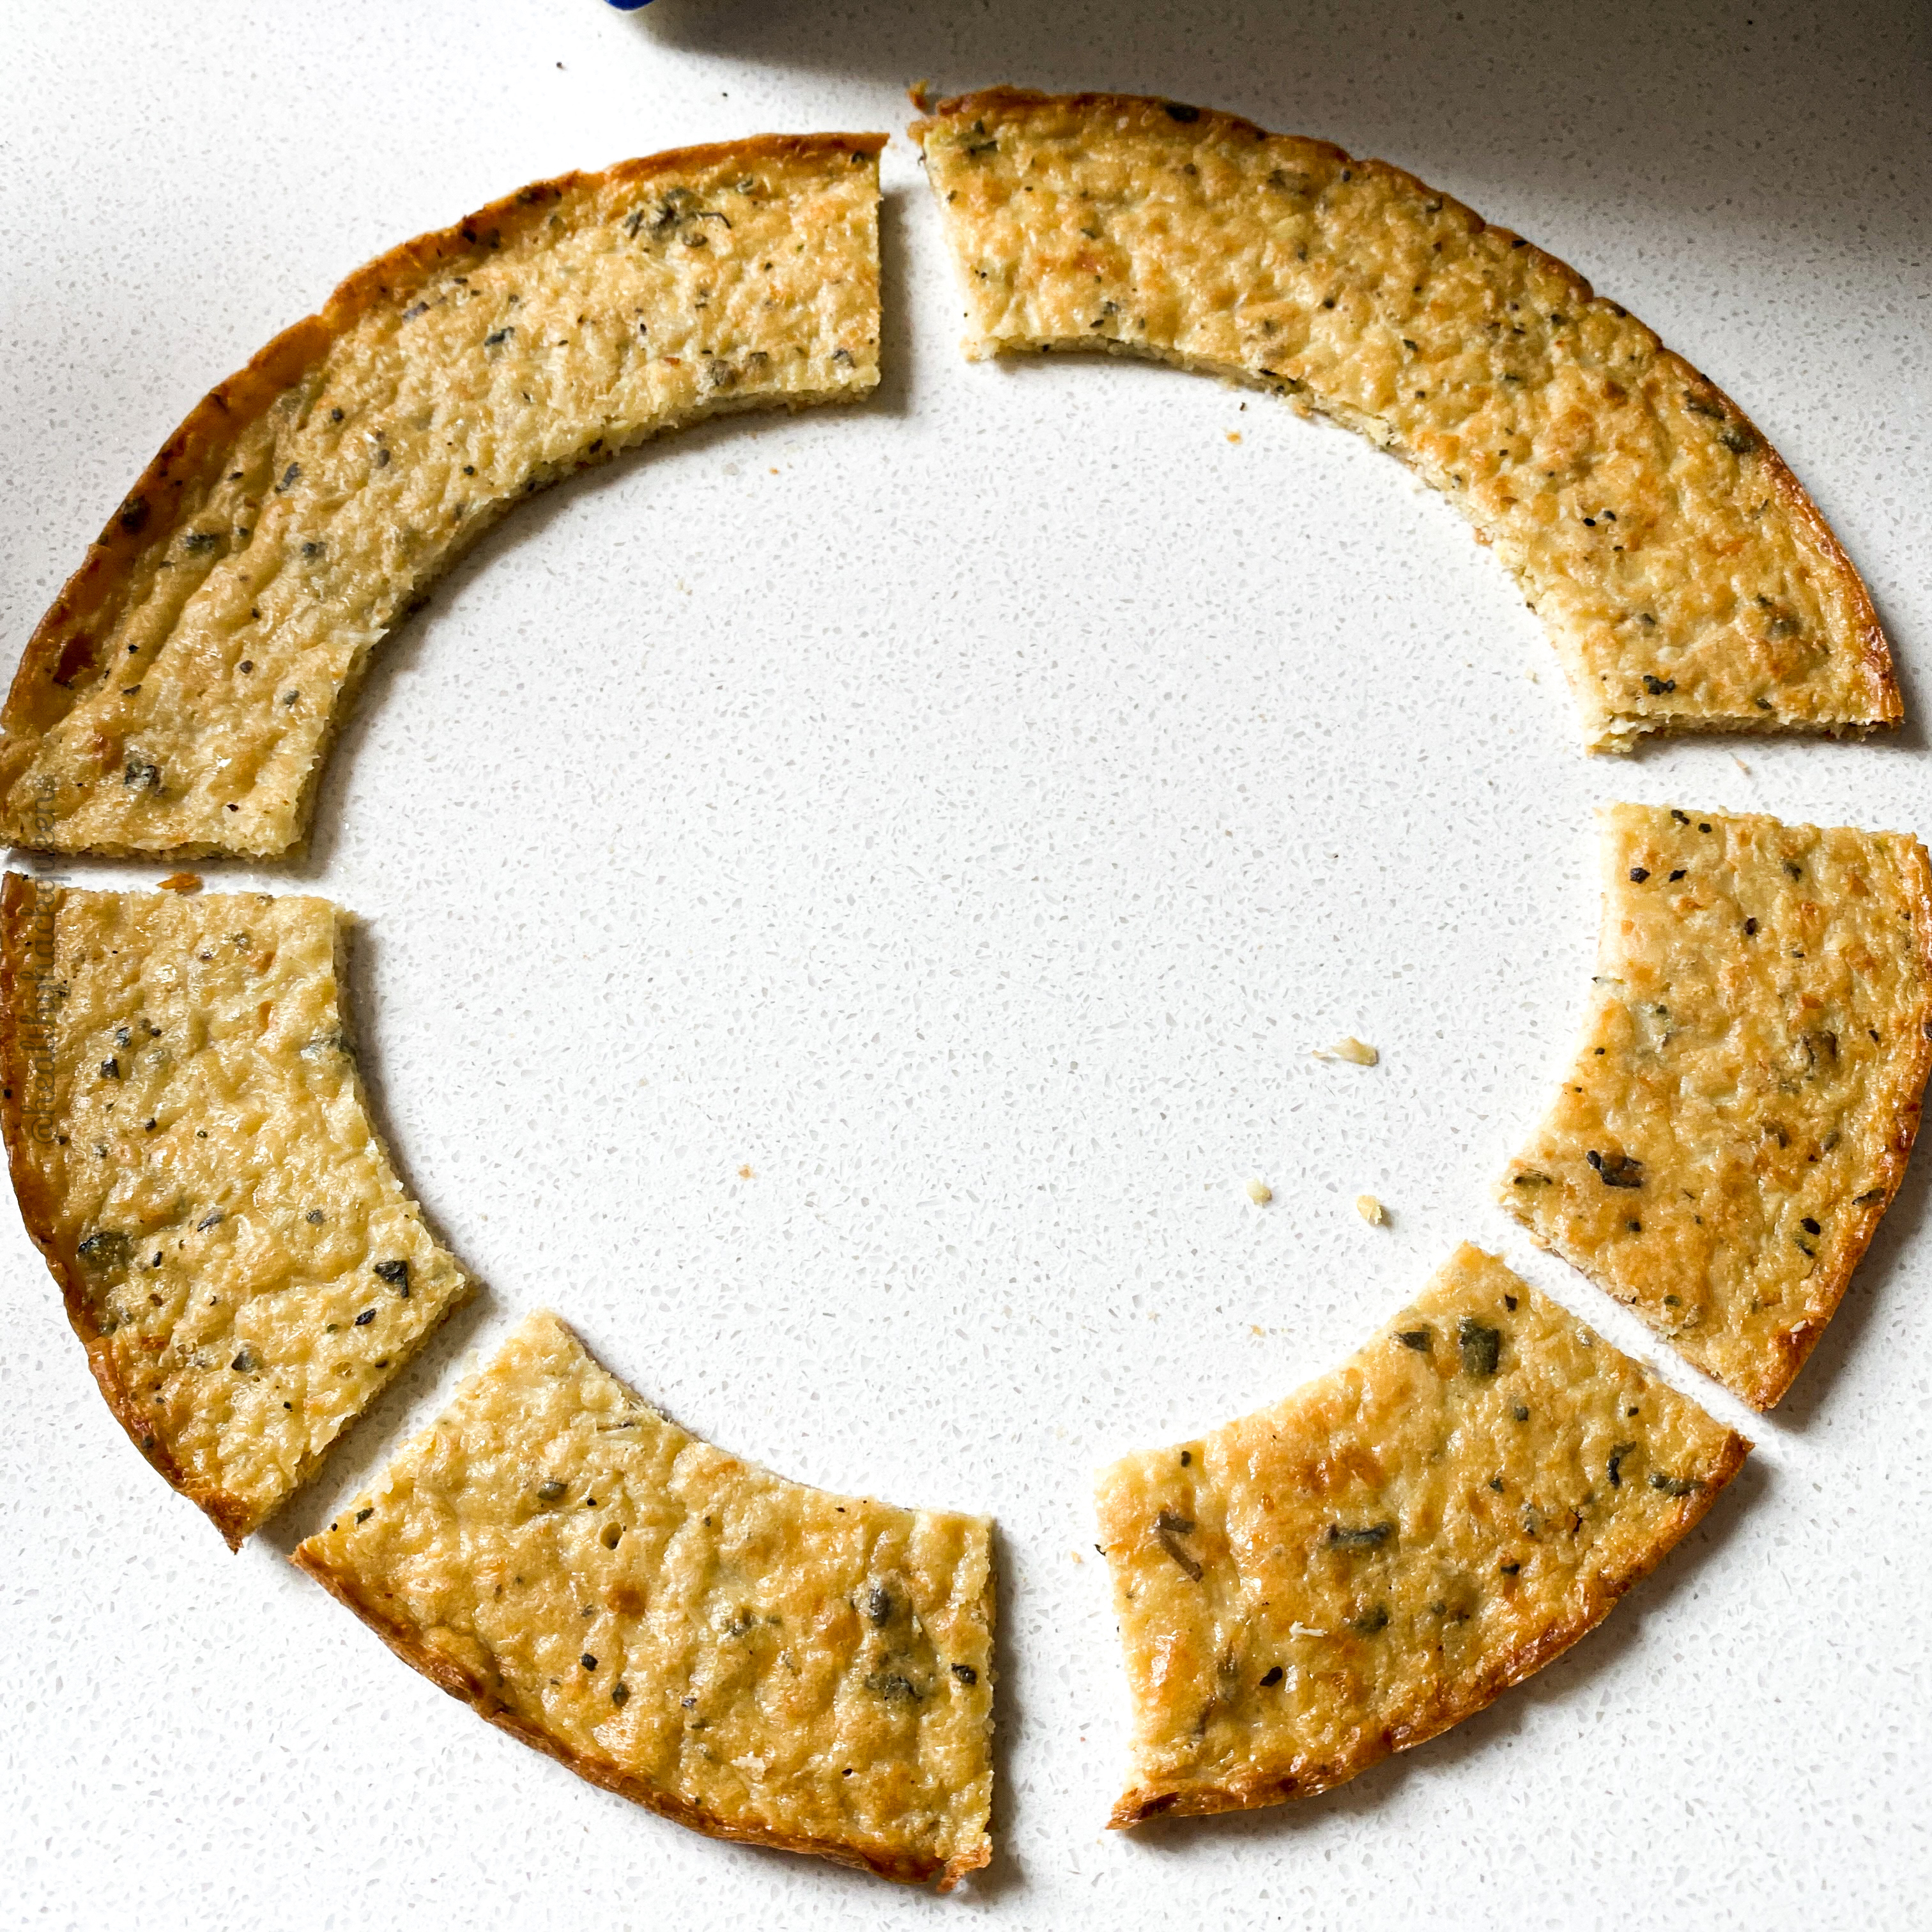
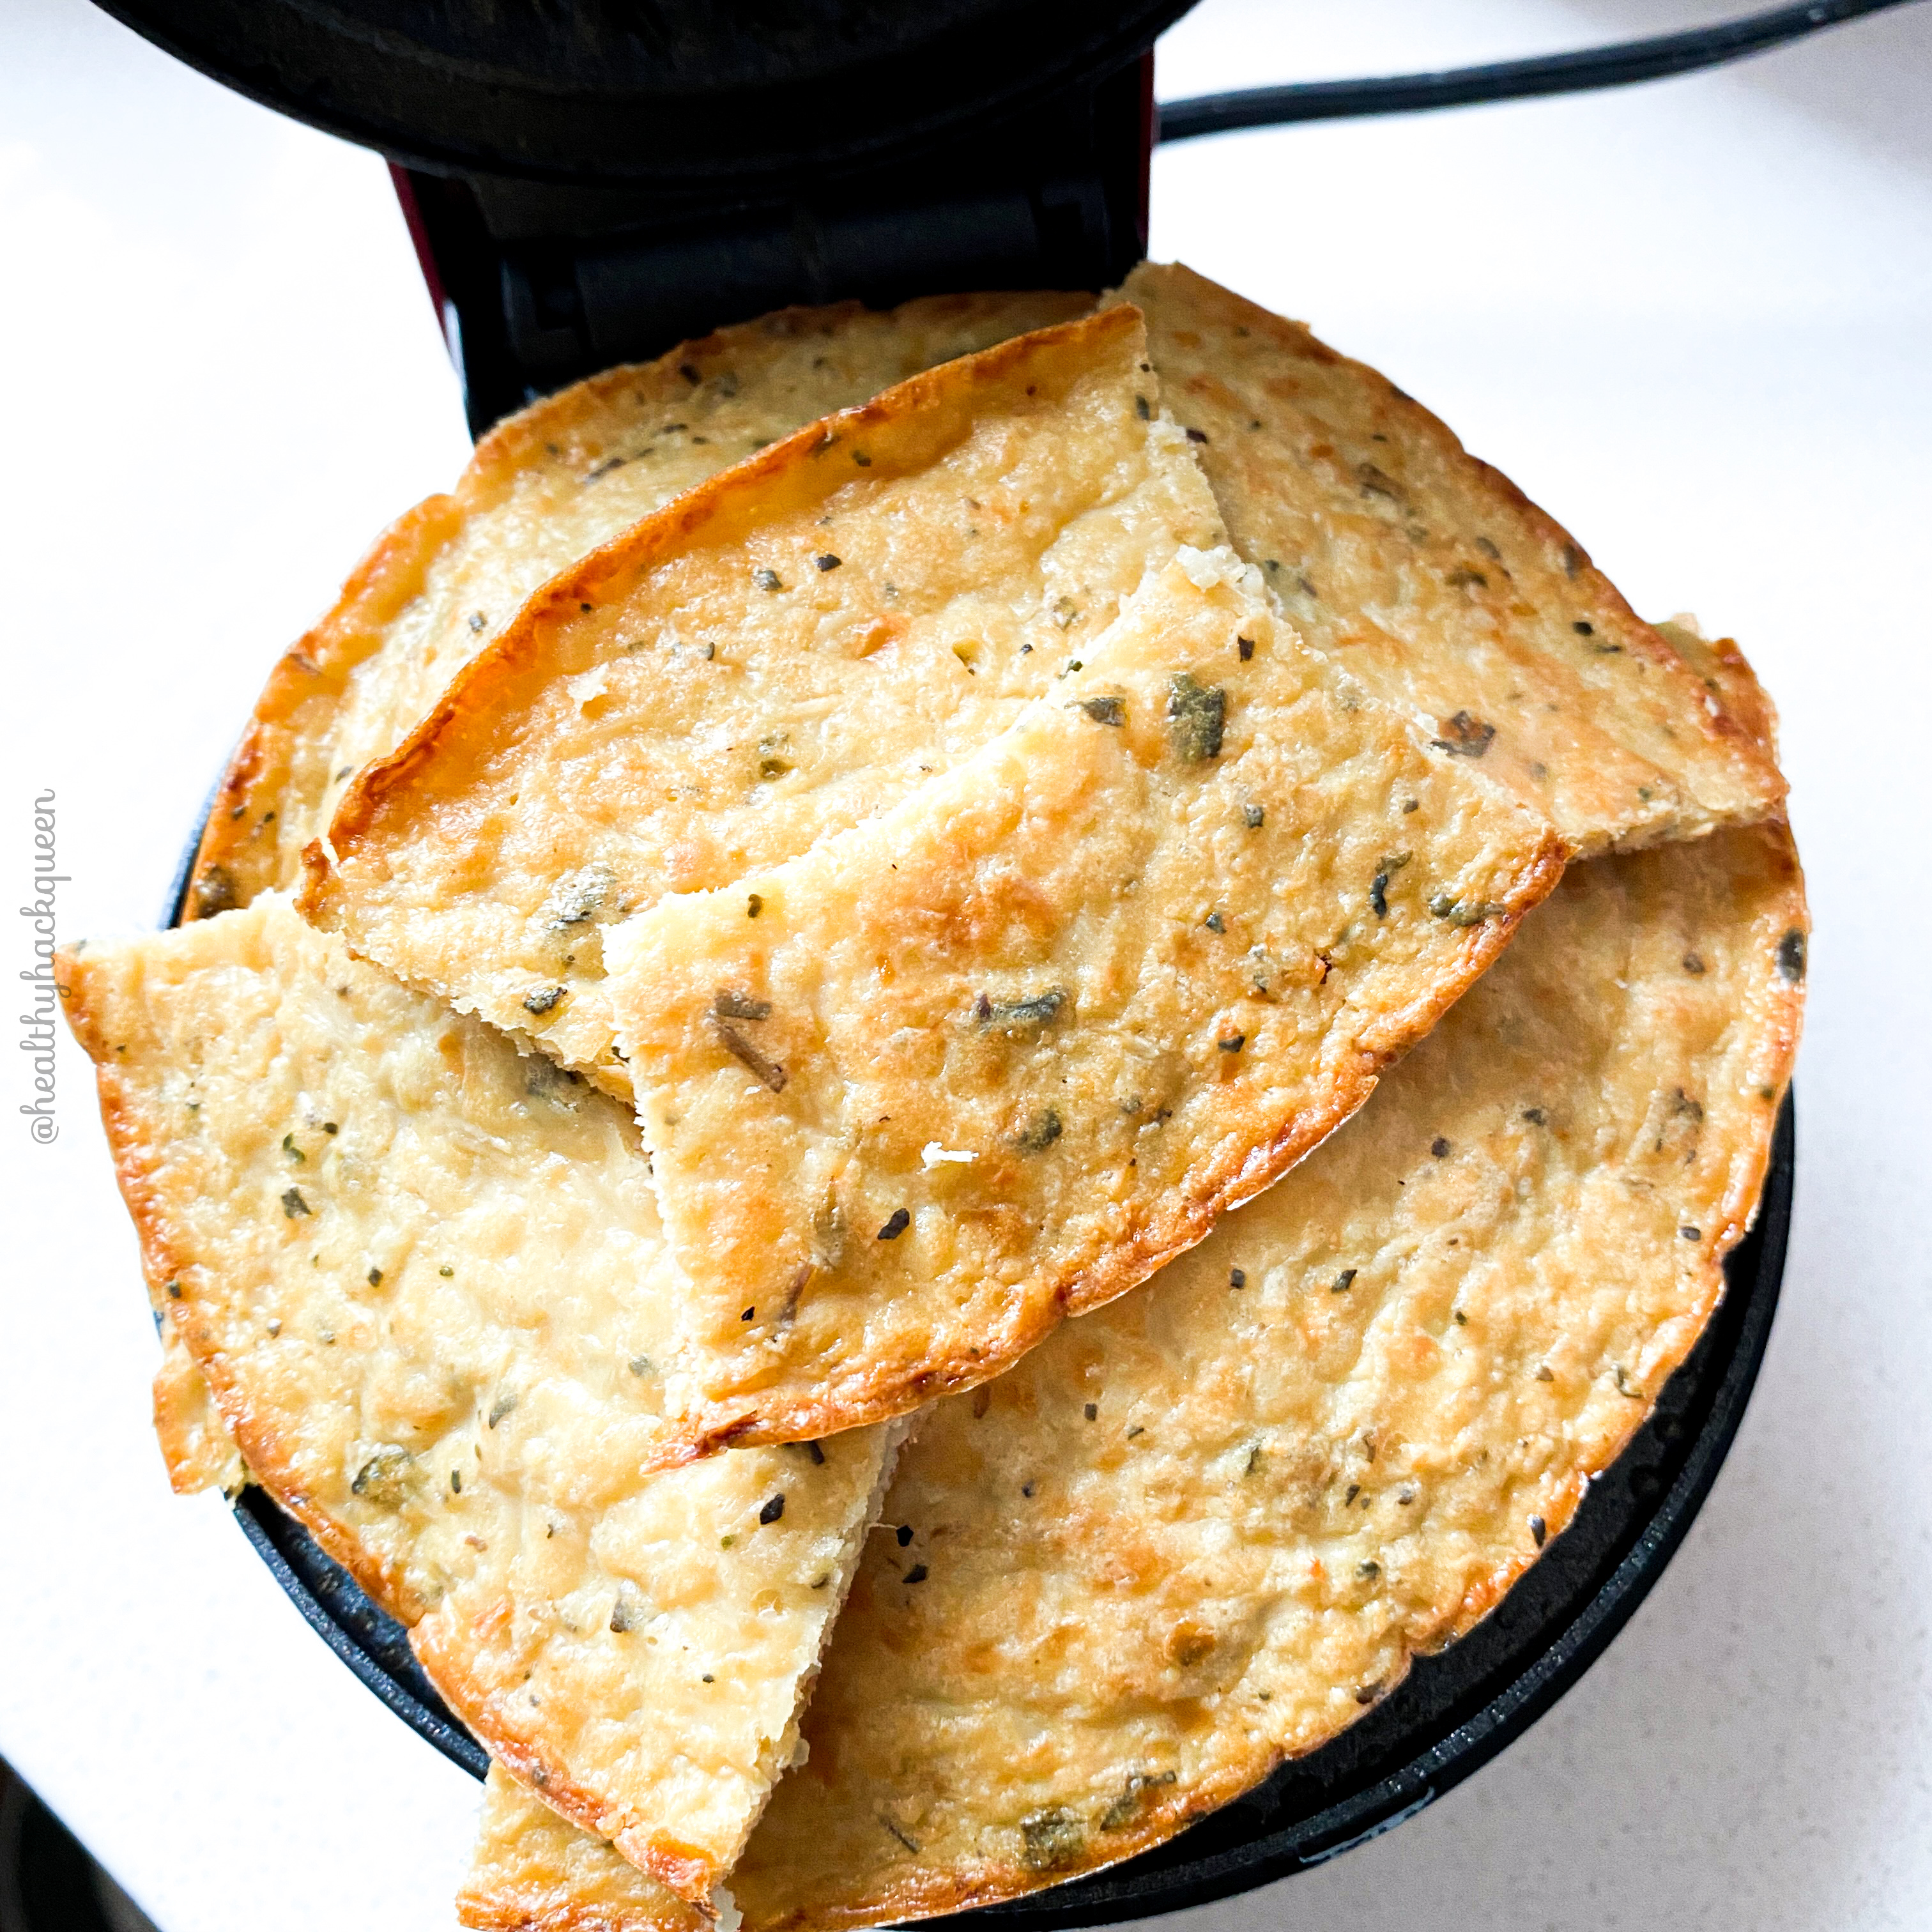
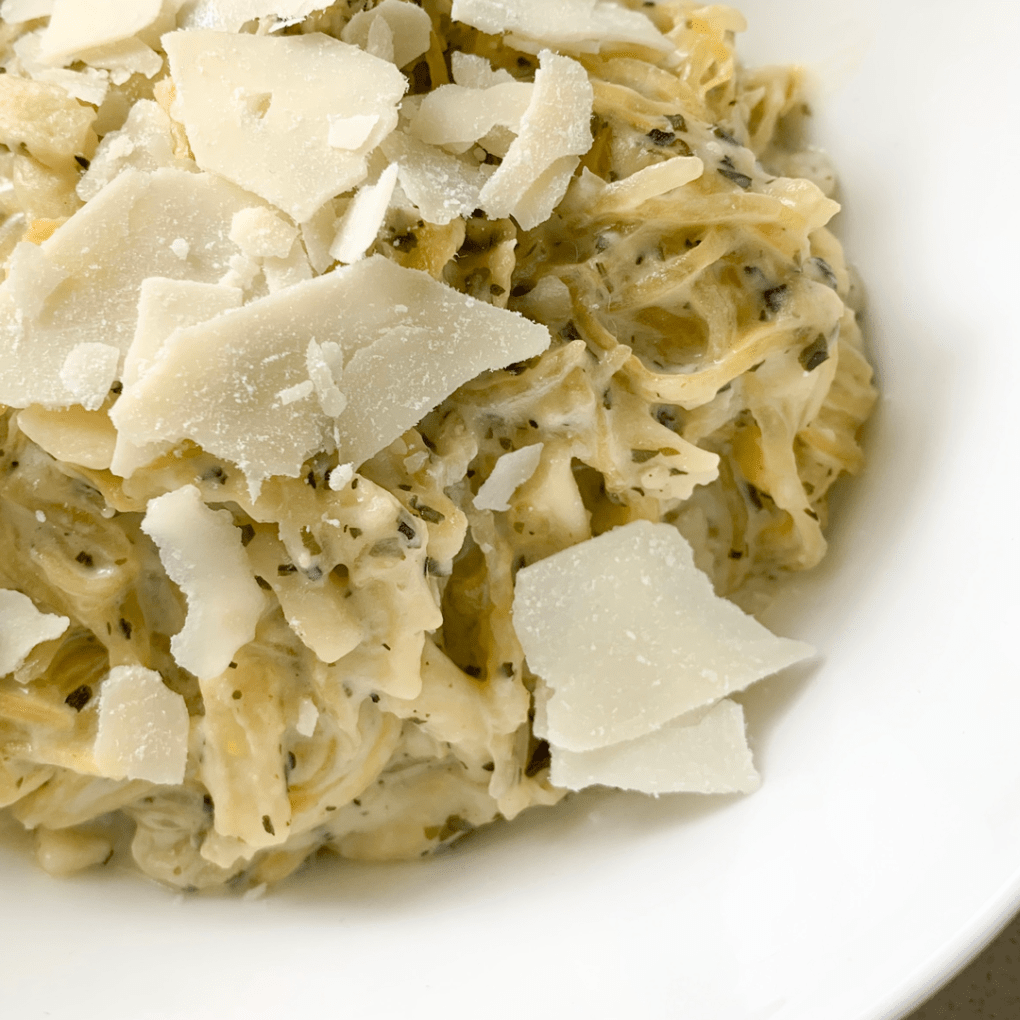
This pancake is dense, full of flavor, and very satisfying. 

Ingredients:

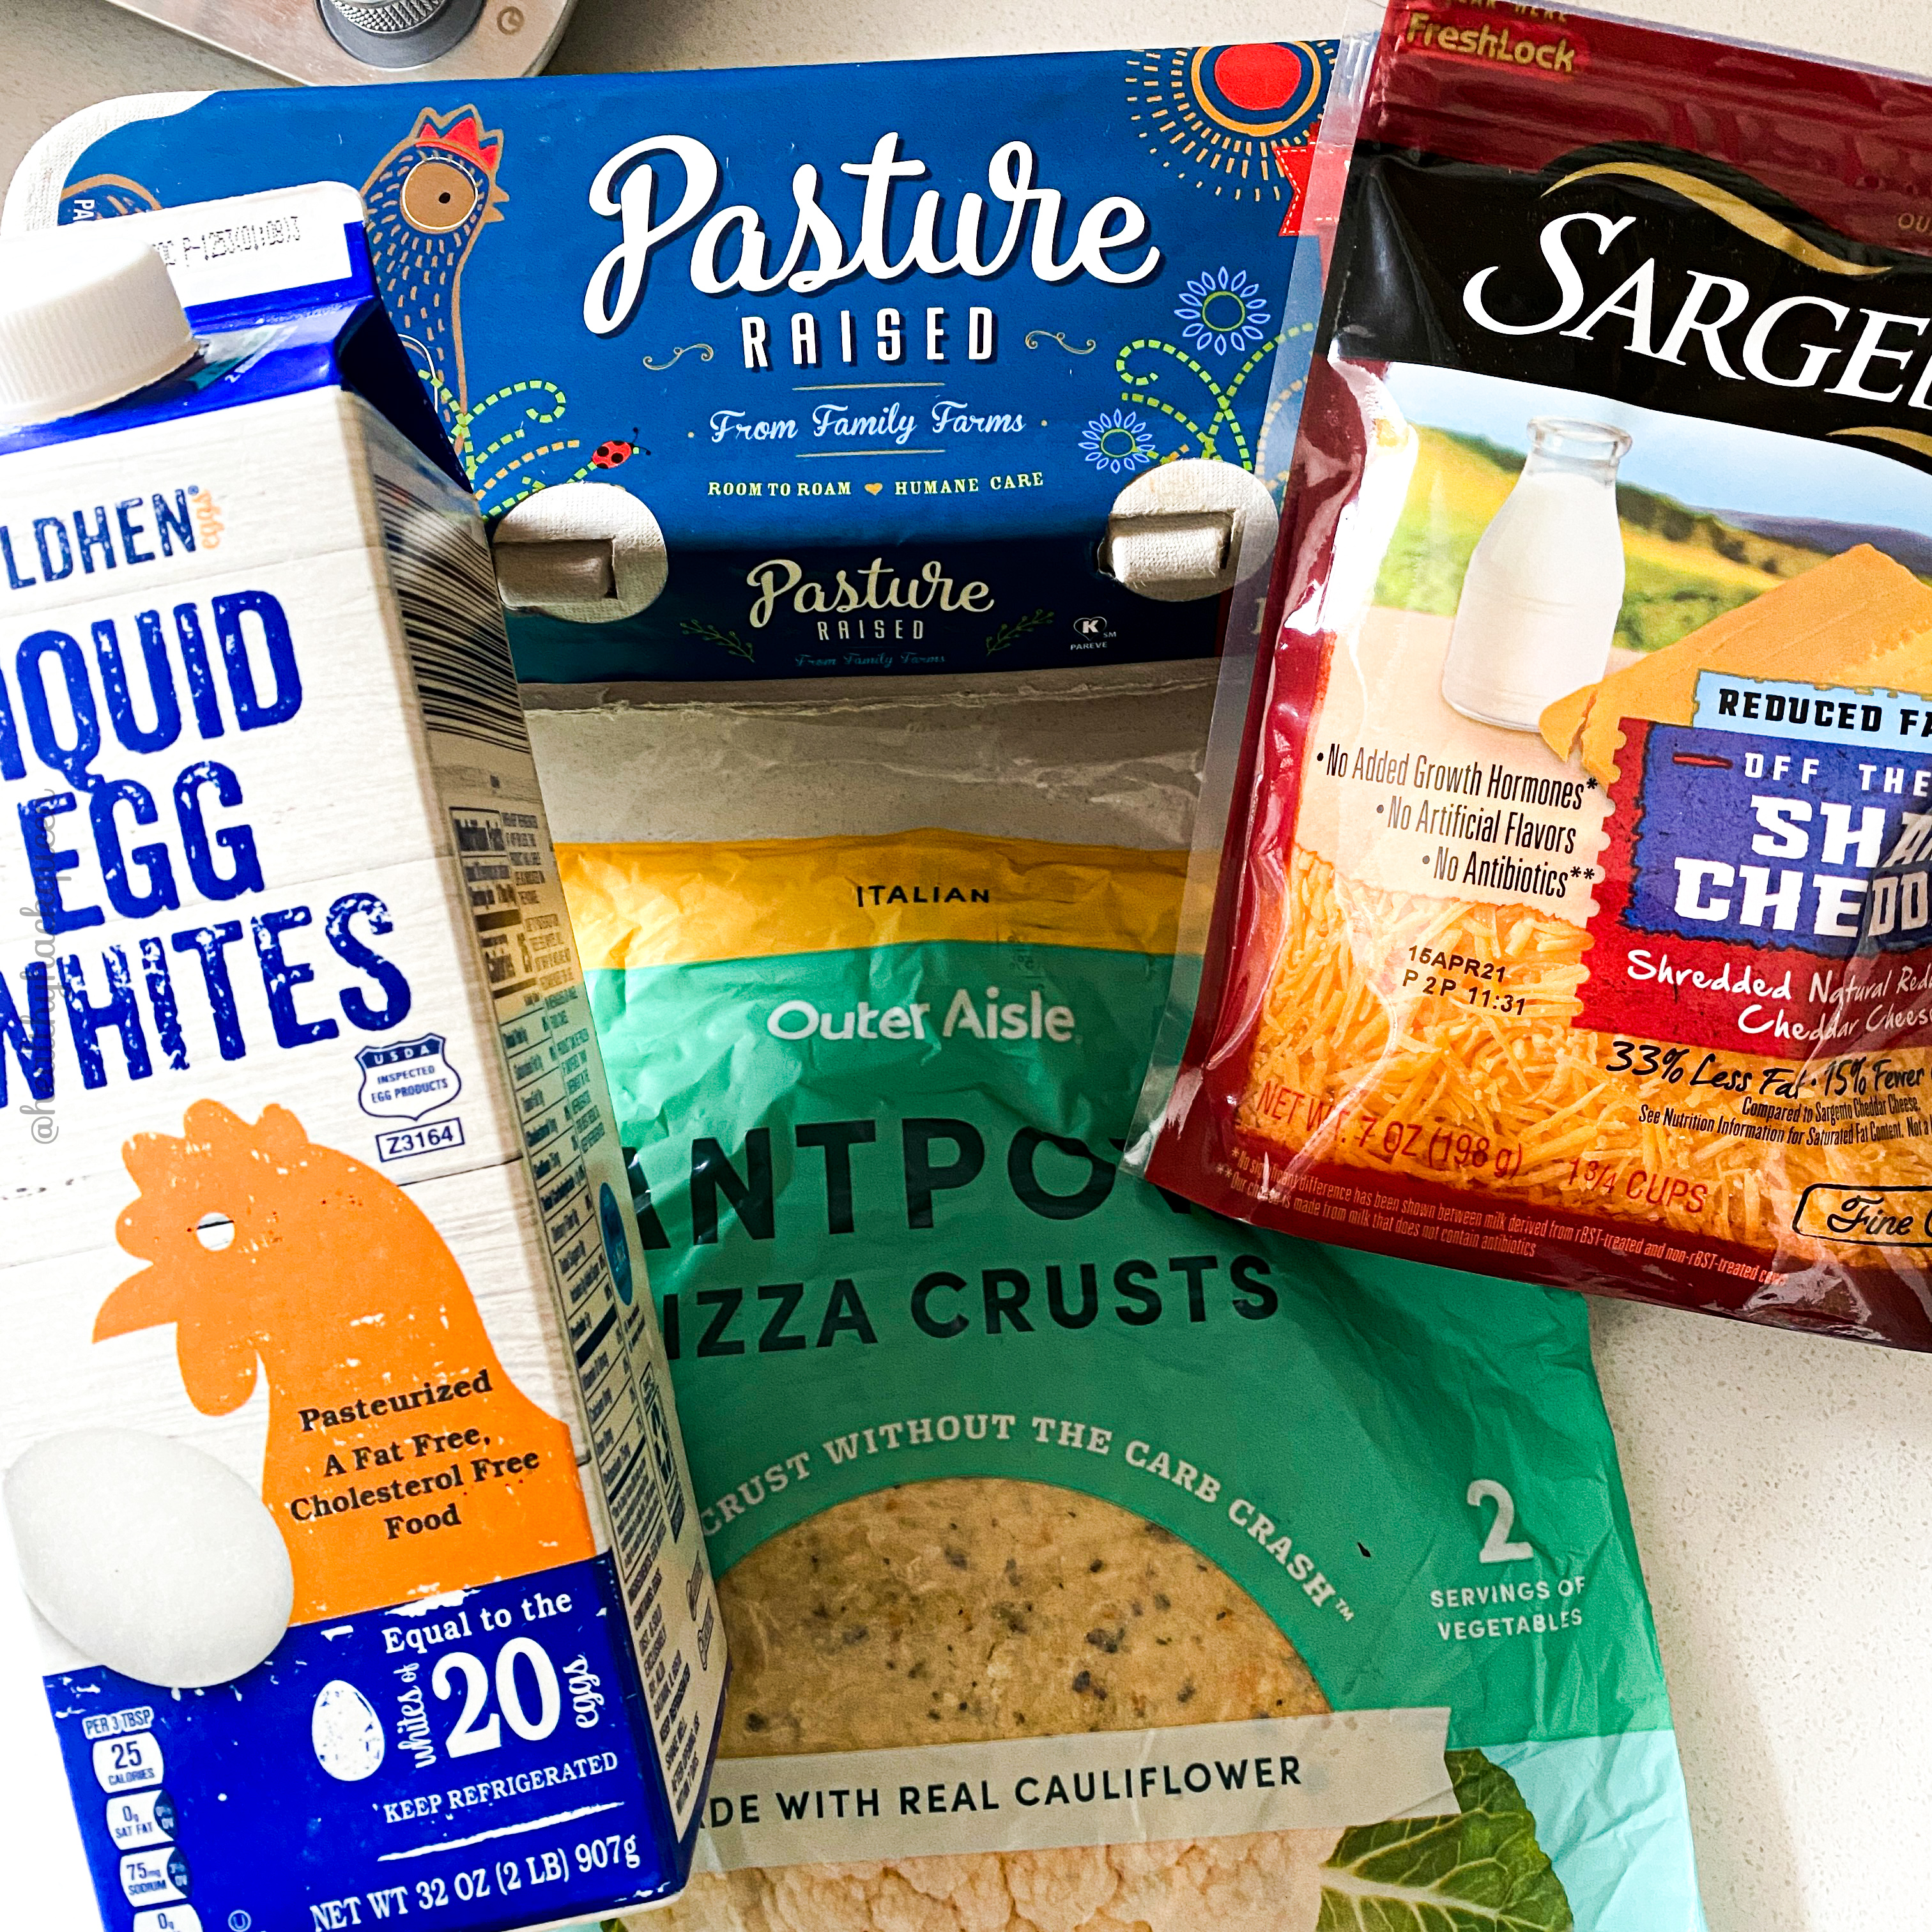
  • Roasted Garlic Smashed Potato Fueling
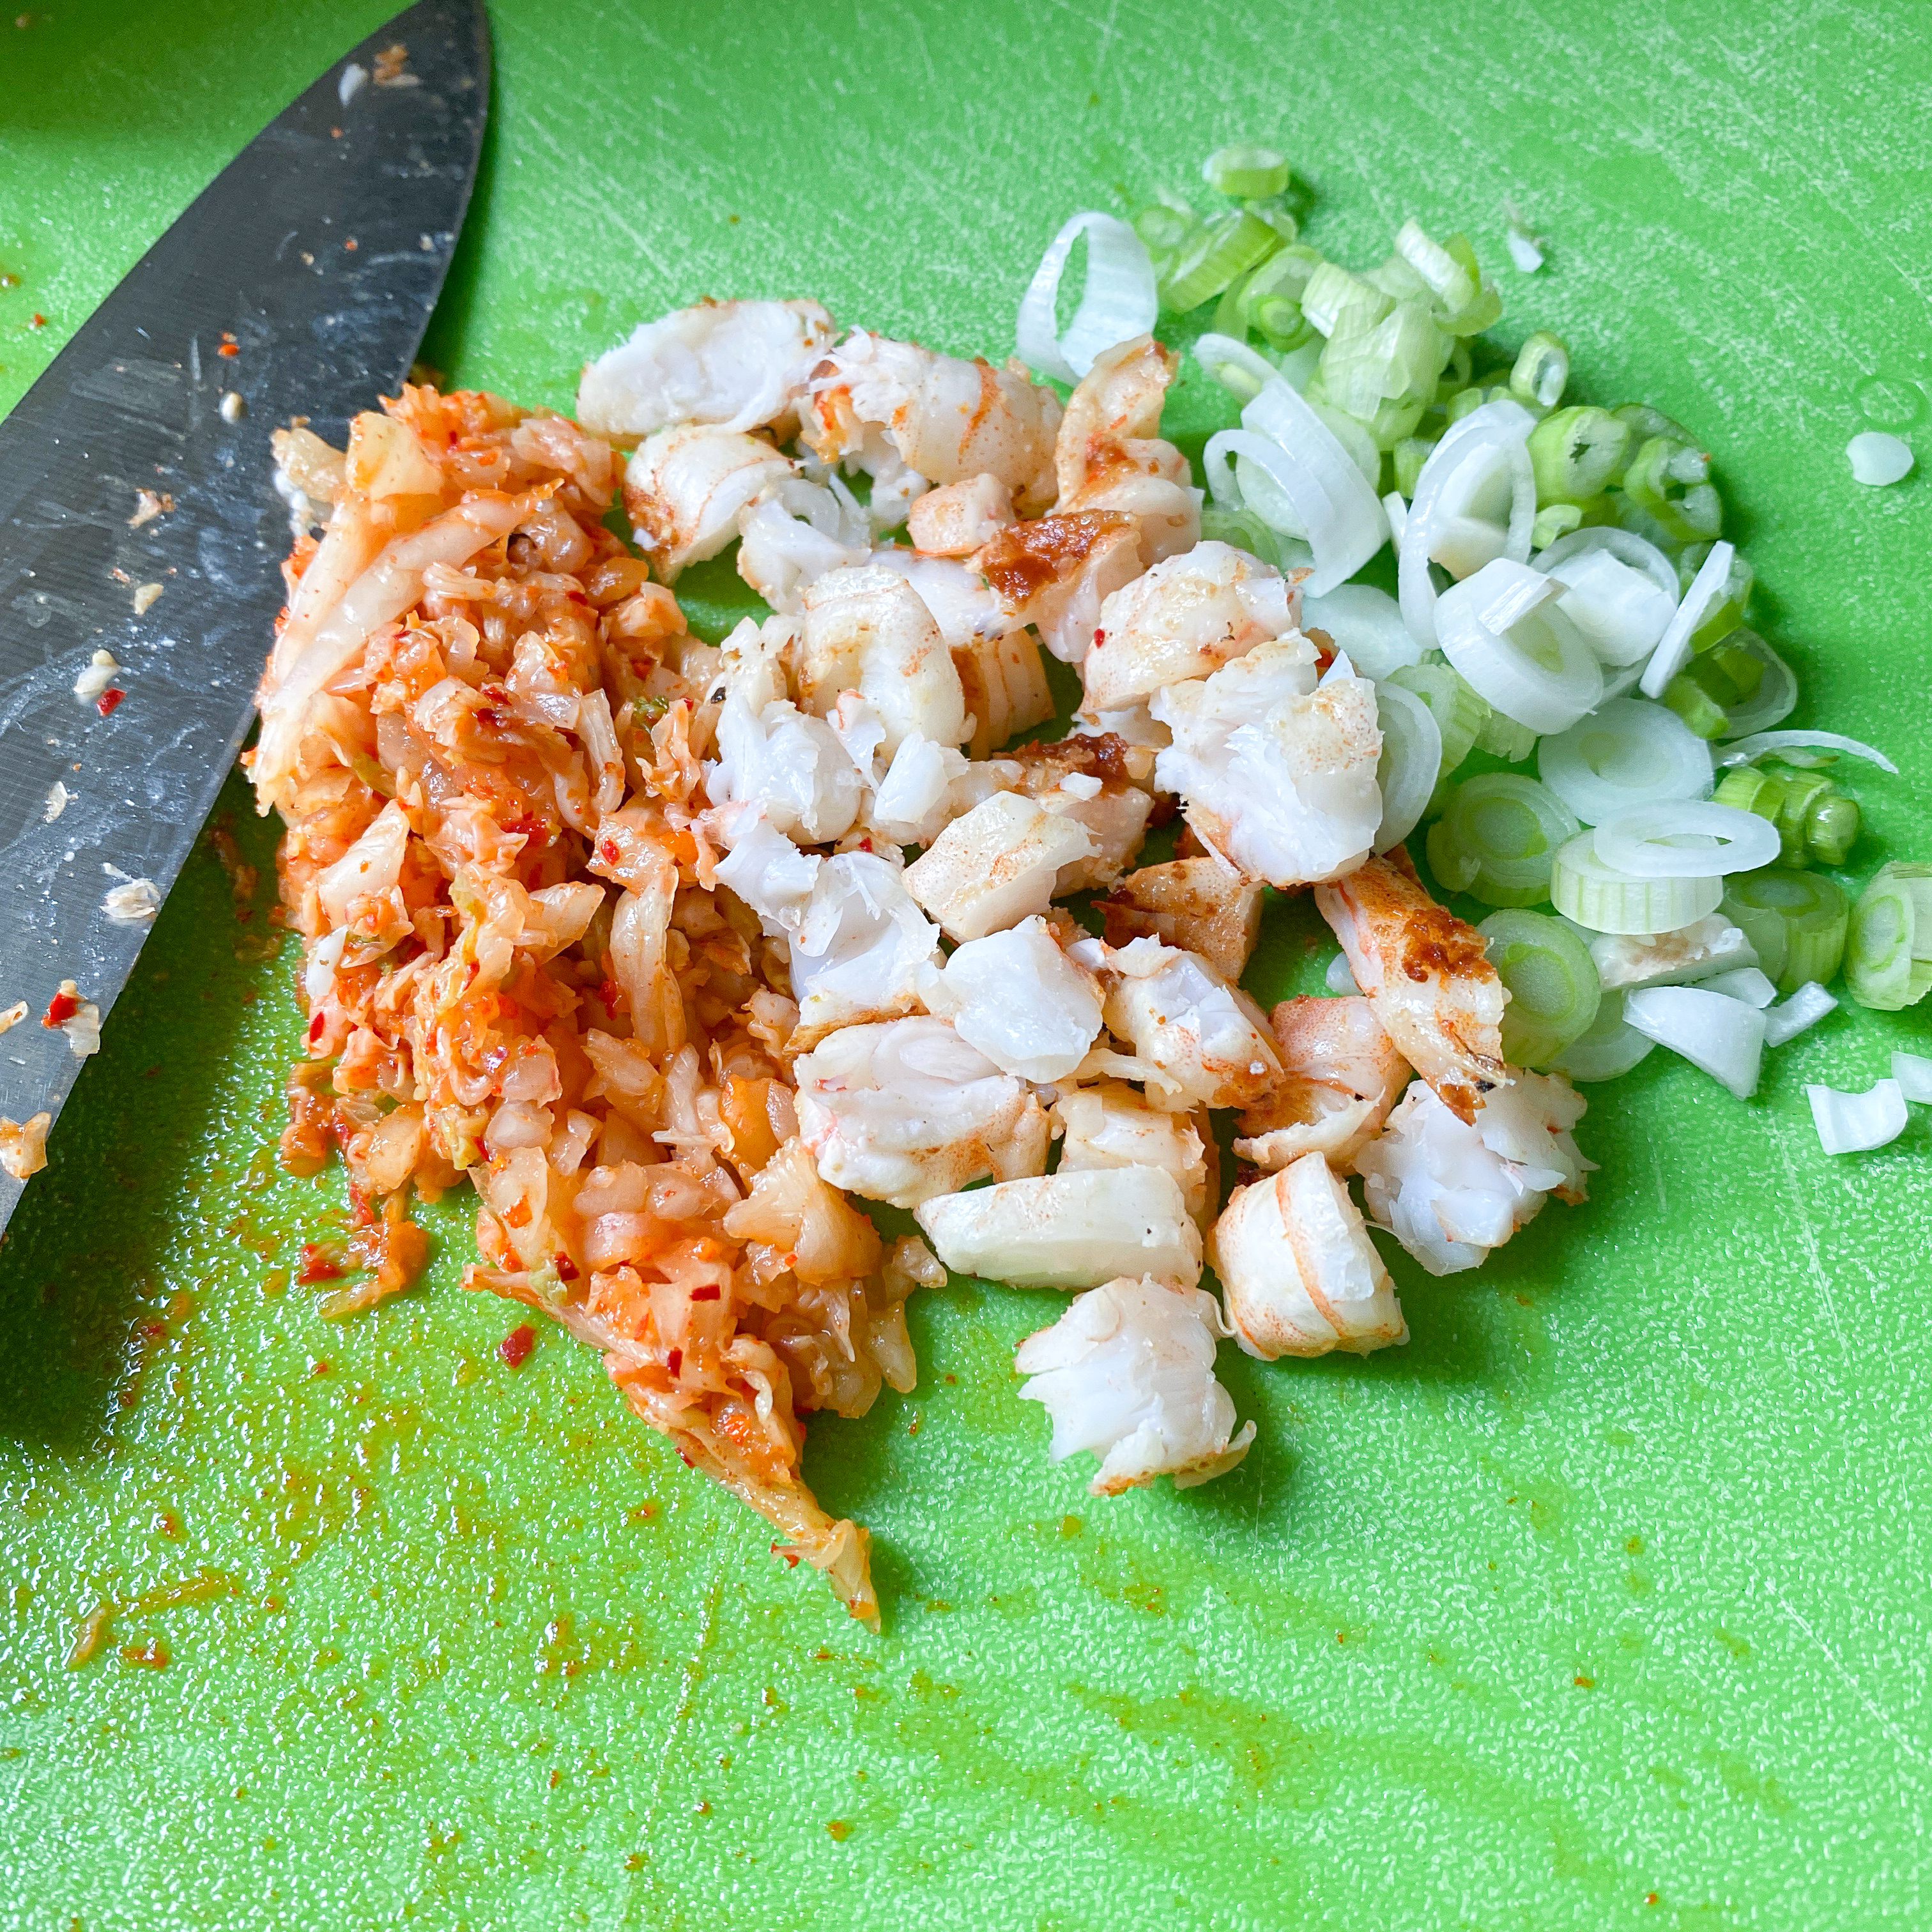
  • 1 oz Kimchi, chopped
  • 1 oz Grilled Shrimp, chopped
  • 1 tsp Scallion, chopped

Equals 1 Fueling, 1/2 Condiment*, 1 oz of Leanest

*I think the kimchi makes a huge difference in the flavor, but if you absolutely don’t like, want, or have kimchi, feel free to leave it out. Just remove the 1/2 condiment.

Instructions:

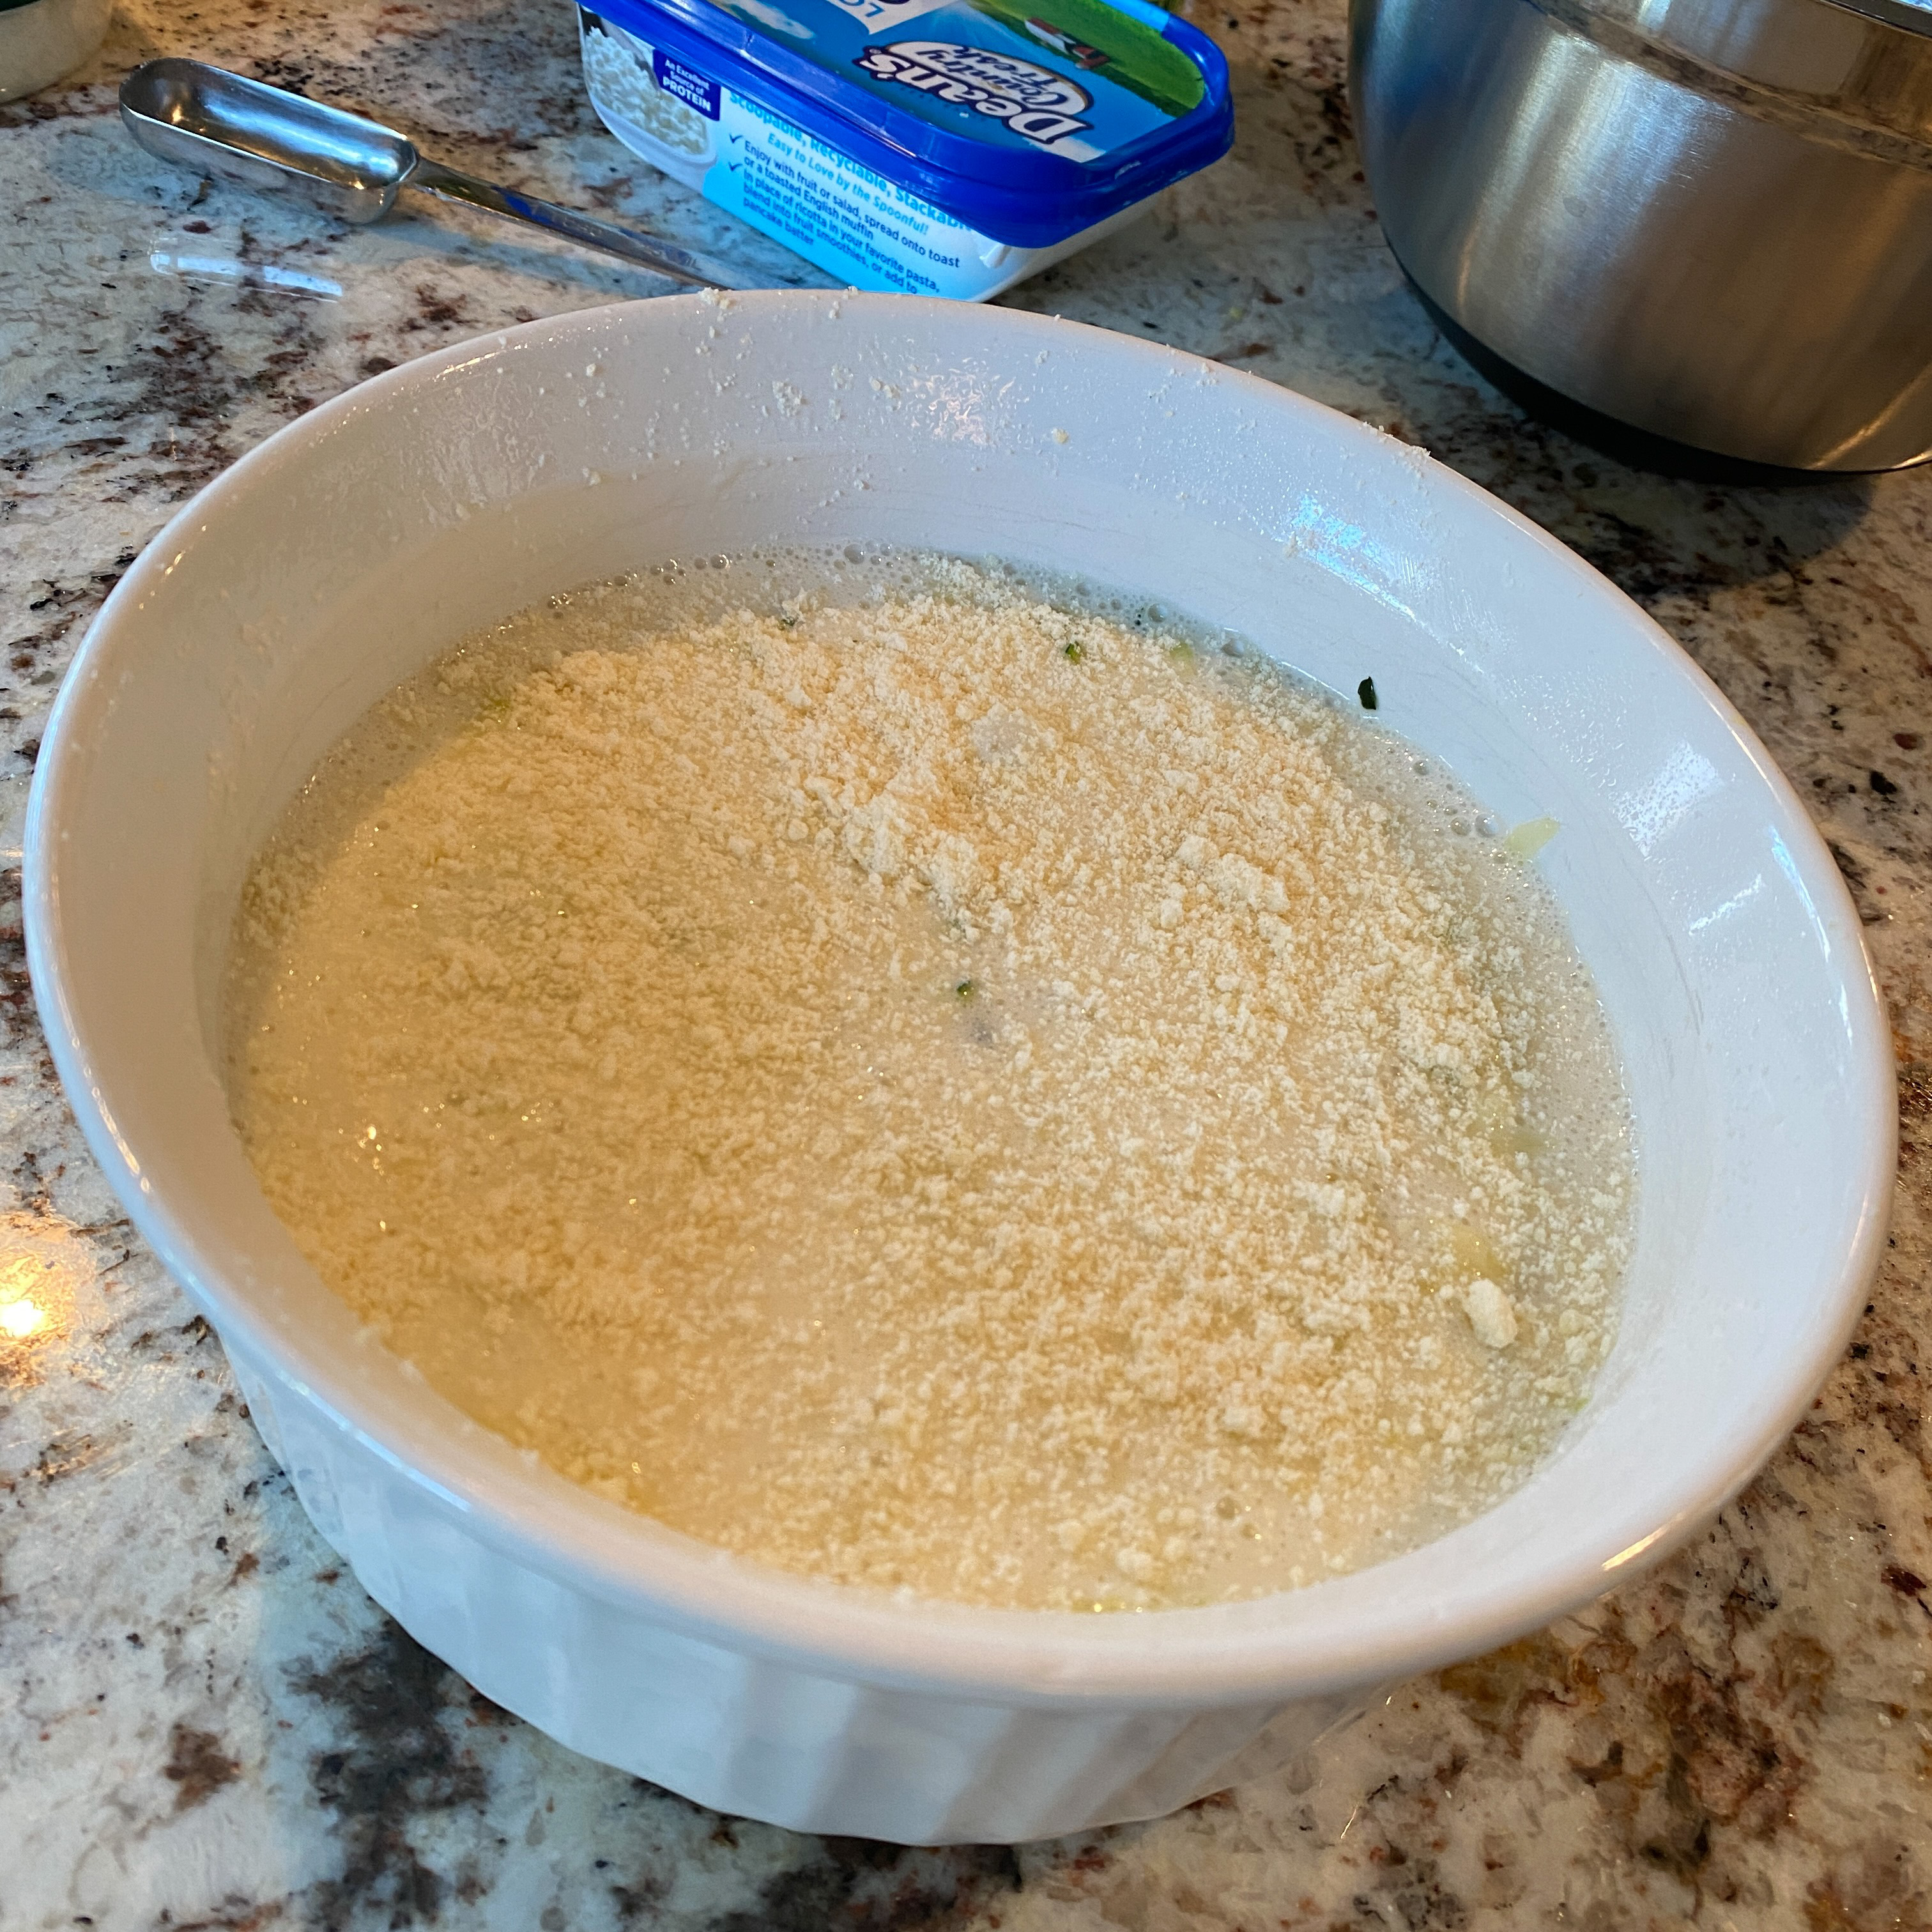
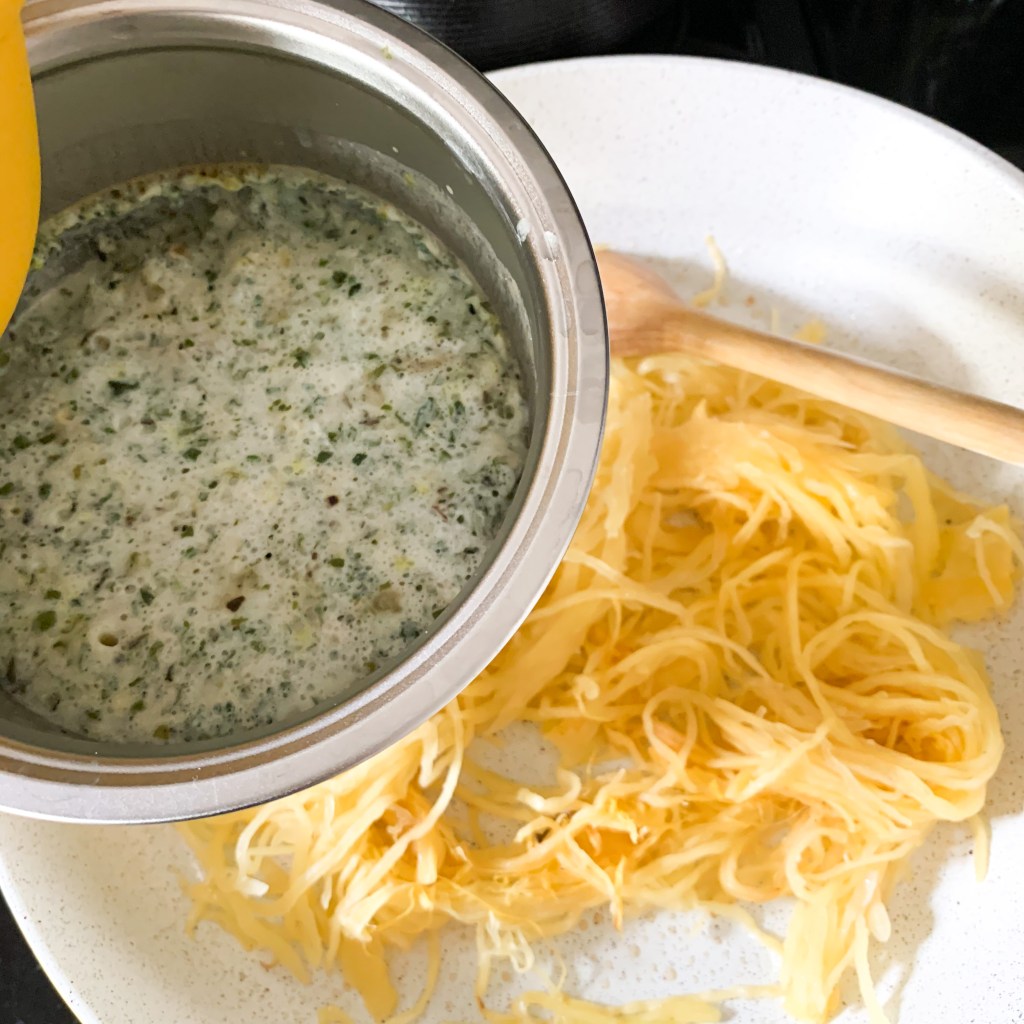
  1. Add 2 oz of water to one smashed potato packet, mix well, and let sit
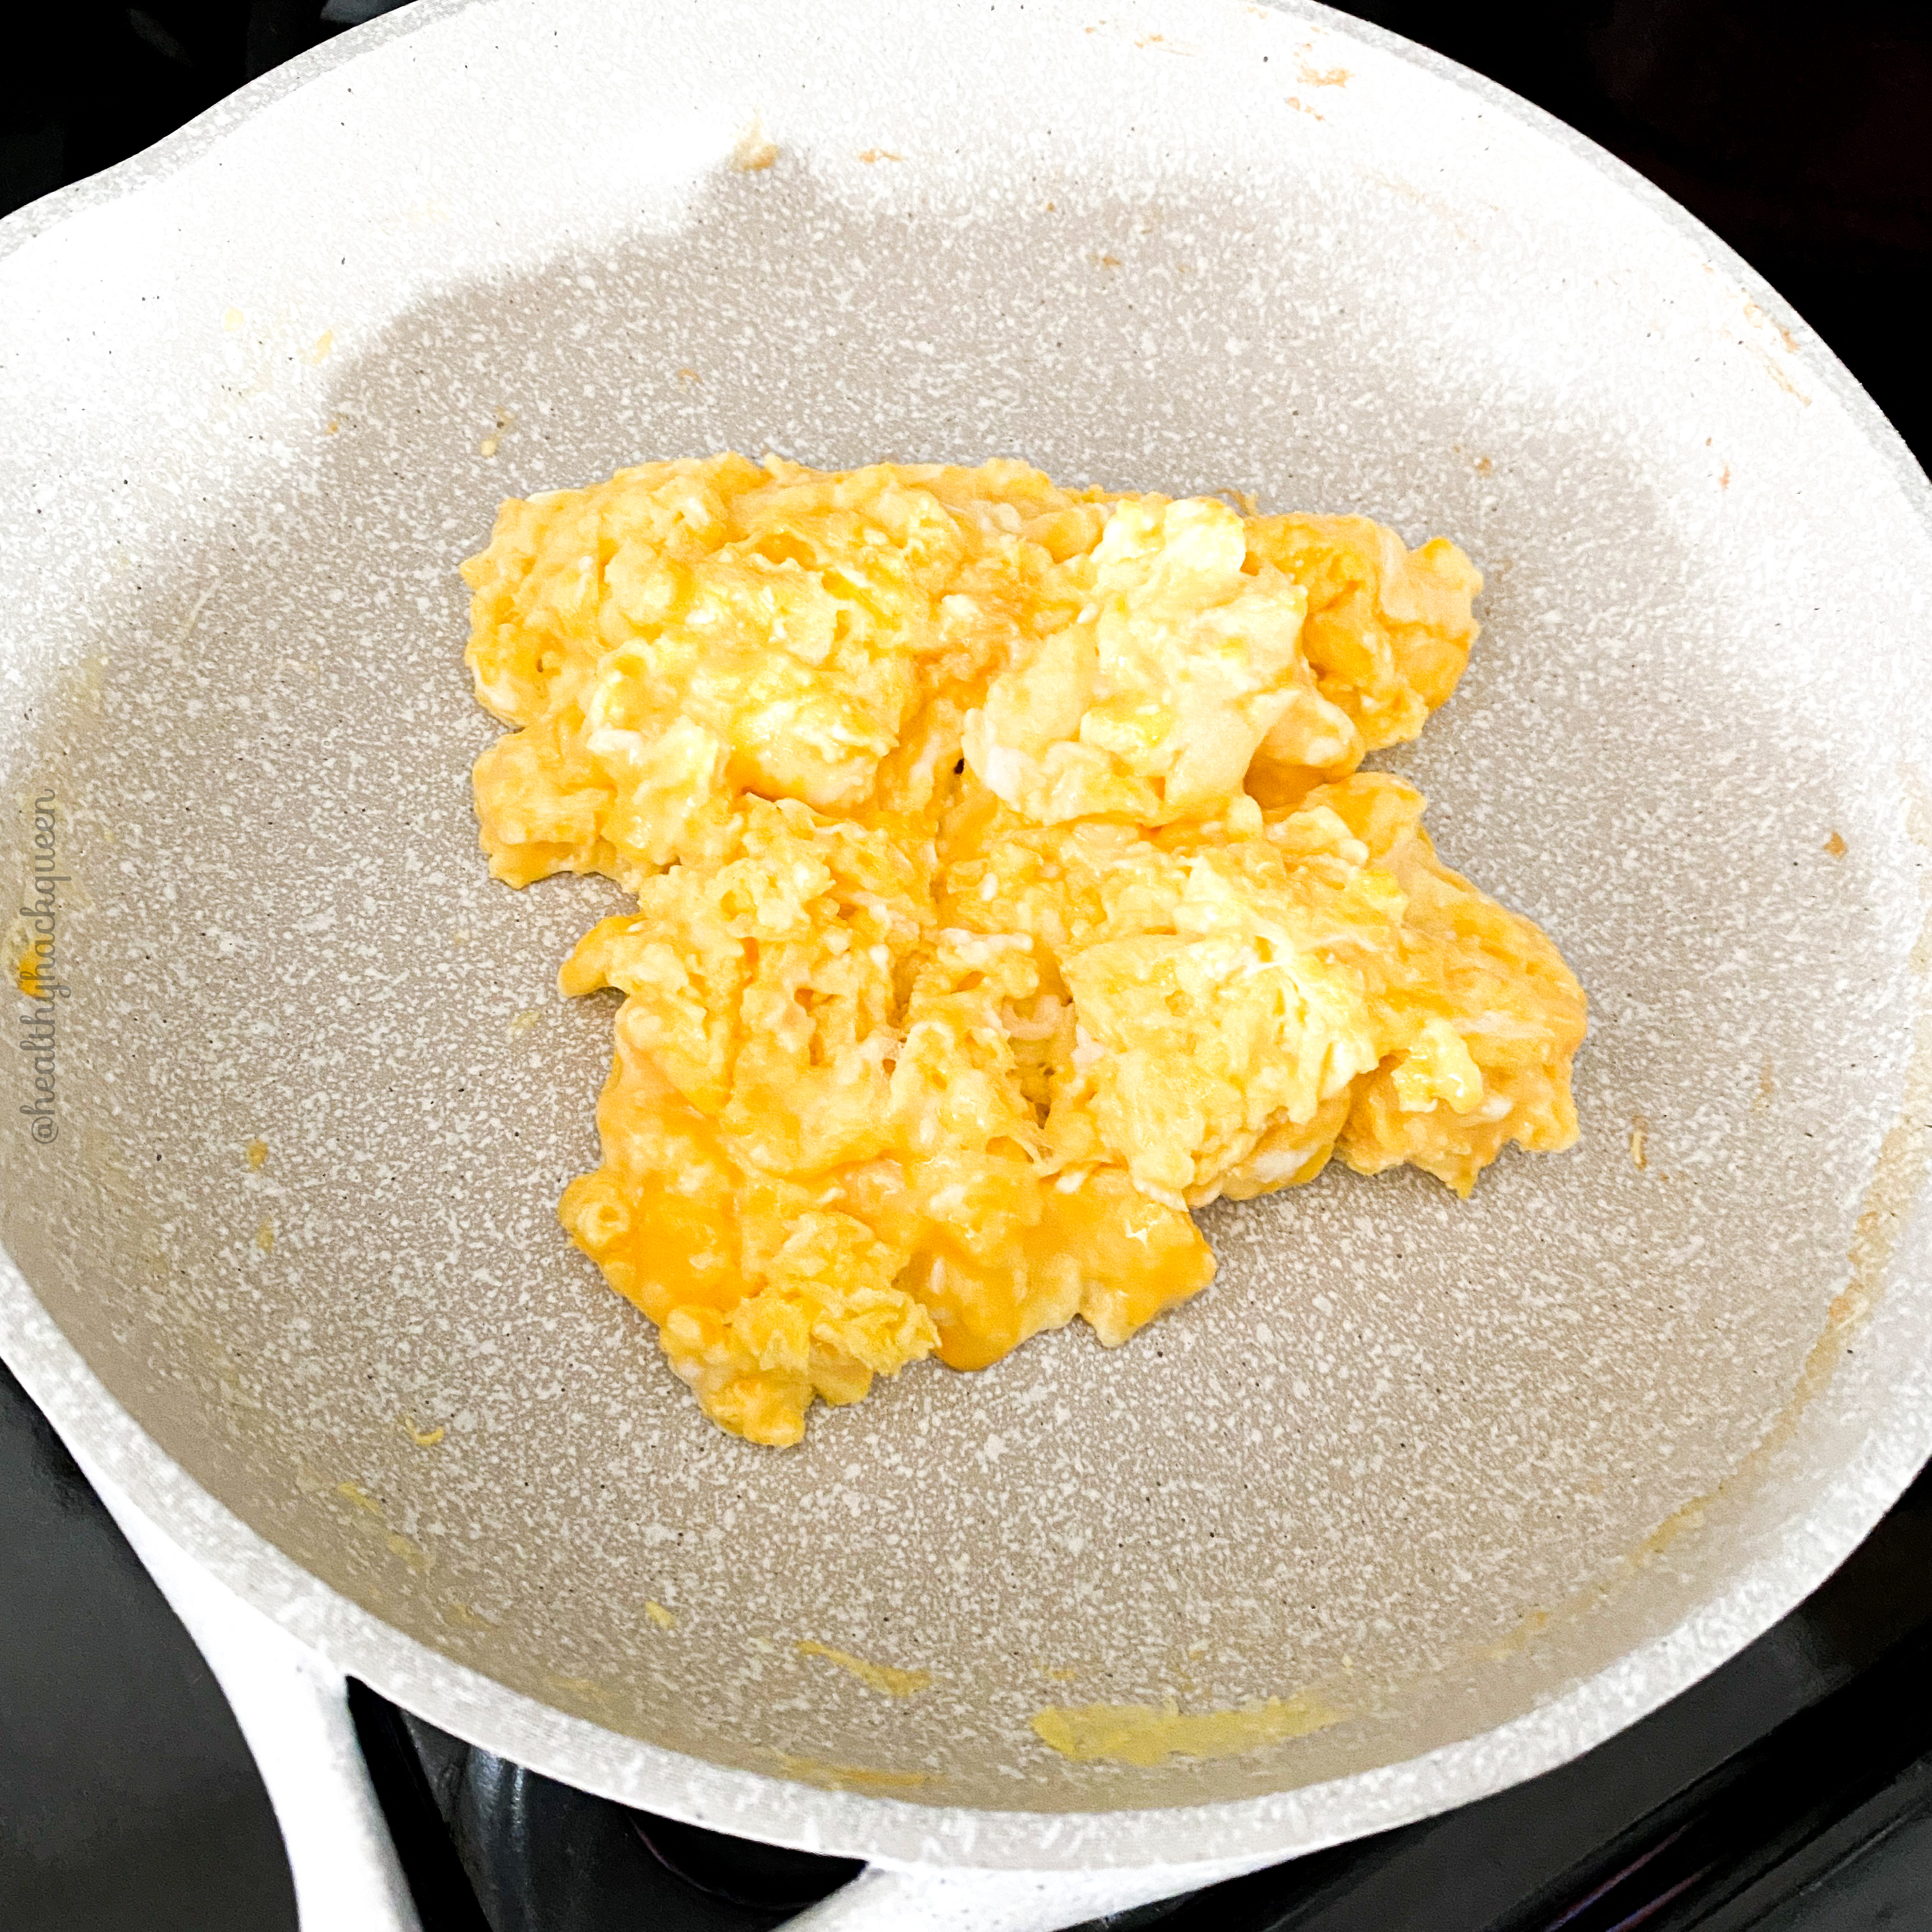
  2. Grill shrimp in a pan, measure out one ounce and chop well
  3. Measure out one ounce of kimchi and chop well
  4. Chop one tsp of green onion
  5. Mix the smashed potatoes with the shrimp, kimchi, and green onion
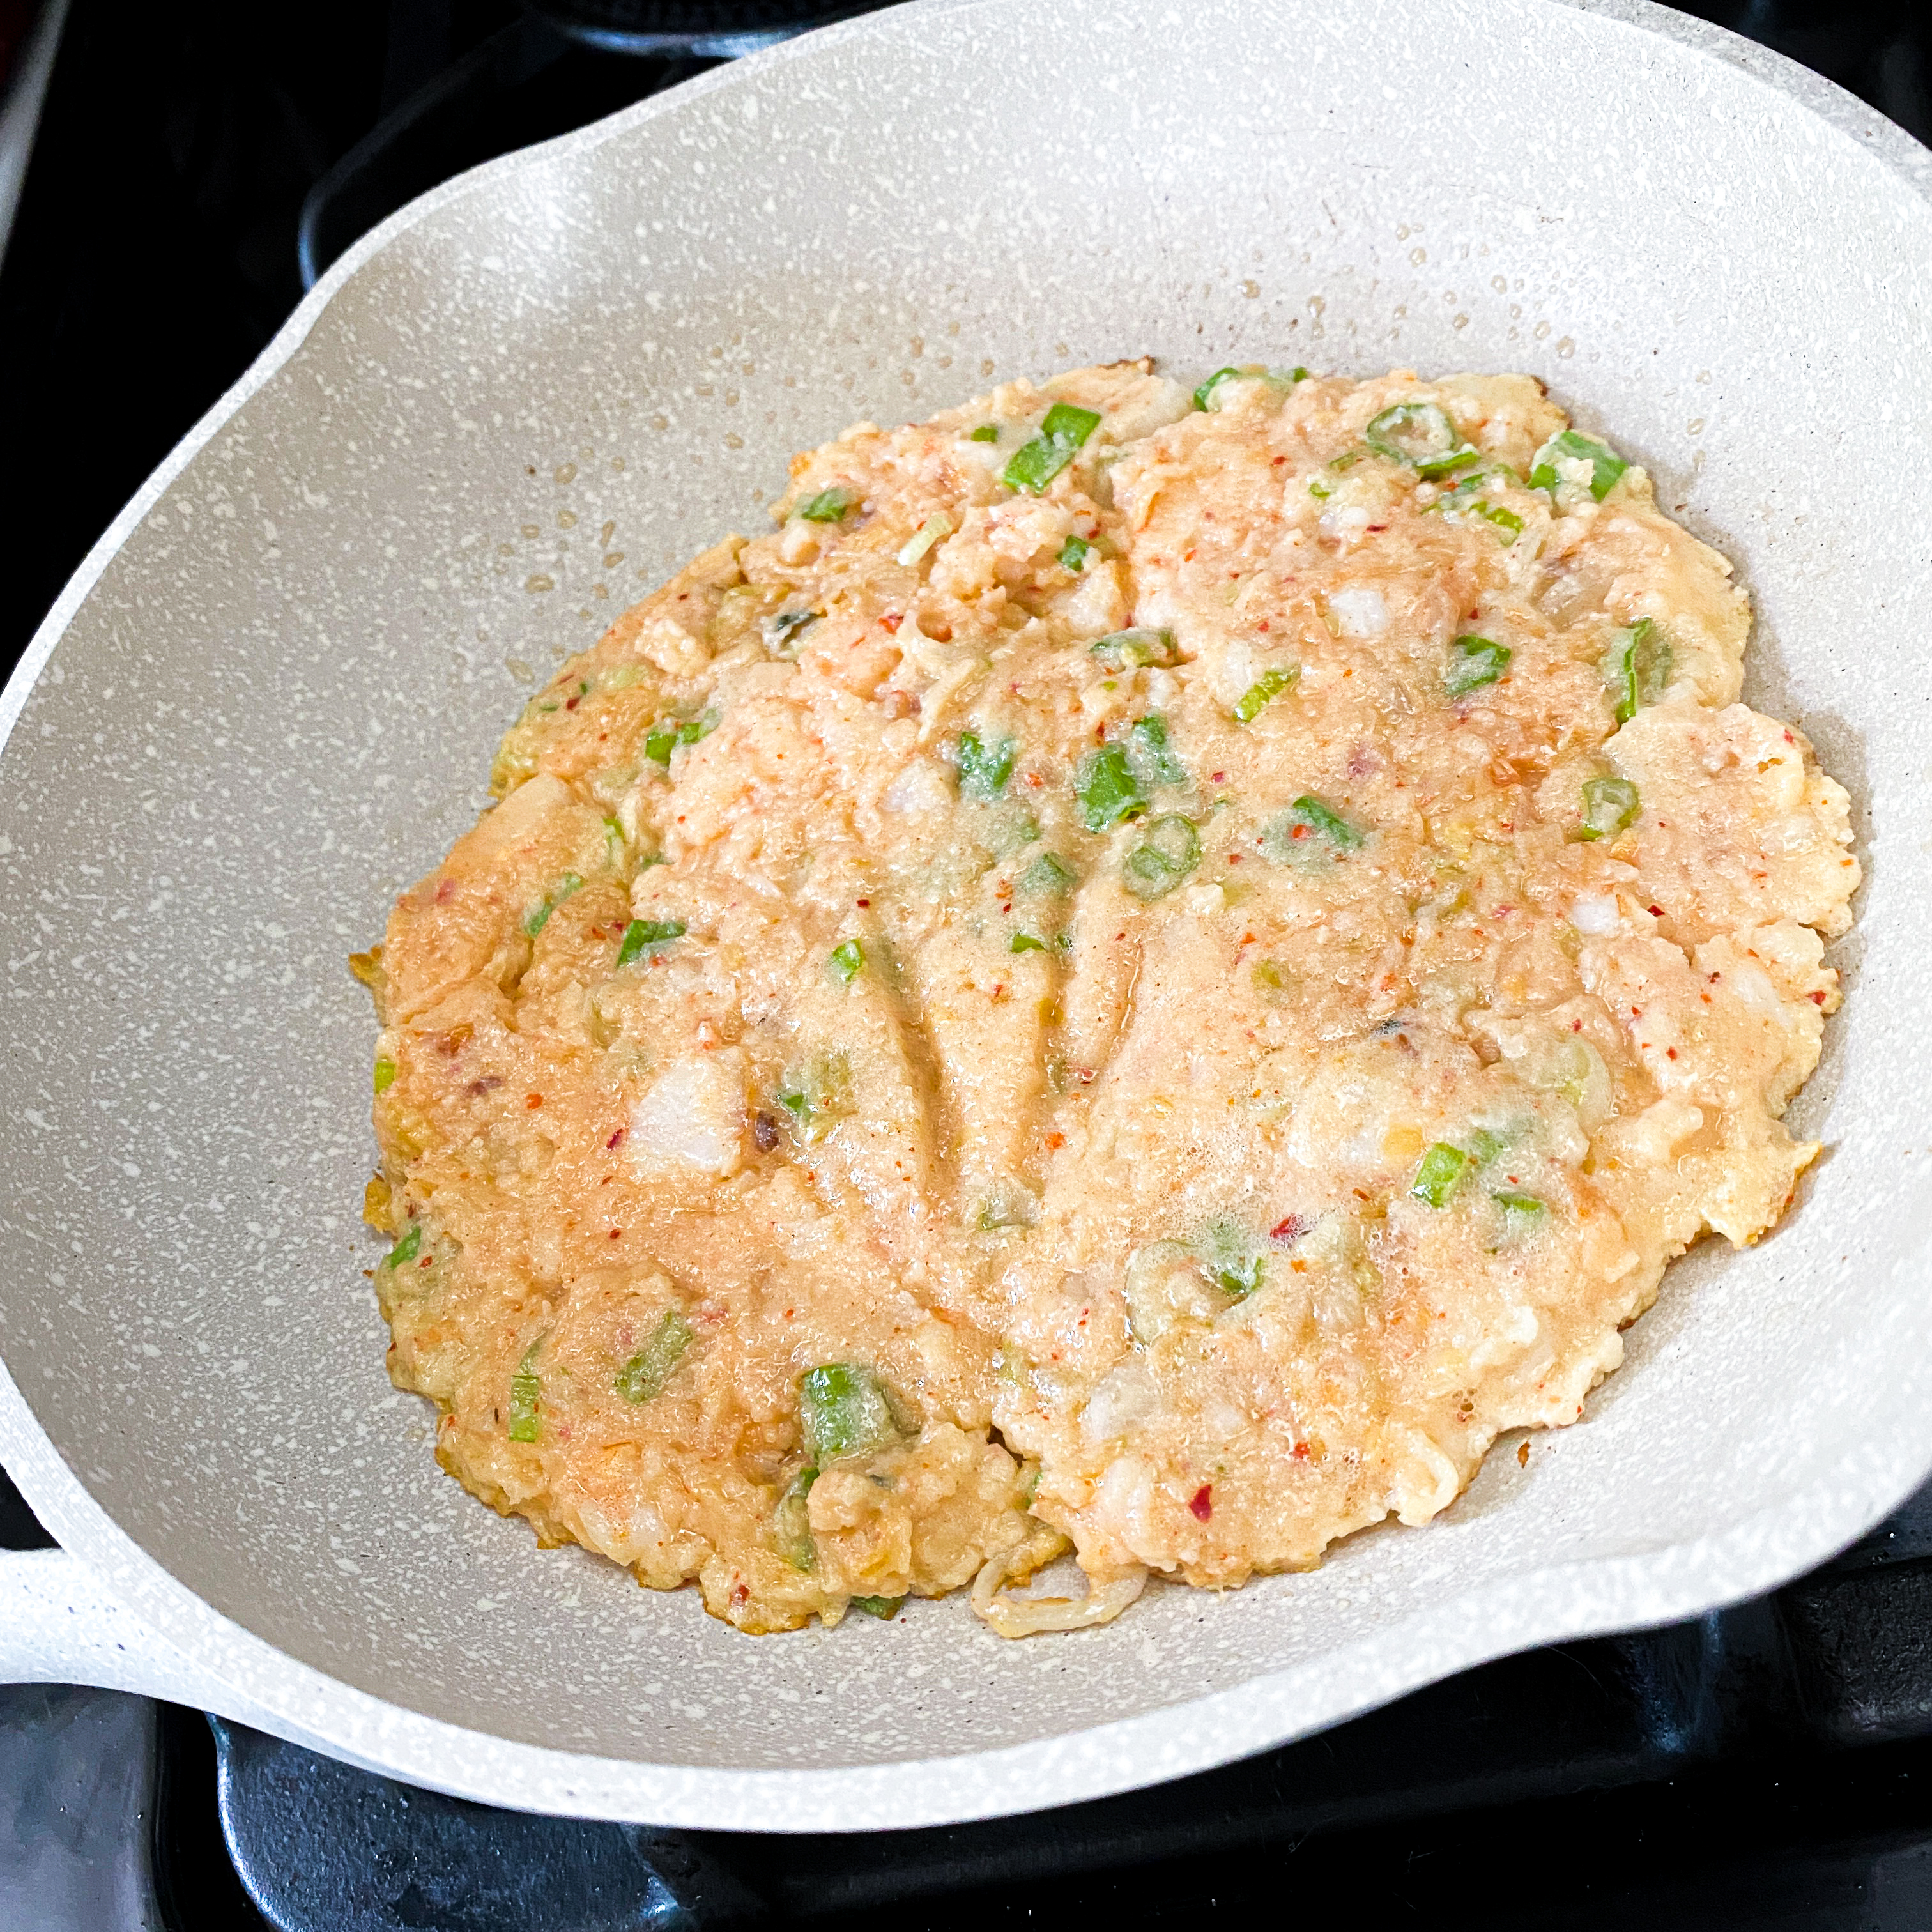
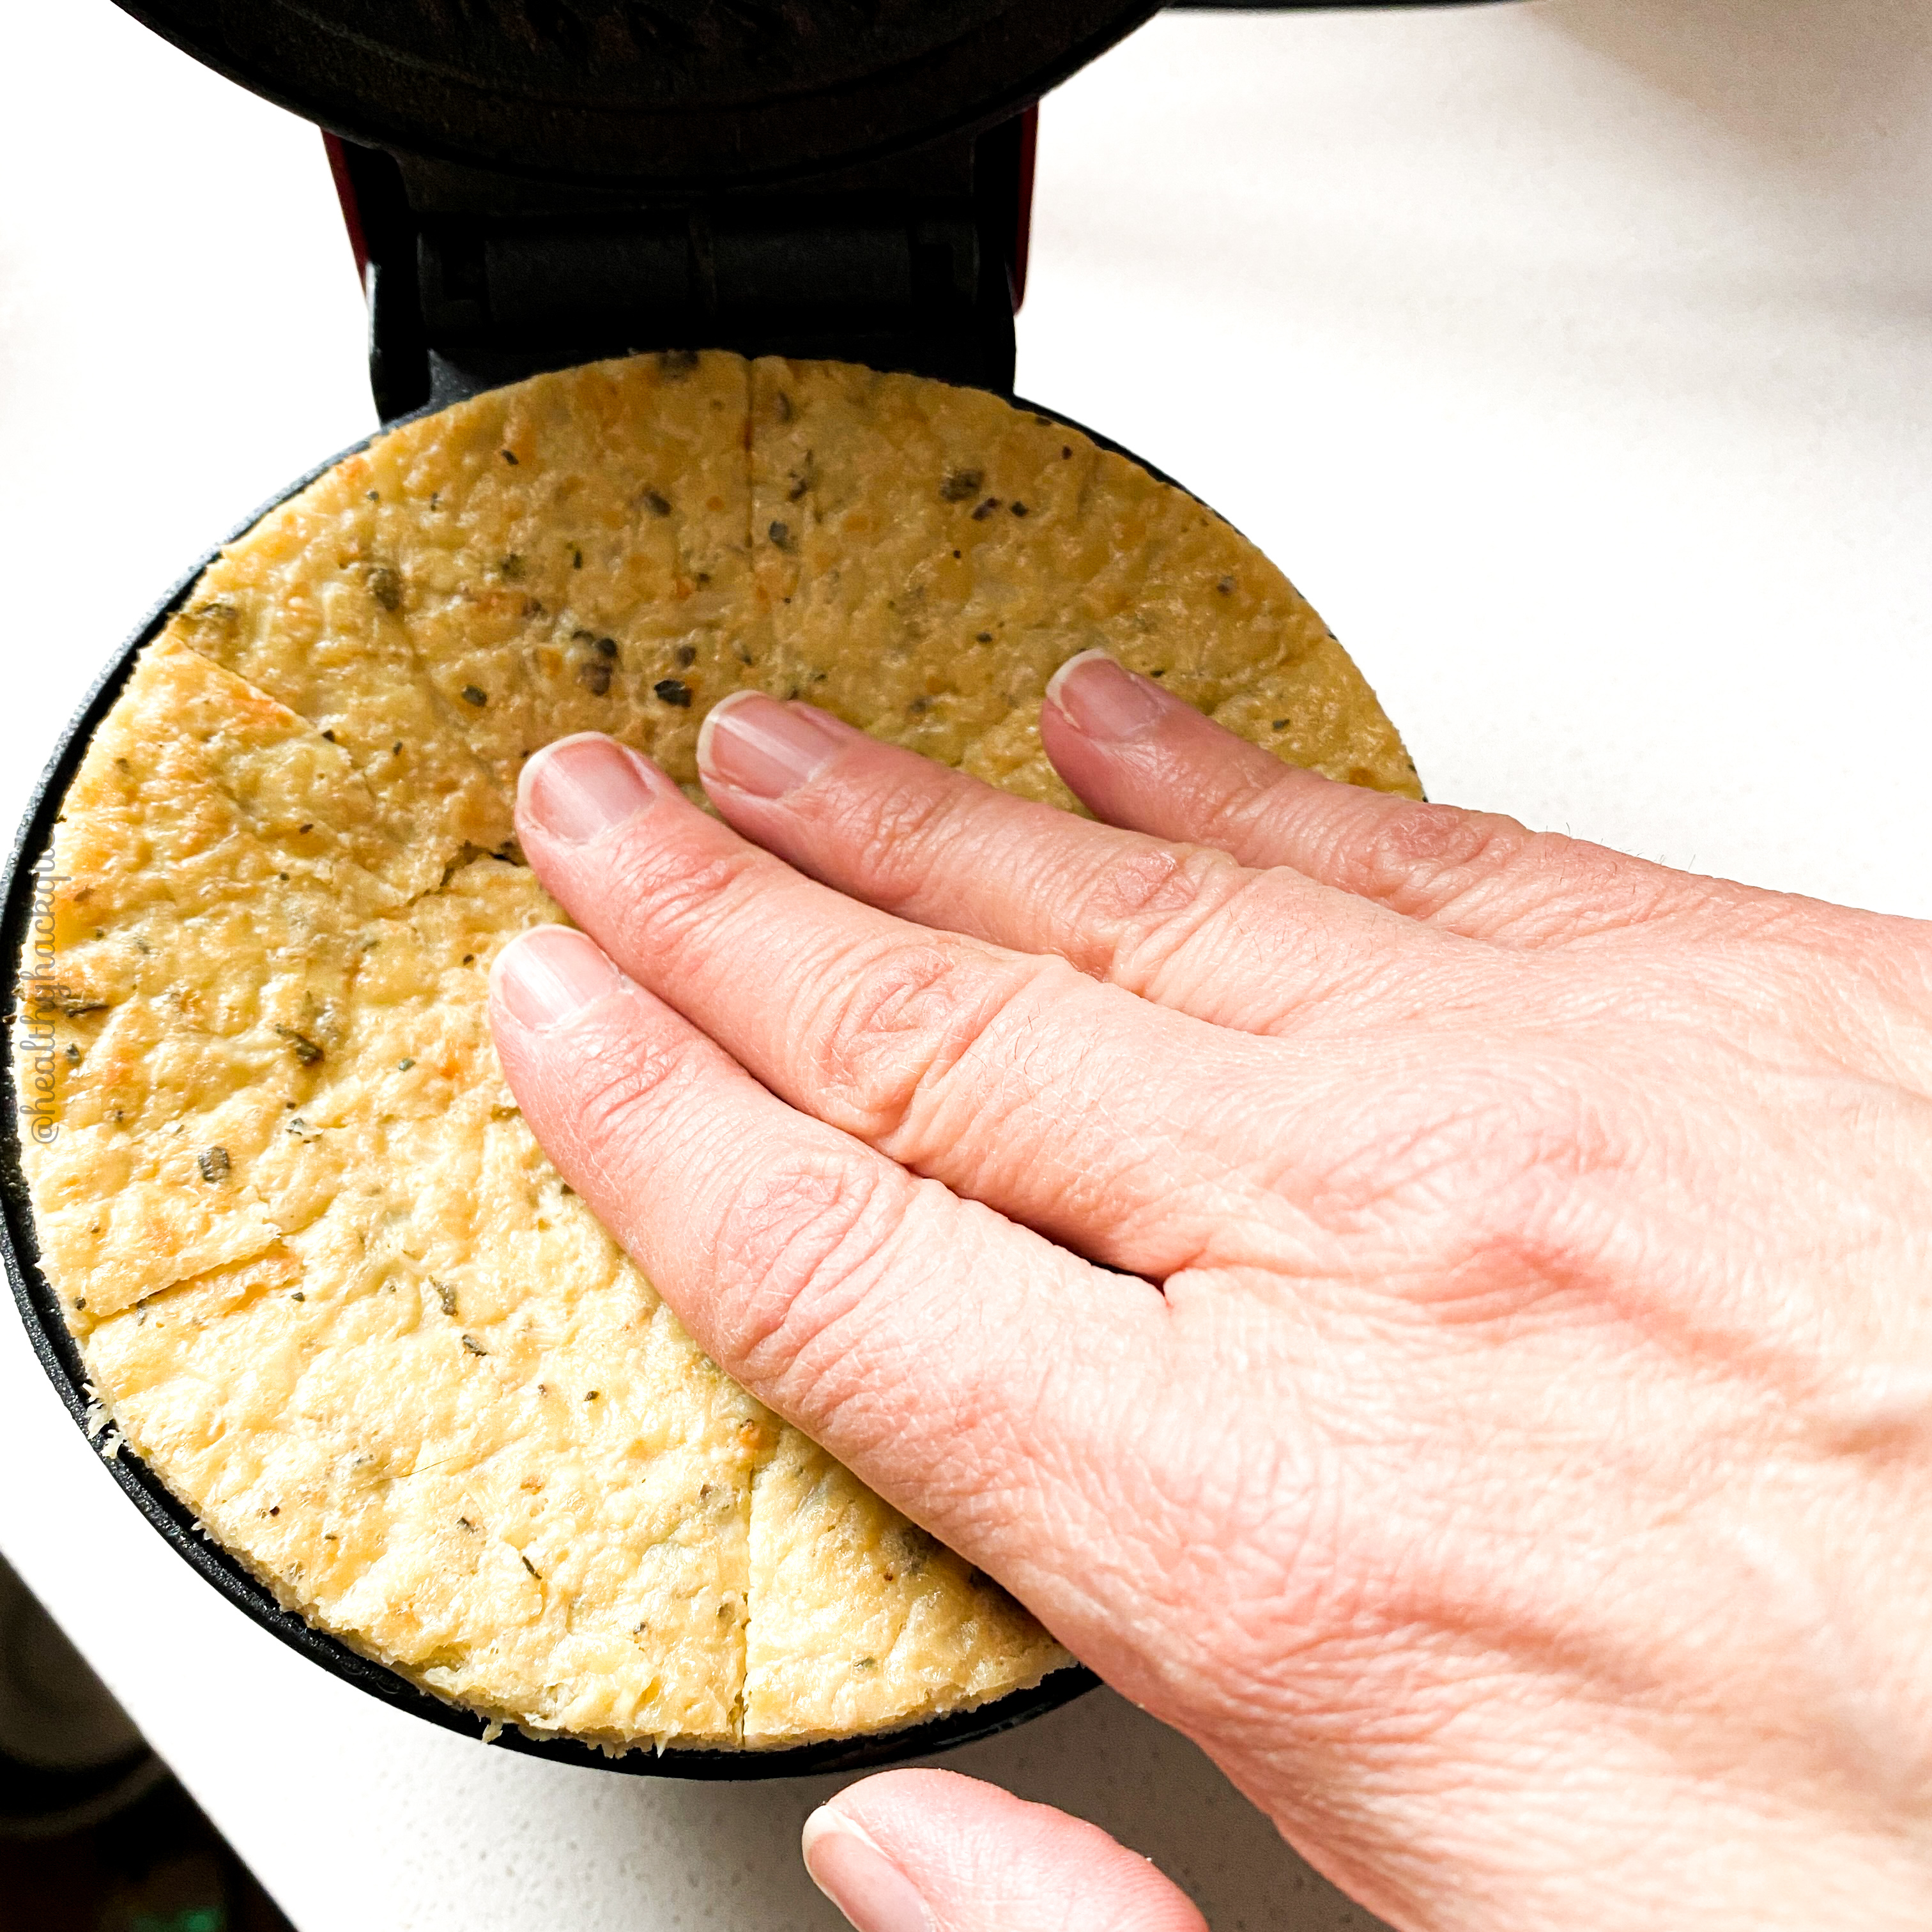
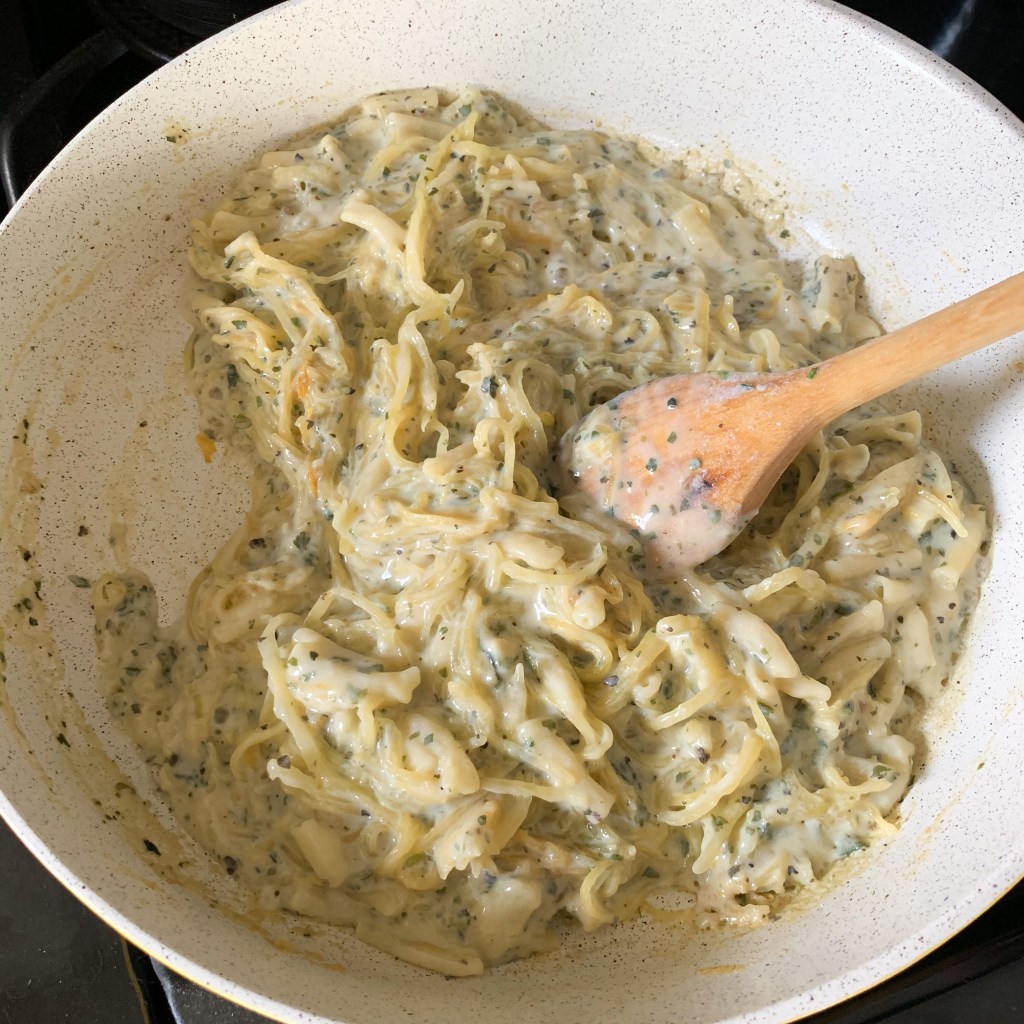
  6. Place mixture in sprayed non-stick pan and let cook on medium heat for 2-3 minutes and then carefully flip and cook on the other side for an additional 2-3 minutes. Pancake should be browned on both sides and cooked through.
  7. You can top with a sprinkling of green onions, but it’s not necessary.

Hope you love this as much as I do and if you’ve never tried kimchi, this is a great recipe to start with. On the flip side, f you love kimchi and have been looking for ways to incorporate it into your 5&1 day, give this a shot.

Enjoy!


5 Tips to Maintaining Your Weight—Even if You’re Not at Goal

These might be controversial opinions, so please know from the start that these are 100% my own thoughts on maintaining one’s weight. For me and my clients, ultimately what matters most is reaching goal and knowing how to stay there—NOT how long it takes. Sometimes, we all need to take a pause when on plan {regardless of what program or diet you follow}, and to me, the most important thing during those times is maintaining. Nobody wants to take a pause and undo weeks or even months of hard work. Not only is it crushing to see all of that work undone, it doesn’t set us up with a winning mindset. Instead, we tend to beat ourselves up, which is a terrible cycle to get trapped in. And, in fact, “In a meta-analysis of 29 long-term weight loss studies, more than half of the lost weight was regained within two years, and by five years more than 80% of lost weight was regained.” So in that spirit, here’s how I maintain during any pause {or once you hit goal} so that you NEVER have to start over.

  1. Be Relentless. How? Set a number range on the scale that you are ABSOLUTELY RELENTLESS about. No exceptions. For instance, let’s say you pause and you’re at 172 lbs. Set your range to 170-175 and be vigilant about staying within that range. Even if you aren’t a daily weigher on plan, way yourself daily and if you get towards the top of the range, go back on plan for a day or two to ensure you stay within range. Being on pause doesn’t mean everyday has to be a foodfest, right? It’s about having a little freedom to enjoy the moments that matter most. And, over time, this will help you find balance and you’ll know what makes your weight go up and what keeps you steady.
  2. It’s NOT All or Nothing. Every bite counts, so don’t waste a single one {literally} on anything that doesn’t provide the ultimate satisfaction. If you want to try something, ok, but stop when you’re satisfied. If that’s one bite, great. Five? Ok. But pay attention and be mindful. Maybe after three bites, you’re just over it. Every bite adds up, so don’t waste it on mindless eating. Choosing to not be on plan is just that—a choice. So be choosy about everything you eat, because when it comes from choice, you’re in control. And when the holidays end {or vacation, or a rough patch at work or in life, or whatever reason you’re on pause ends} and you get back on plan, you’ll do so coming from a place of power, not of feeling defeated. And won’t it be awesome to get back on plan and have maintained? That way, the only thing that’s changed is your timeline. No beating yourself up. No needing to lose pounds you’ve already worked so hard to lose. And if you’re just reading this and you’ve already gained a little, START BEING CHOOSY NOW. The sooner you make that u-turn, the sooner you’ll reach your destination—just like when you’re driving and get lost.
  3. Start each day on the right foot. Unless you’re planning a special meal in the morning, whether it’s the holidays or you’re on vacation, start every day on plan. You’d be amazed at how it positively impacts your mindset for the day {every win adds up} AND how it sets you up when it’s time to get back on plan. Habits are everything when it comes to long-term success. On Optavia, whether I’m on pause or not, I start each day with two shakes: one at 8:30am and one at 10:30am. In fact, if I don’t start my day off with a shake, I just feel off. And even when I have breakfast plans, I still start the day with one shake. It helps me mentally feel in control and on plan, even if the rest of my day isn’t going to be.
  4. Don’t do it alone. Whether it’s your coach, in the case of Optavia, or a friend or partner, share what you’re doing with someone else. Let them know that this is a planned pause {you are 100% in control of this and it’s a choice you’re making} and let them know when the pause is ending. Be clear. Be intentional. And, if it’s someone you’re comfortable doing so with, send them your weigh-in number or weight change {up or down} each day. So using my example above, if your pause range is 170-175, but you don’t want to share the number, tell them, “My range is zero to five pounds. Today I’m at 3.5 lbs.,” and the next day you could say, “I’m at 3.2 lbs.” As long as they know that you can’t go above five and if you get close, you’re fully aware of it and taking the steps to turn it around, the added accountability is so powerful.
  5. Keep Track. This one is probably the most difficult, but whether you write it all down in a notes app or track it in an actual diet app, itemized like LoseIt or with photos like dietSNAPS, acknowledge what you’re eating. I prefer photos because it’s PROACTIVE {meaning you have to take a pic and really consider what you’re eating before you eat it} rather than REACTIVE {after the fact.} I also think pictures are wayyyyyy easier {Who wants to write down every bite? 1/4 cup of tomatoes, 1T of creamer, three olives, etc. Not me, but do what works for you.}. Here’s an app I created with my sister over ten years ago that uses photos to track your daily food log. Alternatively, you could just use your phone’s camera and take photos as you go about your day. Whatever you choose to do, document what you’re eating in some way. I promise —it makes a huge difference.

Ultimately, a pause is not the end game and a pause is not a reason to go crazy. It’s a choice. Make everything about it intentional and set yourself up to win. And when it’s over, it’s over. Follow these tips and the only thing that will have changed in the end is your timeline.

You’ve got this!


Low Carb Egg and Cheese Quiche with Crust

I am a HUGE fan of Outer Aisle and their cauliflower crusts {use code HACKQUEEN for a 10% discount!} I recently connected with them on Instagram and they sent me some crusts to work on some hacks. I love making pizzas and tacos with their crusts, but I recently purchased Dash’s pie maker and I wondered how the crusts would hold up in there. The answer? Life changing. I literally felt like I was eating something with a super carb-y, flaky crust. No joke. I was floored. I’m still perfecting my chicken pot pie recipe and I’m sooooo close, but first up: egg and cheese quiche with crust. You could even call it a pie, since the crust is on the top and bottom. It’s flaky and delicious and the filling options are endless. Plus, it’s super easy to do. The hardest thing is literally coming up with fillings to complete your Lean & Green, since one large crust equals 1/3 Lean and 1 Green. With this egg and cheese pie, you’ll still need two greens, but it’s awesome with a side salad.

One note: I used the Italian crusts this time, but I’ve tried them all and every flavor is delicious.

Hope you love these as much as I do!

1 Pie Equals 1 Complete Lean and 1 Green

Ingredients:

  • One Outer Aisle Italian Crust {1/3 Lean & 1 Green}
  • One Egg + Two Tbsp Egg White {1/3 Lean + 1/12 Lean}
  • 1/4 cup Reduced Fat Shredded Cheese {1/4 lean}

The math is a little funky, but if you’re interested: basically the crust, the whole egg, and the cheese equals 11/12 of a Lean and the added two tablespoons of egg white are as close as possible to 1/12 of a Lean

Instructions:

  1. Plug in Dash Pie Maker
  2. Scramble egg, egg whites, and cheese in a pan
  3. Place one Outer Aisle crust on a flat surface and use the Dash pie cutter to cut out the center using the “Pie Base” ring
  4. Carefully avoiding the heated elements on the pie maker, gently press the crust into the bottom of the machine. If you need to soften it a bit, you can microwave it for ten seconds.
  5. Fill the pie with your cooked egg mixture
  6. Cut the remaining outer ring into four equal pieces, then cut two of those in half
  7. Place the two longest pieces on top facing each other, then place two small pieces where those join, and then cover the center with the remaining two pieces.
  8. Keeping the pieces in place, close the machine and press down with a towel. The machine releases quite a bit of steam, so be careful.
  9. It should only take a minute or so until the crust is browned. Lift up to see if it’s to your liking. You can cook longer if it hasn’t browned enough. Everything is already cooked, so it’s up to you how brown you like your pie crust.
  10. To remove, let the machine cool a bit, then flip over and pop the pie out onto a plate. Use another plate on top to flip it over.
  11. Enjoy!

PS. The sandwich thins from Outer Aisle also fit, but the portion size is three crusts for 1/2 Lean and 1 Green. You could always use two of those and then alter your fillings to complete the Lean and Green, and use the third for something else in the same day. I like using the larger crust and having 2/3 Lean to play with for my fillings instead.

PS. You’ll see I have a few different baking dishes in the pics. I’ve made it a few times and ultimately, I like the square or rectangular dishes the best. The round one wasn’t big enough, but I had the best lighting that day, lol.


Zucchini Bake Lean and Green

I’m always on the lookout for easy-to-make, one-batch lean and greens that don’t require a trip to the store. I’m a huge fan of zucchini and I always have a few in my fridge. When I chanced upon this recipe from Joy Filled Eats’ instagram feed, I thought it would be perfect for Optavia 5&1. With a few mods, it absolutely is!

Ingredients:

  • 170g shredded zucchini {3 greens}
  • 7 {14T} egg whites {1/2 Leanest}
  • 3/4 cup 1% cottage cheese {1/2 Leanest}
  • 2 wedges original Laughing Cow {2 Healthy Fats}
  • ¼ cup unsweetened almond milk {1/4 condiment}
  • ½ tsp salt {2 condiments}
  • 1T reduced fat Parmesan {1/2 condiment}

Instructions:

  1. Preheat oven to 350 degrees.
  2. Shred zucchini {peeled or unpeeled is entirely up to you} and place in paper towels to squeeze out as much of the water as possible. Removing the water is a critical step—don’t skip it!
  3. Spray a 9″ x 9″ baking dish and then sprinkle 1/2T parmesan on the bottom. This helps to keep the bottom dry.
  4. Place the shredded zucchini in an even layer in the dish
  5. Blend your egg whites, cottage cheese, Laughing Cow wedges, salt, and almond milk in a blender until smooth. Then pour over the top of the zucchini.
  6. Top with another 1/2T of parmesan
  7. Bake until golden brown and cooked through, around 35-45 minutes.

Entire batch equals one complete Lean & Green.

A few tips:

  1. This is a really large portion, so I often make it in the AM and then eat it in two servings throughout the day. So I end up eating 7 times on those days.
  2. If you’d like to use this as a side dish, you can eat 1/2 of the dish and then supplement with 1/2 of a Leanest and 1.5 Greens.
  3. I saw a question on Joy Filled Eats’ Insta asking if you can use ricotta instead of cottage cheese. You definitely can, but as much as I LOVE ricotta, I really think this dish is better with the cottage cheese.
  4. If/when you store it in the fridge, I recommend placing a paper towel on top and then covering with foil. That way, any moisture is captured in the paper towel instead of collecting in the dish.
  5. This would make an AWESOME Thanksgiving side dish. It’s super light and goes with just about anything.

PS. You’ll see I have a few different baking dishes in the pics. I’ve made it a few times and ultimately, I like the square or rectangular dishes the best. The round one wasn’t big enough, but I had the best lighting that day, lol.


How to Enjoy Coffee on Optavia

It’s been quite a long time since I talked about coffee and it’s probably one of the most frequent questions I get. How do you enjoy your favorite coffee and still stay on plan?

To begin, I think it’s important to know how I take my coffee, so you can tell if it’s up your alley. I like my coffee creamy. I like Starbucks. I like fancy coffees. I like flavored coffees. 

What I‘ve found that it comes down to for me is three things: good coffee, good creamer, and good tools. I have, at most, one cup a day, so I like making it count.

First, I grind my beans every 2-3 days {my fave these days is BLK & Bold’s Rise & Grind blend} and store them in an airtight Ball jar. I could grind them daily, but I don’t find the time-to-taste ratio is really worth it. Second, I always steam {hot or cold—my frother does both} my creamer and the blend, to me, is what really makes it great. I combine:

  • 4 oz Unsweetened Almond Milk {1/2 Condiment}
  • 3T Nutpods Creamer {1 Condiment}
  • 3T Half and Half {1 Healthy Fat}

The almond milk gives me the volume I need for only 1/2 a condiment, the Nutpods {Winter Collection, Regular Variety Pack, or Cafe Collection} gives me the fun flavors, and the half and half gives me the creaminess I need. I use the entire portion of the creamy blend for one cup. If that’s too much for you, feel free to cut them in half of spread them across two cups of coffee. Like I said, I like my creamy. 🙂

For the coffee, I’m obsessed with my Aeropress. It makes one cup at a time and it’s amazing! I’ve owned a Keurig, a Nespresso machine, a pour over, and even Starbucks’ Verrismo machine. My favorite? The $30 Aeropress. You simply place the Aeropress over your mug of choice, add two spoonfuls {Aeropress includes a measuring spoon}, and fill the chamber to the top with boiling water. Then press and voila! Coffee’s brewed. Add your creamy concoction and you’re ready to go.

So if you love your fancy flavored coffees like I do and you want to stay on plan, give it a shot. 

One note: because it requires one healthy fat, make sure your L&G planned for the day is a Leanest or Leaner OR you can just leave the half and half out, but it’ll be a little less creamy. 

Have any coffee tips of your own? I’d love to know your secrets. 

Enjoy!


Cheese Taco Shells

I don’t know about you, but tacos are one of my absolute favorite foods on the planet. I love the versatility, the flavors, and I even love the way you eat them with your hands. So many of the meals we eat are with utensils. Frankly, tacos are just fun—and why shouldn’t food be fun?

The problem with tacos on 5&1 is the “shell,” so like I often do, I look to keto chefs for inspiration. The answer: taco shells made from cheese! Now, in keto, they use full fat cheese. To make them 5&1 compliant, we’re going to go with reduced fat cheese. Different fat level, same yumminess level.

Taco Shell Ingredients:

  • 3/4 C or 84g Reduced Fat Shredded Cheddar or 4-Cheese Mexican Cheese {3/4 Lean}
  • 1.5 oz Ground Beef, Chicken, or Meat Substitute from the Leaner category {1/4 Lean}

Entire batch equals One Lean. What you add inside will count towards your Greens and Condiments.

For mine, I added tomatoes and shredded iceberg lettuce and topped with nonfat Greek yogurt {you could use non-fat sour cream as well…I just had Greek yogurt, so went with that.} These shells are small though, so you’ll likely end up with a side salad to complete your Greens. Or, you can add Greens somewhere else throughout your day: grilled mushrooms on your smashed potatoes, roasted peppers on top of your rosemary cheddar biscuit, etc.

If you don’t want ANY meat at all, you can double the amount of cheese and fill them with veggies only. It’s entirely up to you. Get creative! This is the perfect opportunity to play around with your favorite taco combination!

Instructions:

  1. Preheat oven to 375.
  2. Measure out your shredded cheese and cook up your choice of ground meat.
  3. Once oven is preheated, place your cheese in circles {it’s important that they’re circles to create the right shape} on a parchment lined baking sheet or use a pan like mine. Bake for 5-7 minutes, until the edges turn brown and the cheese is bubbly.
  4. While your cheese is cooking, set up your “drying racks”— turn two {or more, depending on how many batches you’re making} glasses over and set wooden spoons across them.
  5. Remove the pan from the oven and allow it to cool for approximately one minute. It needs to rest and firm up, but keep an eye on it. It’s important that you not let them cool too much, as they’ll need to be slightly warm to mold into the taco shell shape.
  6. Use a thin rubber spatula to remove the shells from the pan and then hang them on your “drying rack.” Allow them to harden for approximately five minutes.
  7. Remove, fill and enjoy!

Lastly, these don’t store well. For me, they lost their crispiness and you definitely cannot reheat them. My recommendation: make only what you intend to eat for that meal.

Hope these add some fun and versatility to your Lean & Green arsenal!


Instant Pot Chipotle Chicken with Ranch & Feta Slaw

A few weeks ago, I asked our Facebook group if there was any interest in Instant Pot Lean & Green recipes and the response was overwhelming! I’ve done a ton of research and found a bunch of great recipes. My plan was to take some of those recipes and make them 5&1 compliant. When I came across this one from Optavia, I knew I had to give theirs a shot first. My verdict: the chicken was awesome! The ‘cauliflower rice bowl with avocado and cheddar’? Not so much. So, here’s my take on theirs: Chipotle Chicken with Ranch & Feta Slaw.

To start, you’ll use their recipe as follows:

Chipotle Chicken Ingredients {yields four servings}:

  • 1, 14.5-oz. Can Fire-Roasted Diced Tomatoes
  • 1/3 C Salsa
  • 1 Canned Chipotle Pepper in Adobo Sauce + 1 tsp Sauce
  • 1 tsp Cumin
  • ½ tsp Dried Oregano
  • ¼ tsp Salt
  • 1½ lbs Boneless Skinless Chicken Breasts
  1. Combine first six ingredients in a blender, and blend until smooth.
  2. Place chicken in Instant Pot, and pour sauce over top. Secure lid and close pressure valve. Set to 20 minutes at high pressure. Allow pressure to release naturally before opening. Remove chicken and shred, and then toss back in sauce.

Their recipe as above yields four servings of approximately 6 oz of chicken per serving, which is one Leaner. The condiments and greens as above would convert to 2 greens and 2 condiments.

PS. If you’ve never used these to shred chicken, you’re totally missing out. I love them!

Now, if you want to give theirs a shot, go for it. For me, it was too mushy, not enough contrast in texture, and it just felt fatty with the warm cauliflower, cheese, and avocado together.

Here’s where I changed things up:

Since my recipe removes the cheddar, avocado, and cauliflower rice, my calculations are a little different in how you finish it off.

Ranch & Feta Slaw Ingredients {per serving}:

  • 1 C Shredded Red {green is ok, too} Cabbage {1 Green}
  • 2T of Hidden Valley Original Ranch Homestyle Light {1 Healthy Fat}
  • 2T Reduced Fat Feta {1 Condiment}

Mix cabbage, dressing, and 1T of feta in a bowl. Plate and top with 6 oz of chipotle chicken and sprinkle remaining feta on top. For me, the ranch added a coolness {yet still creamy} factor and the cabbage added amazing crunch. Lastly, the feta added the perfect amount of saltiness to balance the chipotle.

Feel free to double, triple or quadruple the slaw as needed. I make one serving at a time and freeze the remaining chicken for future meals. The meat freezes/defrosts beautifully!


Zucchini Rollatini

Creamy, cheesy, tomatoey goodness! If you love lasagna like I do, you will absolutely LOVE this dish! Like I’ve said before, I love great food, but I love when it’s simple to make. This one couldn’t be easier. It looks and tastes beautiful, but anybody can make it.

The ingredients list is super simple, too.

Ingredients:

  • 3/4 C Rao’s Marinara {3 Greens}
  • 180g Zucchini* {3 Greens}
  • 1 Egg {1/3 Lean}
  • 2/3 C Reduced Fat Shredded Cheese {2/3 Lean}
  • 1 C Low Fat Ricotta {1 Lean}
  • 1 tsp Italian Seasoning {1 Condiment}
  • 4T Reduced Fat Grated Parmesan {2 Condiments}

Entire batch yields two servings. Each serving equals 1 Lean, 3 Greens, and 1.5 Condiments

*Equivalent to 1.5 C, but since you’re slicing on a mandolin, it’s important to weigh your zucchini.

One last thought: I saw a similar recipe online that yielded five servings, 1/2 Lean per serving, and 3 Condiments per serving. Personally, I don’t like to make a Lean & Green with so many servings. I prefer to eat a meal no more than two days in a row {and I don’t like to freeze meals}. I also like my Lean & Green recipes to be complete meals {1 Lean, 3 Greens} and I try to constrain the number of Condiments so I have room for almond milk in my daily shakes. That said, you could absolutely double or triple this recipe if you’re serving a family and/or you could add lean ground turkey if you want to add meat. In that case, I would suggest adding 7 oz of COOKED 98% fat free ground turkey {1 Lean} to the ricotta mixture, 120g Zucchini {2 greens} and 1/4 C Rao’s Marinara {1 Green}. I wouldn’t change the cheese proportions. That would turn the entire dish to three complete Lean & Greens and only 1 Condiment per serving.

Instructions:

  1. Preheat oven to 400.
  2. Slice zucchini using a mandolin.*
  3. Mix 2T parmesan, ricotta, Italian seasoning, and egg.
  4. Place marinara at bottom of pan.
  5. Roll zucchini with ricotta mixture and line up in dish.
  6. Cover with shredded mozzarella and remaining parmesan.
  7. Cook for 30 minutes or until toasted brown and zucchini is tender. 

PS. I so highly recommend using these gloves when working with a mandolin. Zero cuts. Zero worries. And so cheap. I will never use a mandolin again without them.


Mini Crock Pot: a worthy addition to your kitchen

You know the saying, “Mom’s always right”? Well, in honor of Mother’s Day, I’m sharing this recipe that came about because of my mom.

My parents started Optavia in January and are rocking it SO hard! I can’t even tell you how happy I am about that!!! A few months ago, my mom saw a post in the FB group about the Mini Crock Pot. Since I always pulverized my pastas/soups and turned them into muffins or wafffles, it wasn’t even a consideration for me to buy one. Well, she kept telling me how awesome they were in the Crock Pot, so I broke down and bought one. The results? AMAZING.

Of course, I always add a twist, so I combined the pasta fueling with spaghetti squash. Here’s how I did it:

For two fuelings {you can make up to four at the same time in the mini Crock Pot}:

1. Add two packets of Spinach Pesto Mac {or any pasta you like} to the crock pot
2. Add 1C of water {4 oz per fueling ~ same as packet instructions}
3. Mix well
4. Plug Crock Pot in and cook for one hour and fifteen minutes 
5. A few minutes before that’s ready, add 1.5C cooked spaghetti squash to a pan and heat up
6. Add pasta to pan and cook until the remaining liquid/consistency is to your liking
7. Split into two fuelings and enjoy!

PS. The cheese on top is NOT necessary. It just makes for a prettier picture. 🙂 PPS. Link to the mini Crock Pot in my bio.

NOTE: if you just want to eat the pasta as-is and NOT add it to a pan with spaghetti squash, leave it to cook for an additional 15 minutes so more of the liquid absorbs.