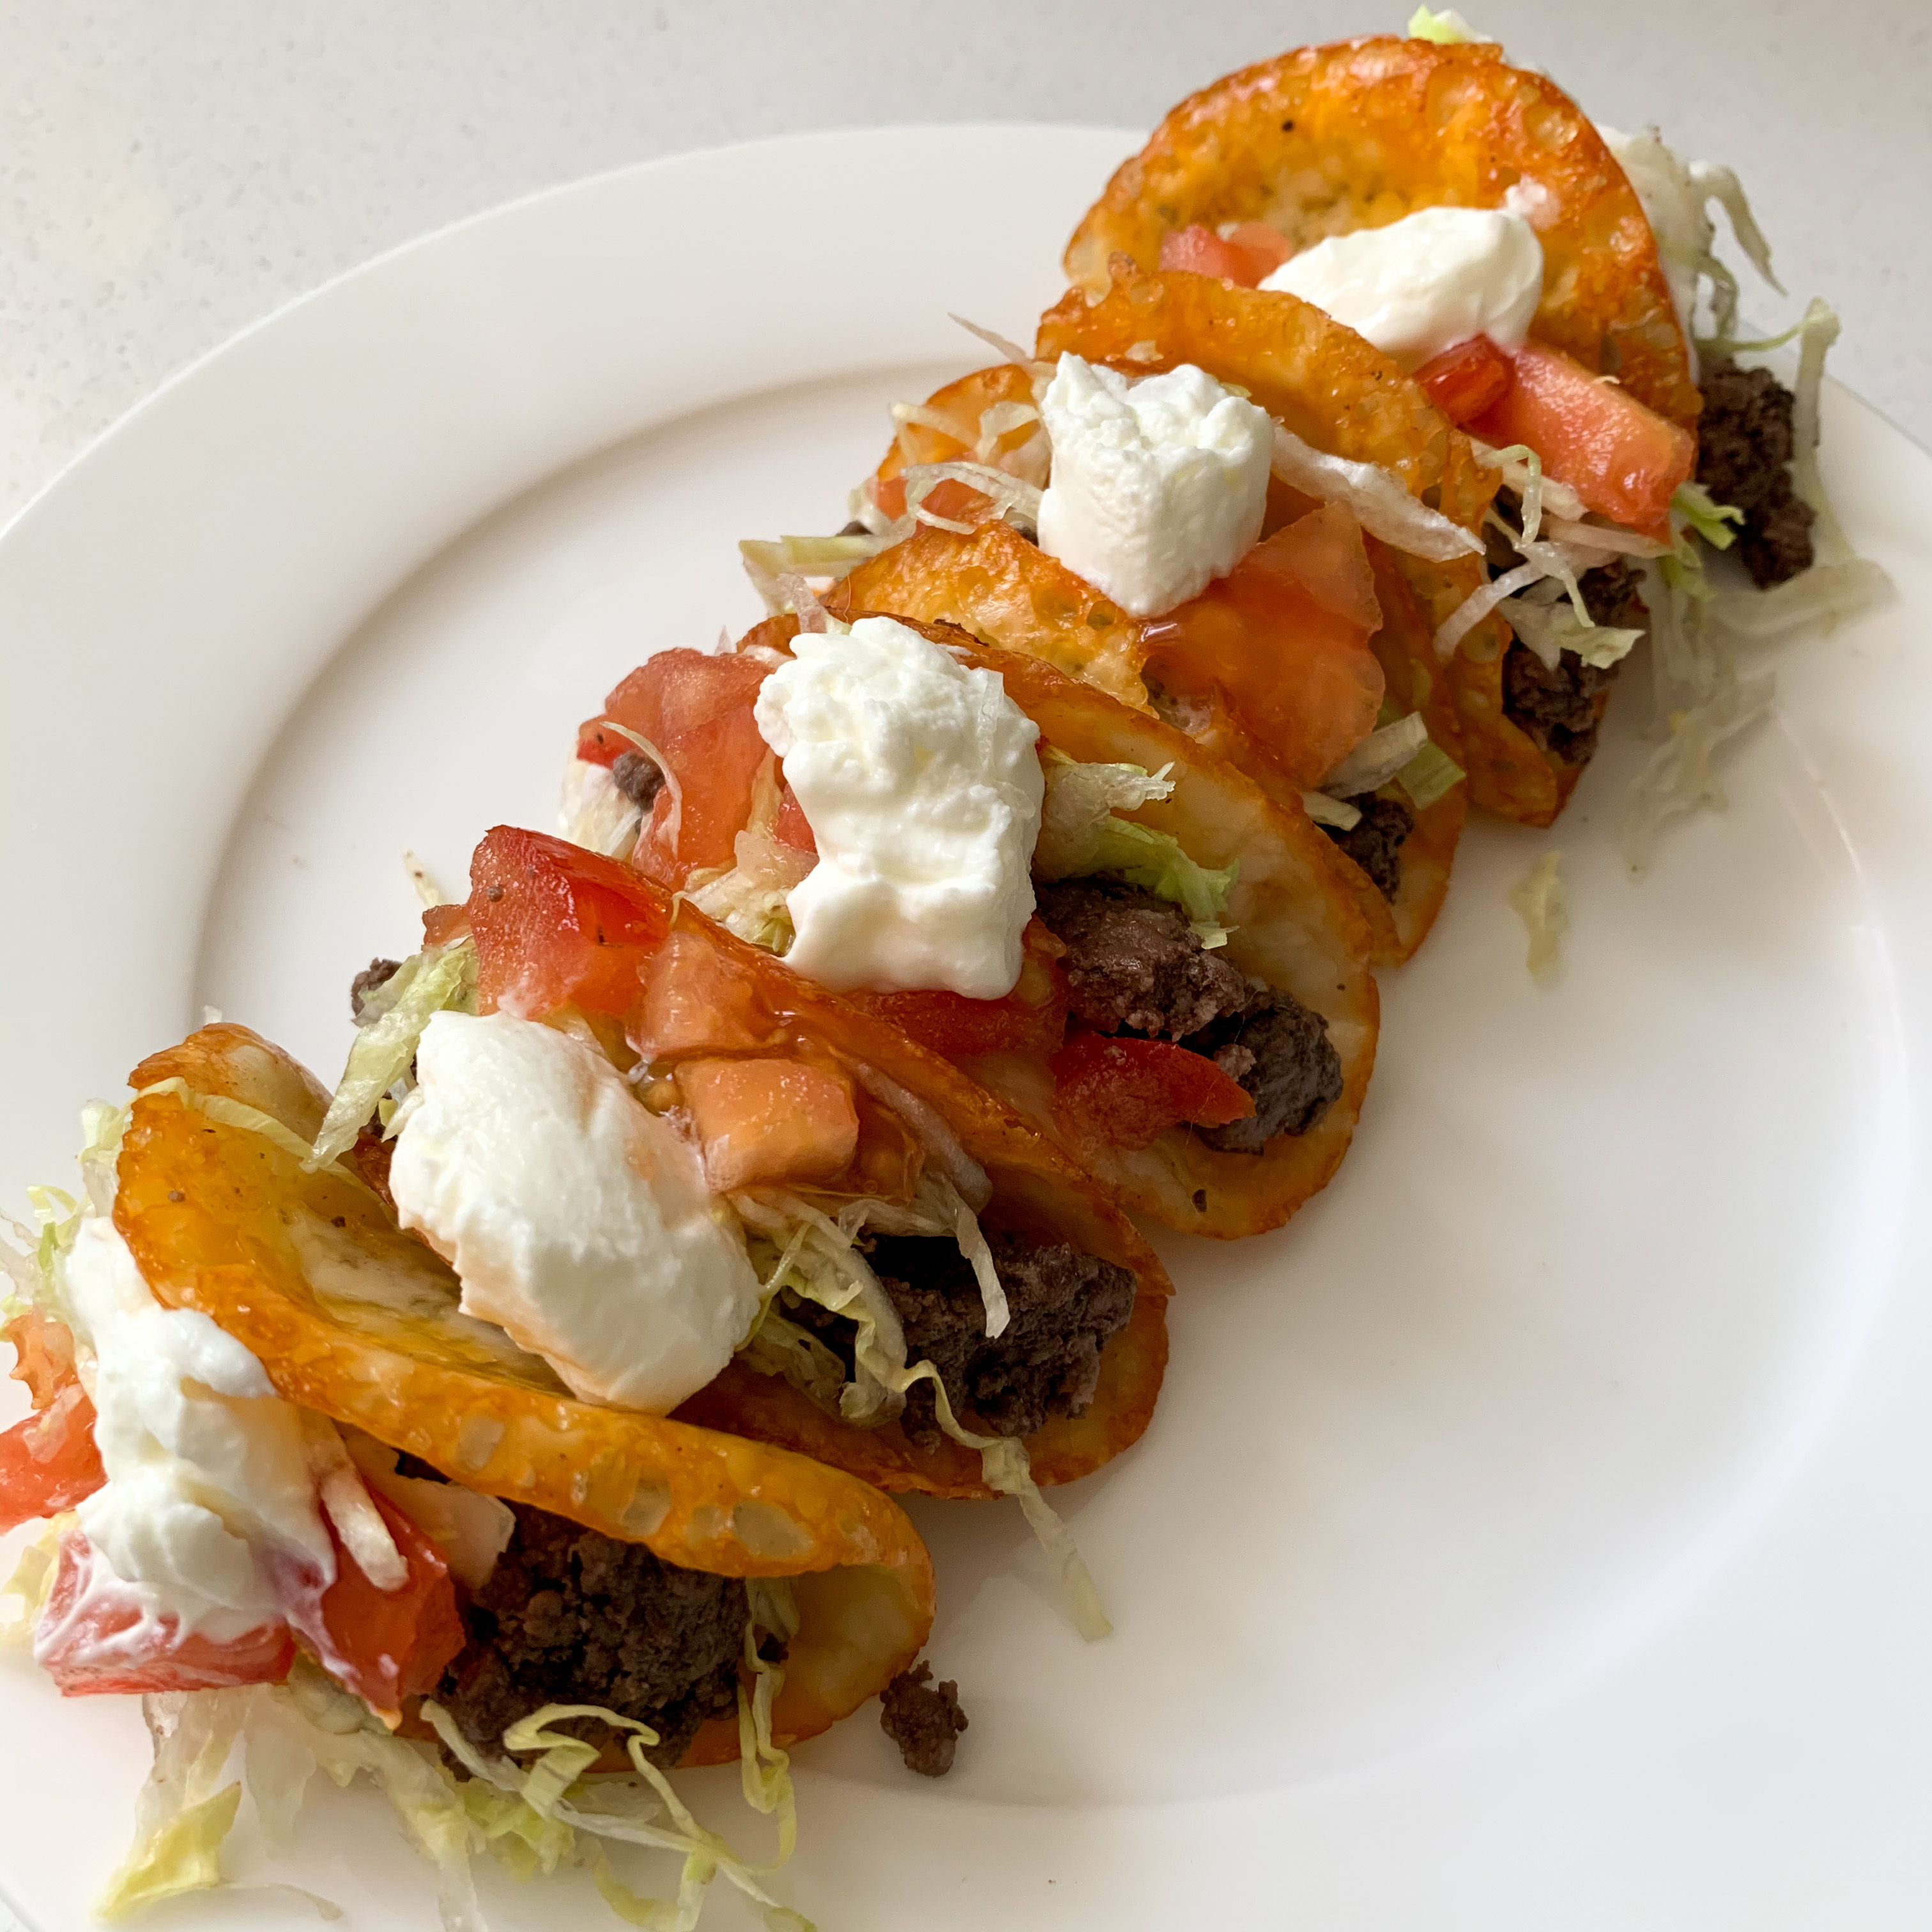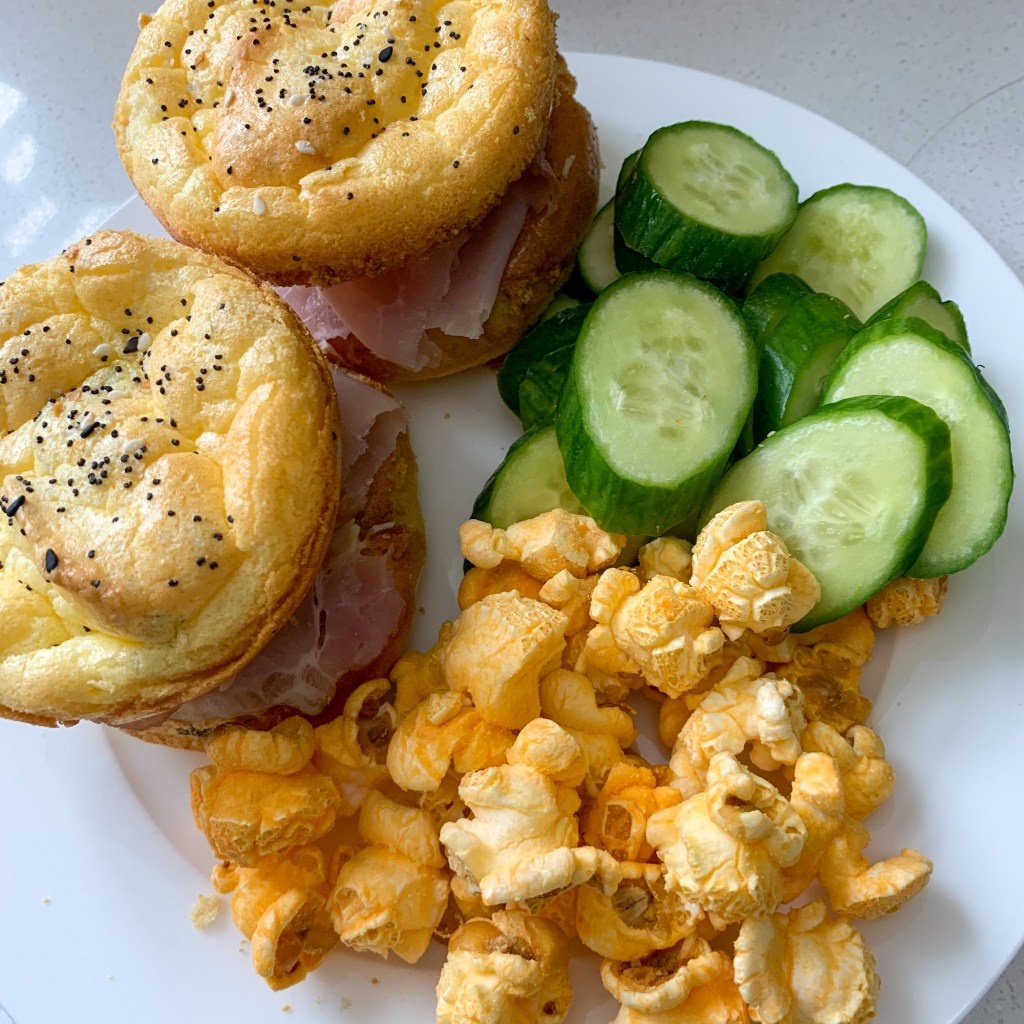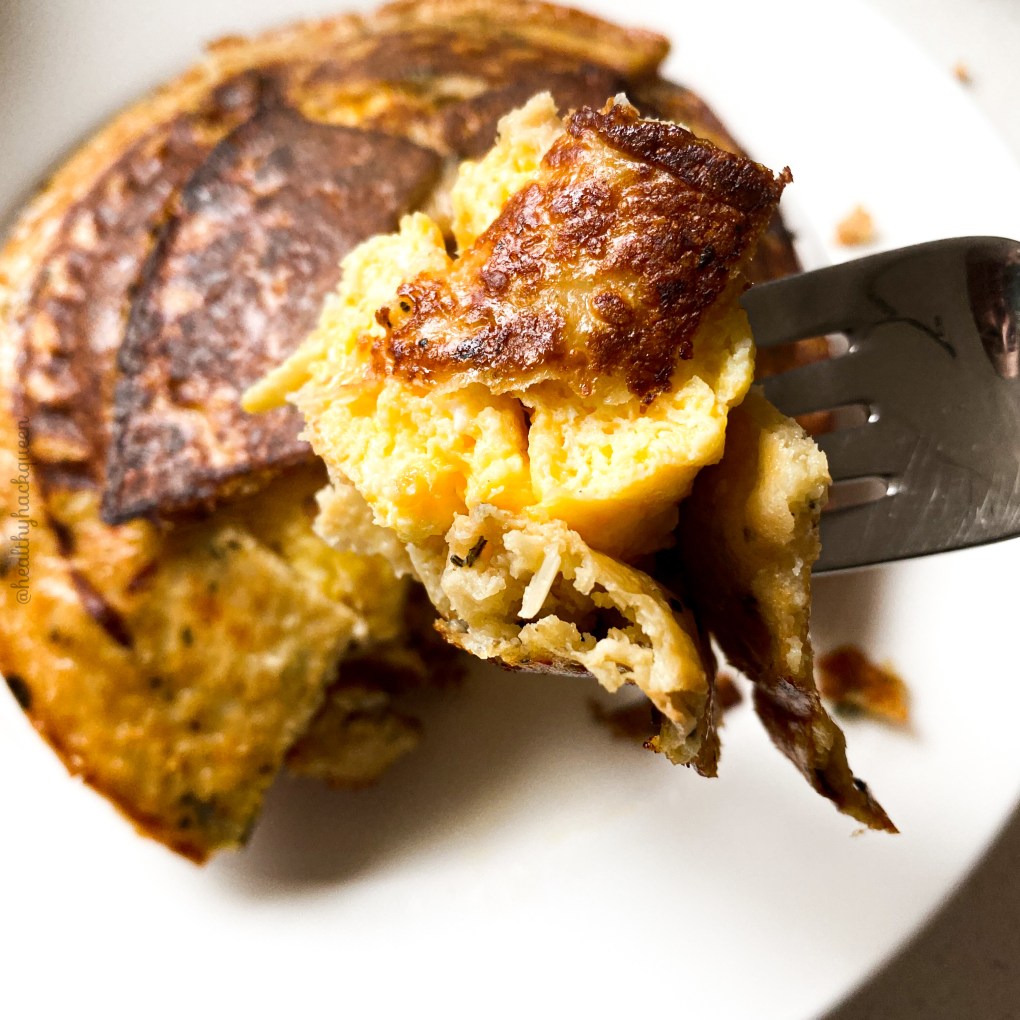
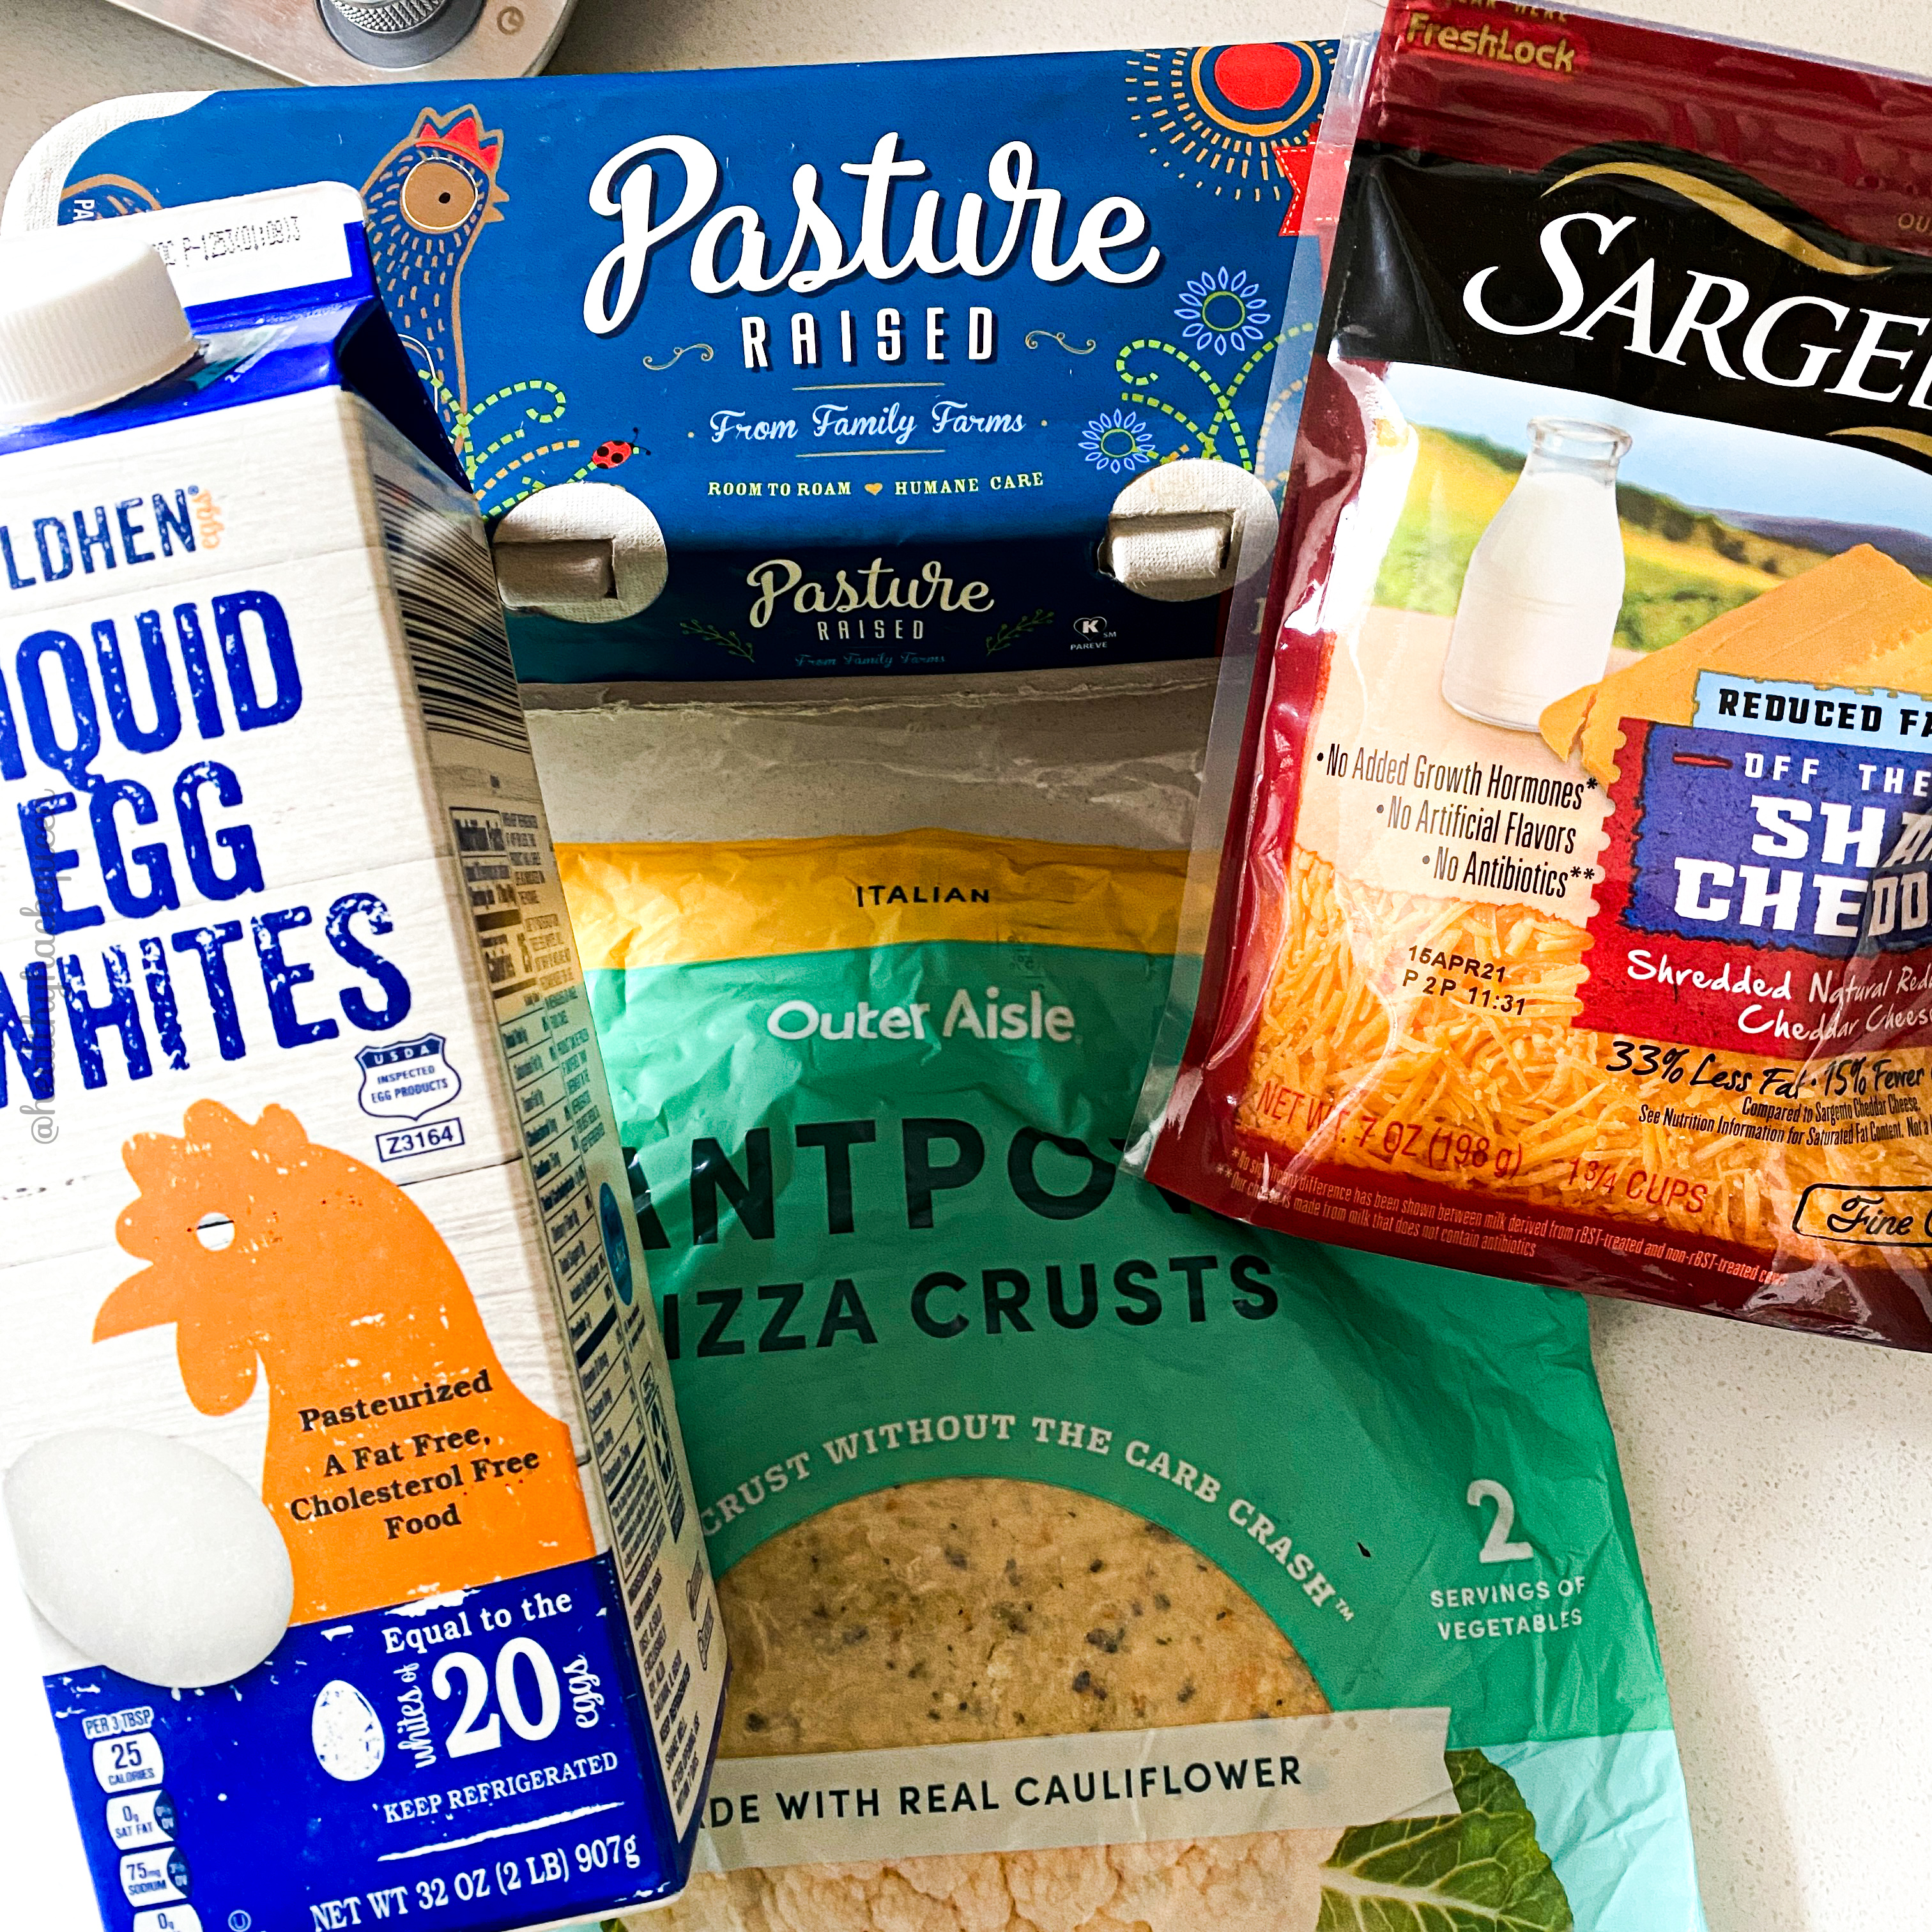
I am a HUGE fan of Outer Aisle and their cauliflower crusts {use code HACKQUEEN for a 10% discount!} I recently connected with them on Instagram and they sent me some crusts to work on some hacks. I love making pizzas and tacos with their crusts, but I recently purchased Dash’s pie maker and I wondered how the crusts would hold up in there. The answer? Life changing. I literally felt like I was eating something with a super carb-y, flaky crust. No joke. I was floored. I’m still perfecting my chicken pot pie recipe and I’m sooooo close, but first up: egg and cheese quiche with crust. You could even call it a pie, since the crust is on the top and bottom. It’s flaky and delicious and the filling options are endless. Plus, it’s super easy to do. The hardest thing is literally coming up with fillings to complete your Lean & Green, since one large crust equals 1/3 Lean and 1 Green. With this egg and cheese pie, you’ll still need two greens, but it’s awesome with a side salad.
One note: I used the Italian crusts this time, but I’ve tried them all and every flavor is delicious.
Hope you love these as much as I do!
1 Pie Equals 1 Complete Lean and 1 Green
Ingredients:
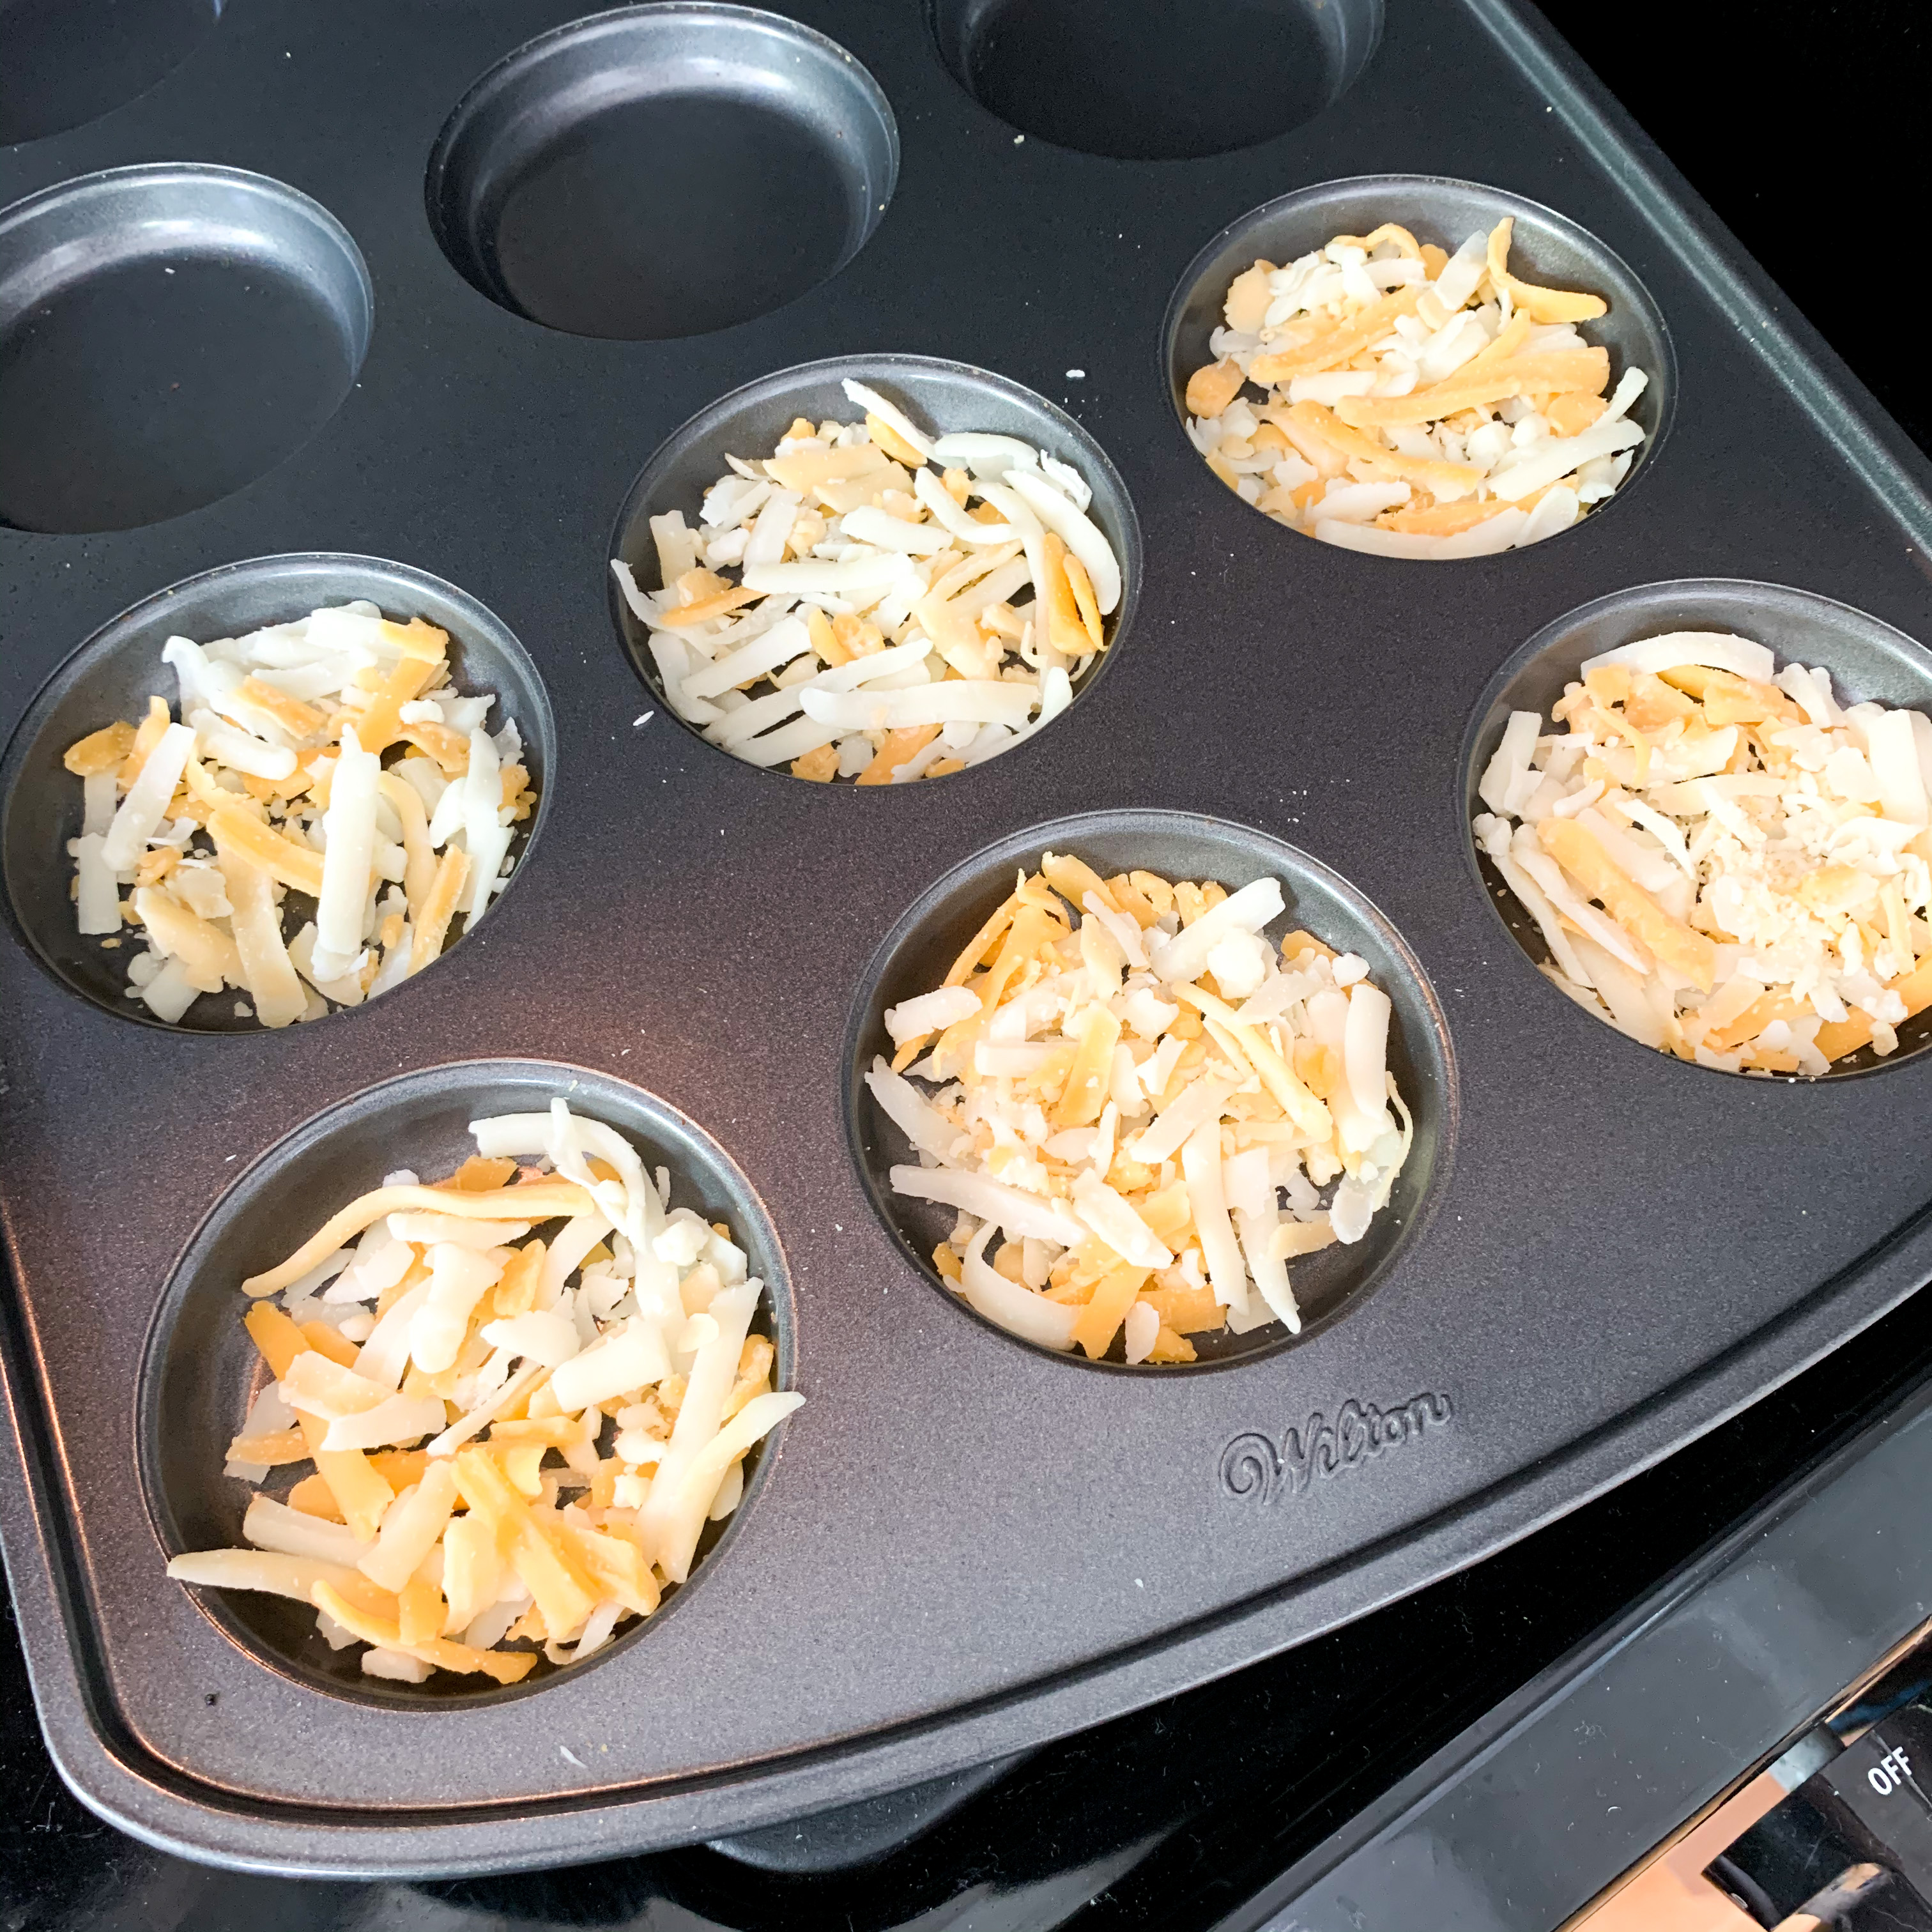
- One Outer Aisle Italian Crust {1/3 Lean & 1 Green}
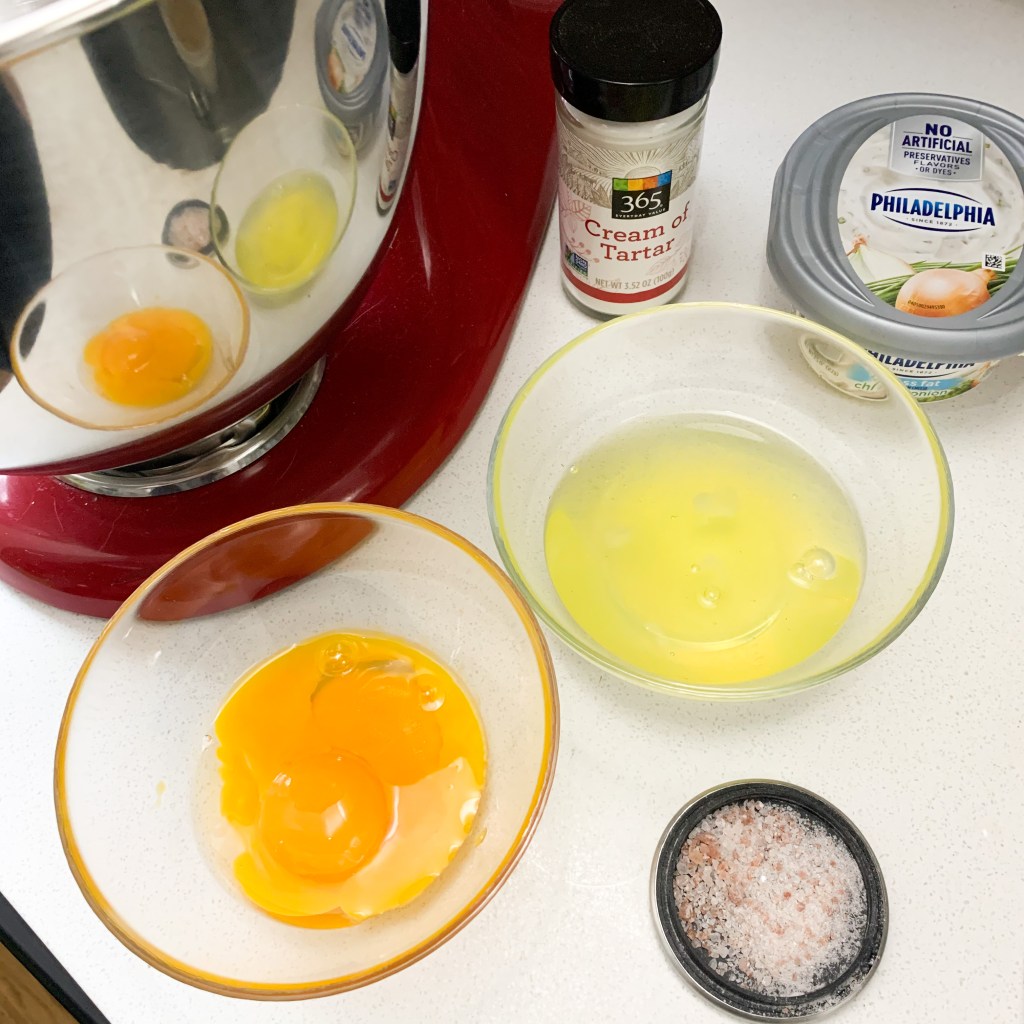
- One Egg + Two Tbsp Egg White {1/3 Lean + 1/12 Lean}
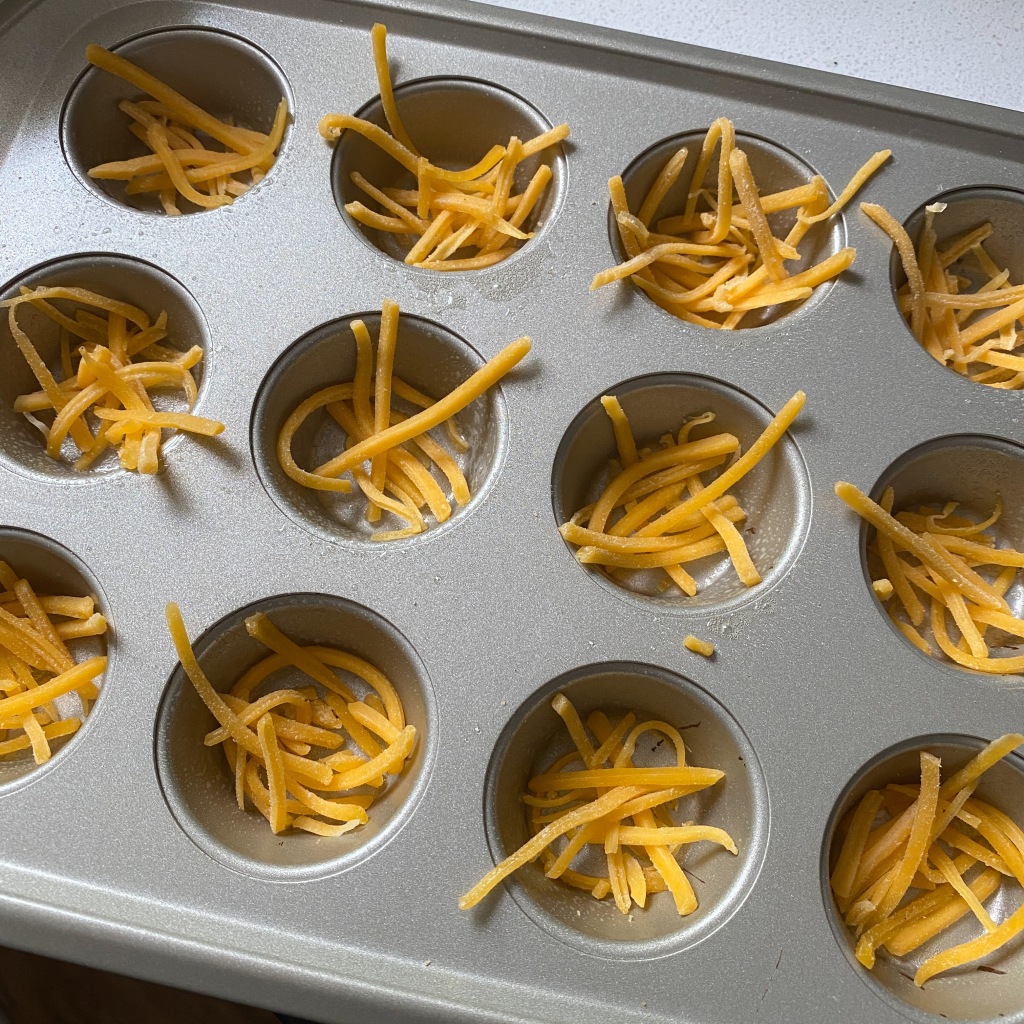
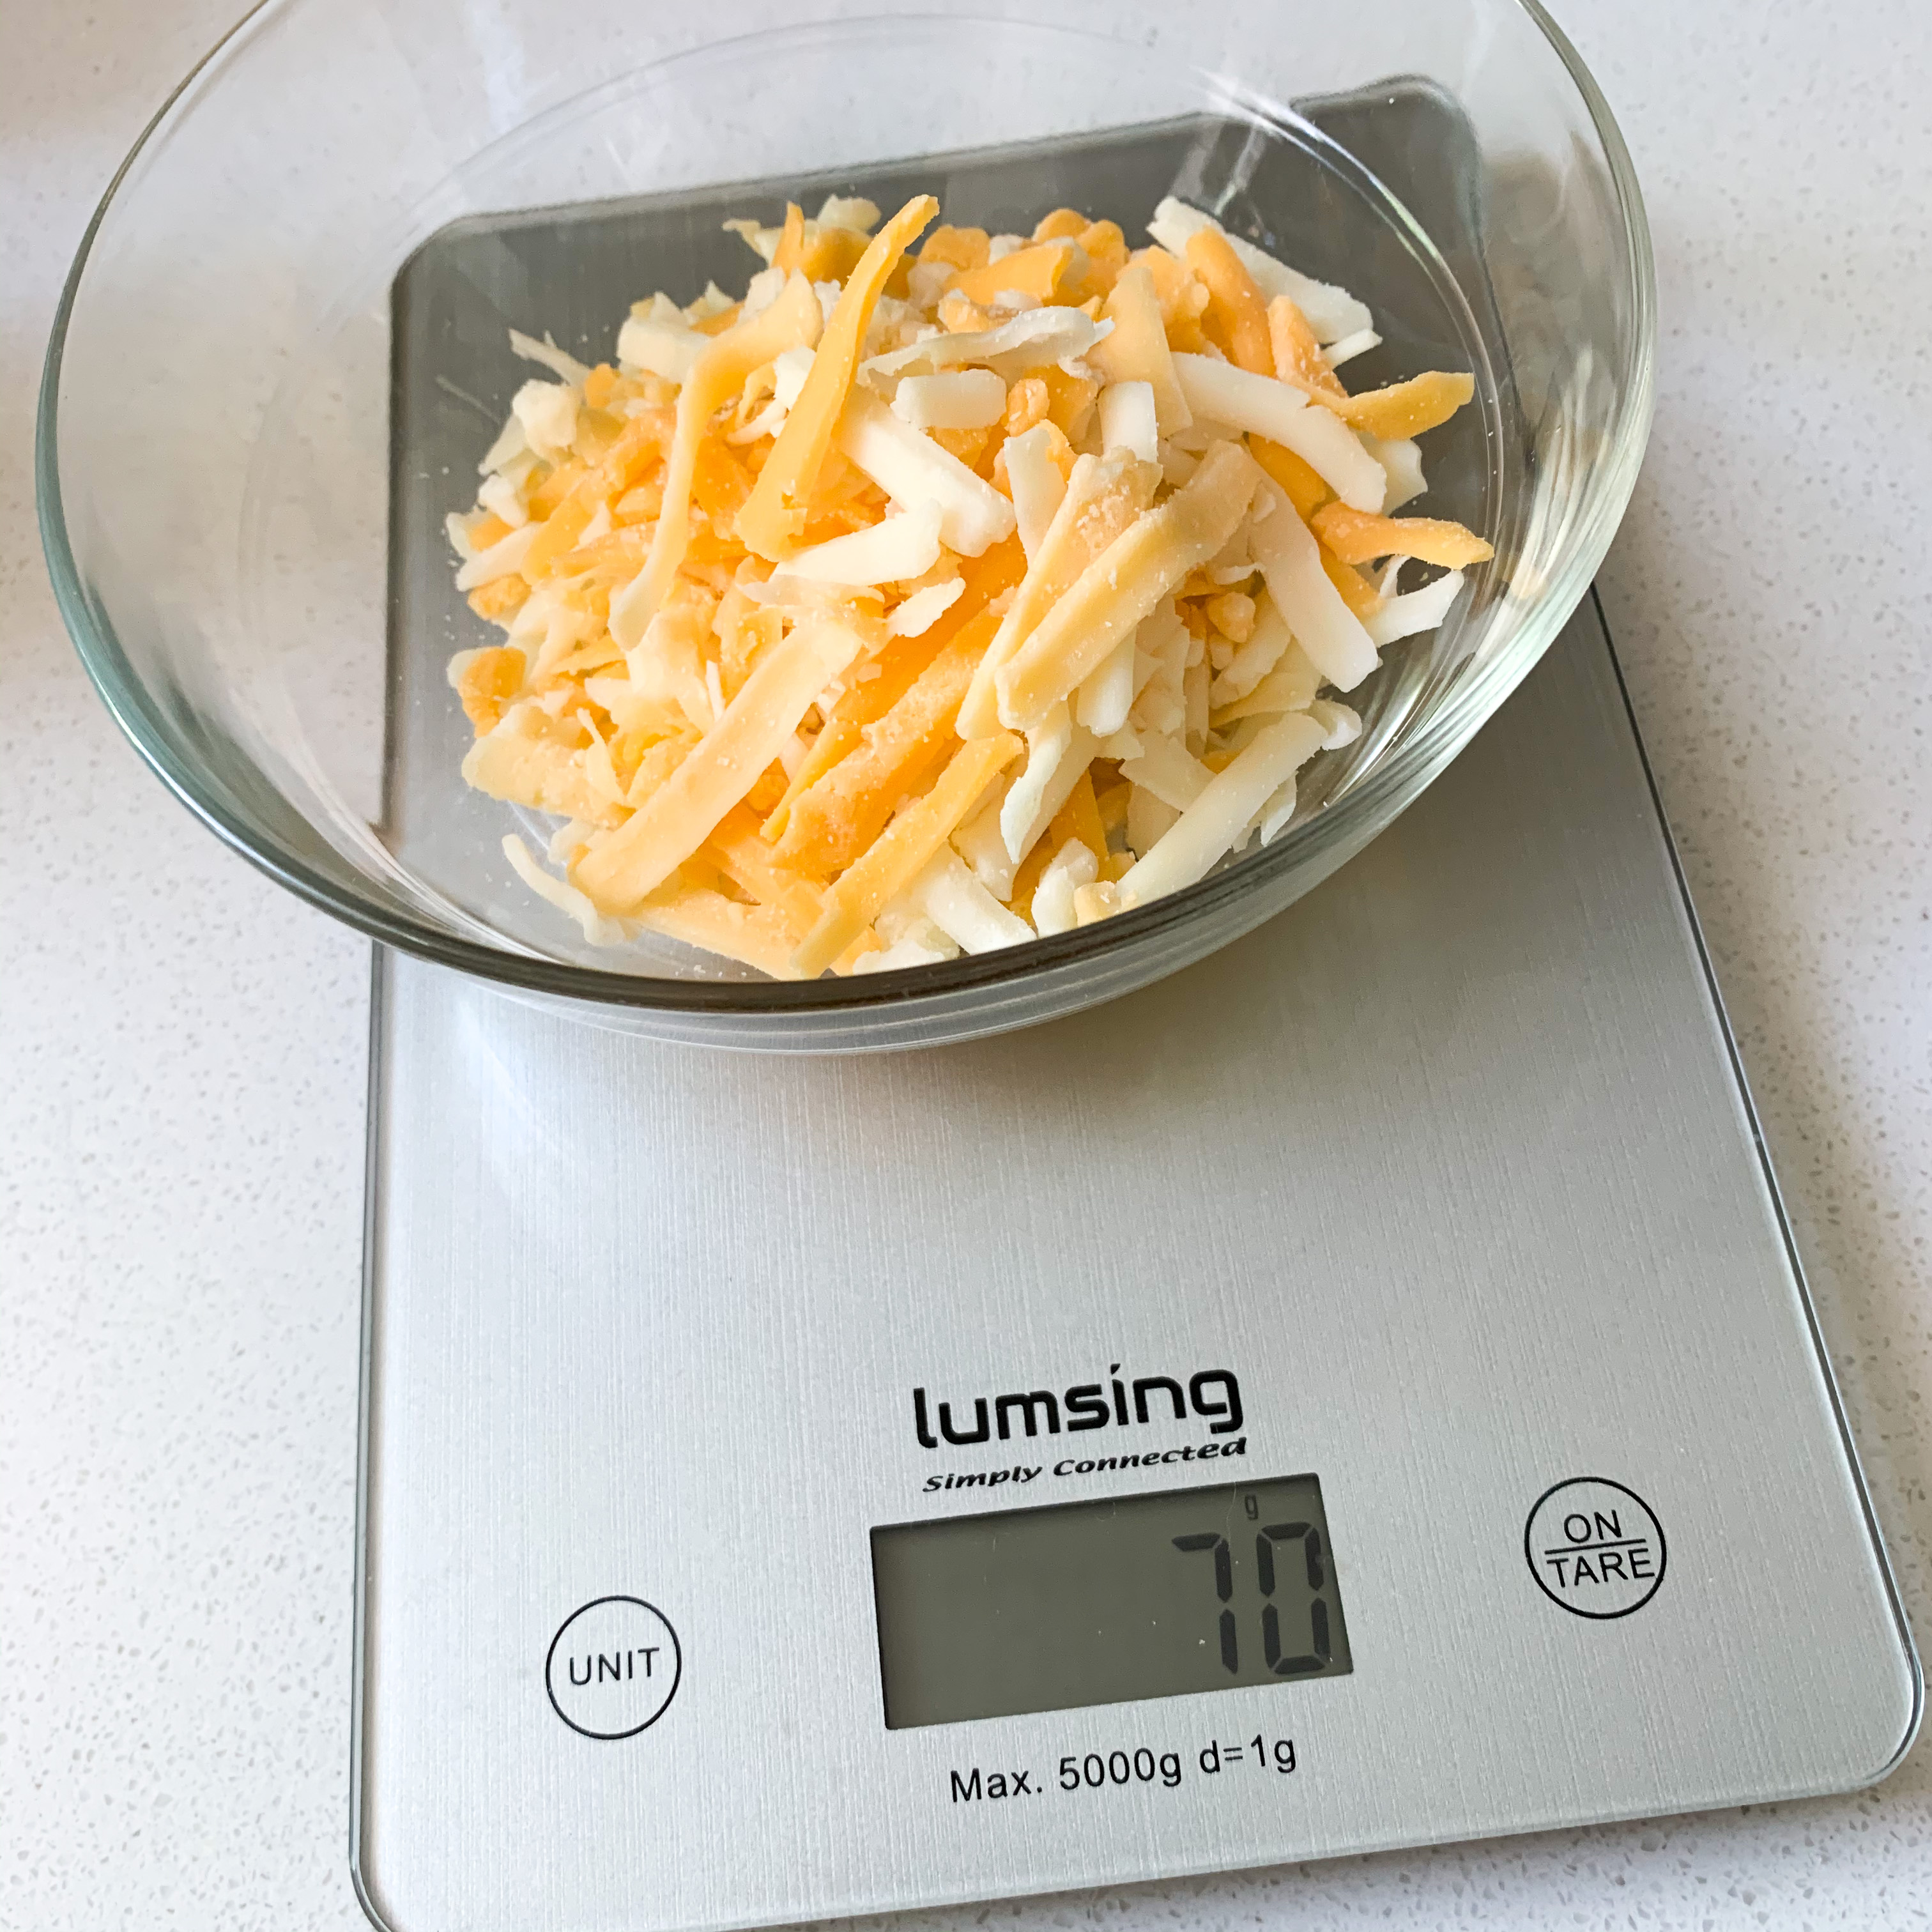
- 1/4 cup Reduced Fat Shredded Cheese {1/4 lean}
The math is a little funky, but if you’re interested: basically the crust, the whole egg, and the cheese equals 11/12 of a Lean and the added two tablespoons of egg white are as close as possible to 1/12 of a Lean
Instructions:
- Plug in Dash Pie Maker
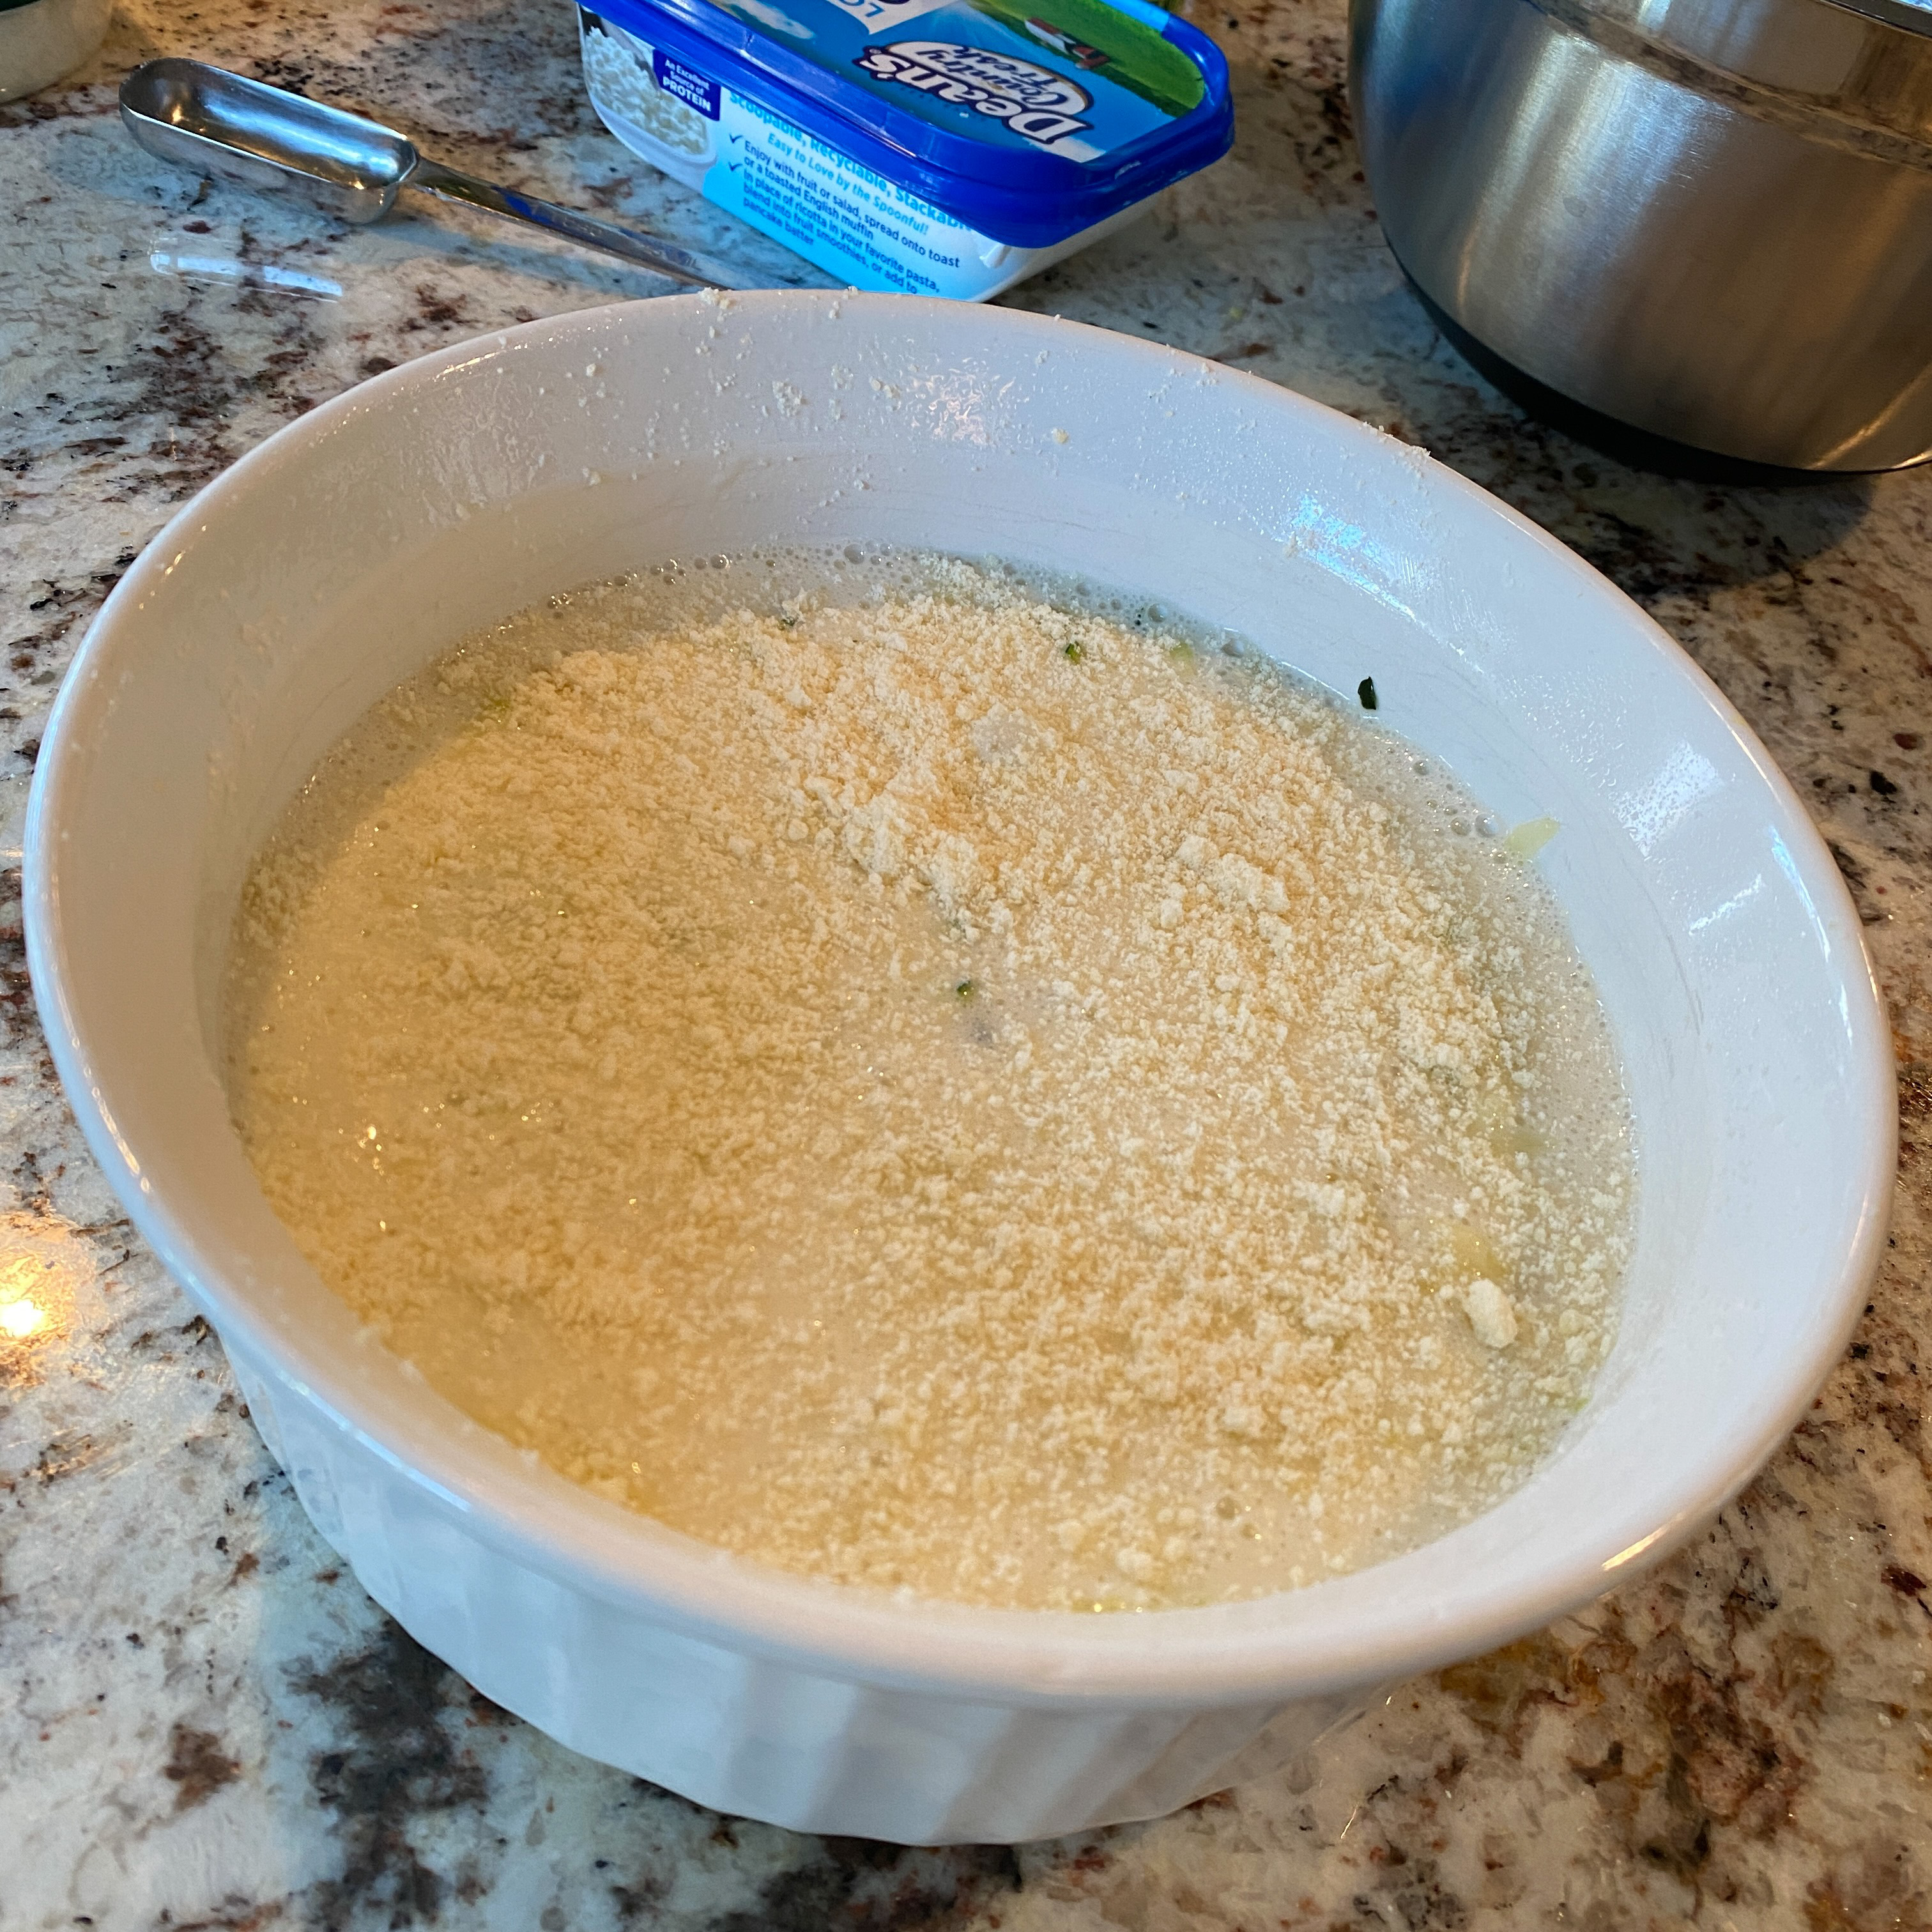
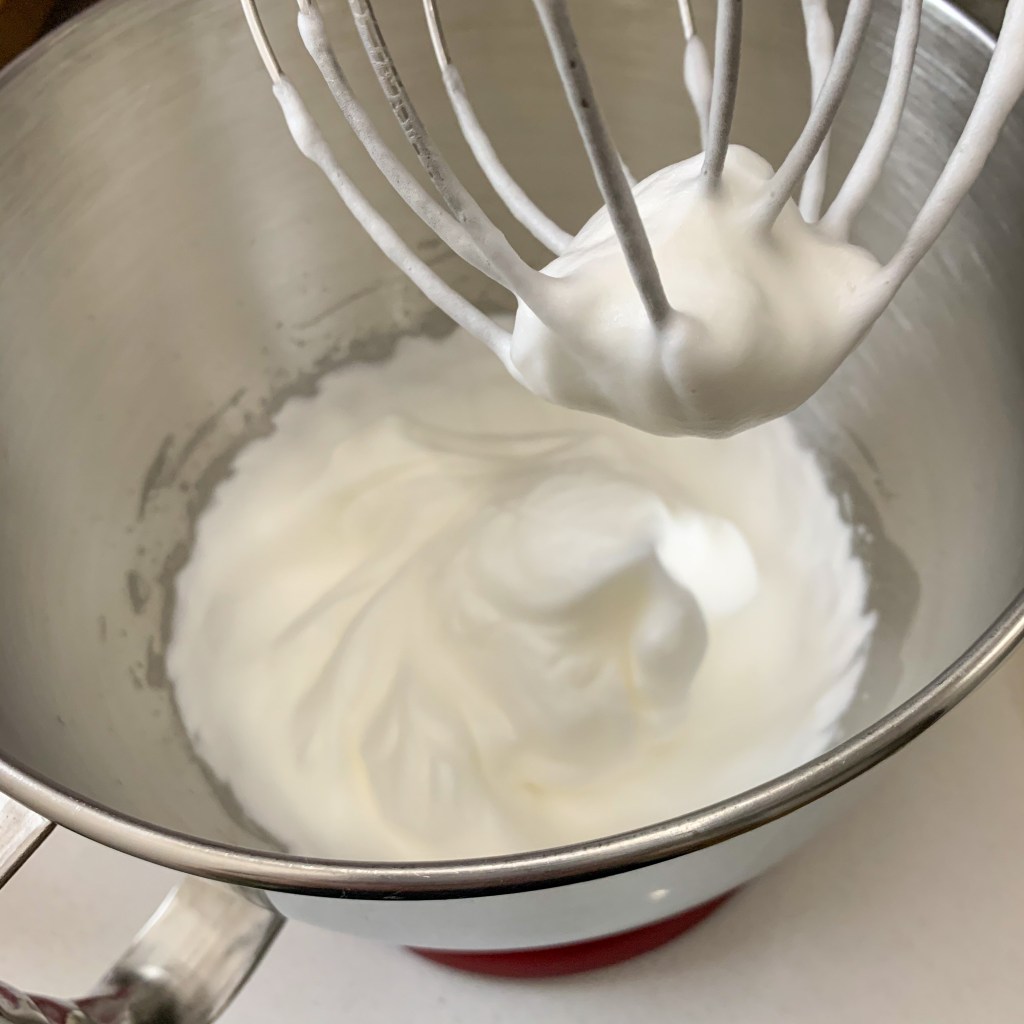
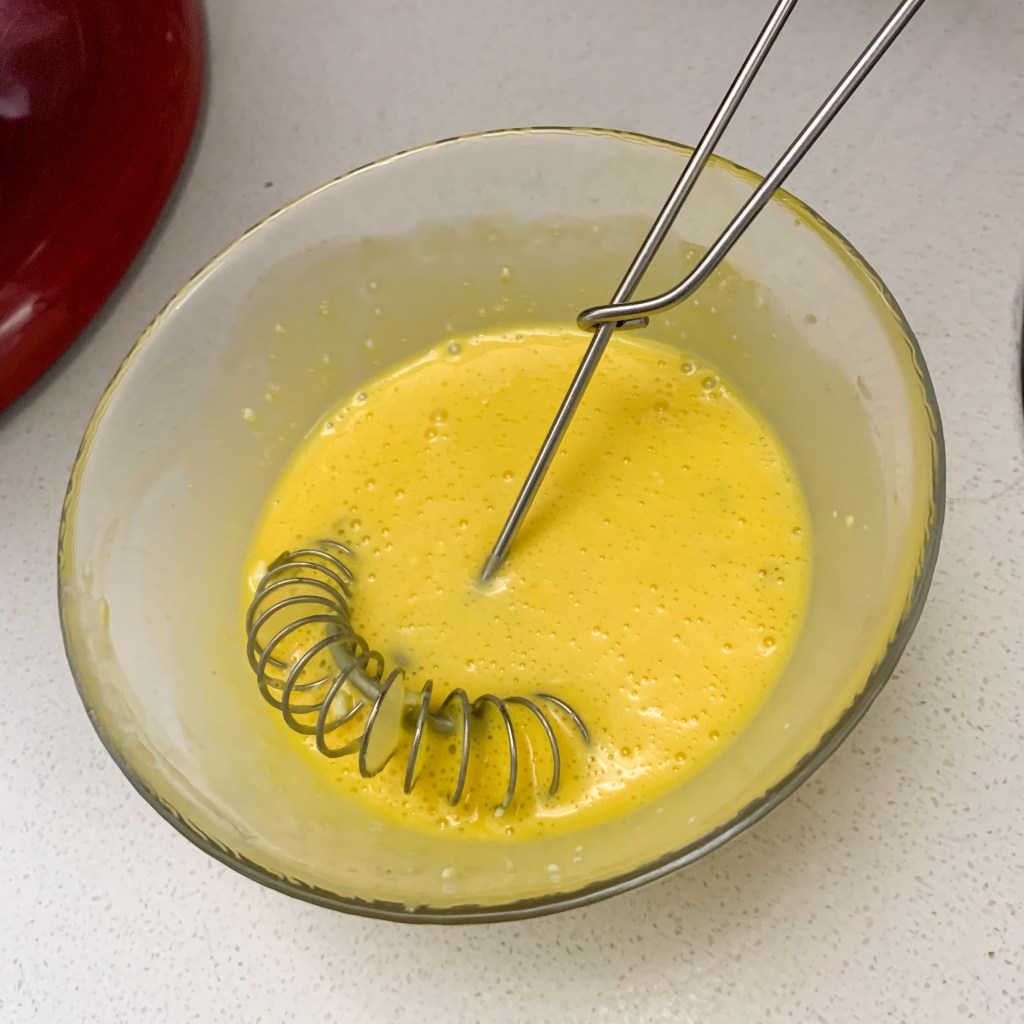
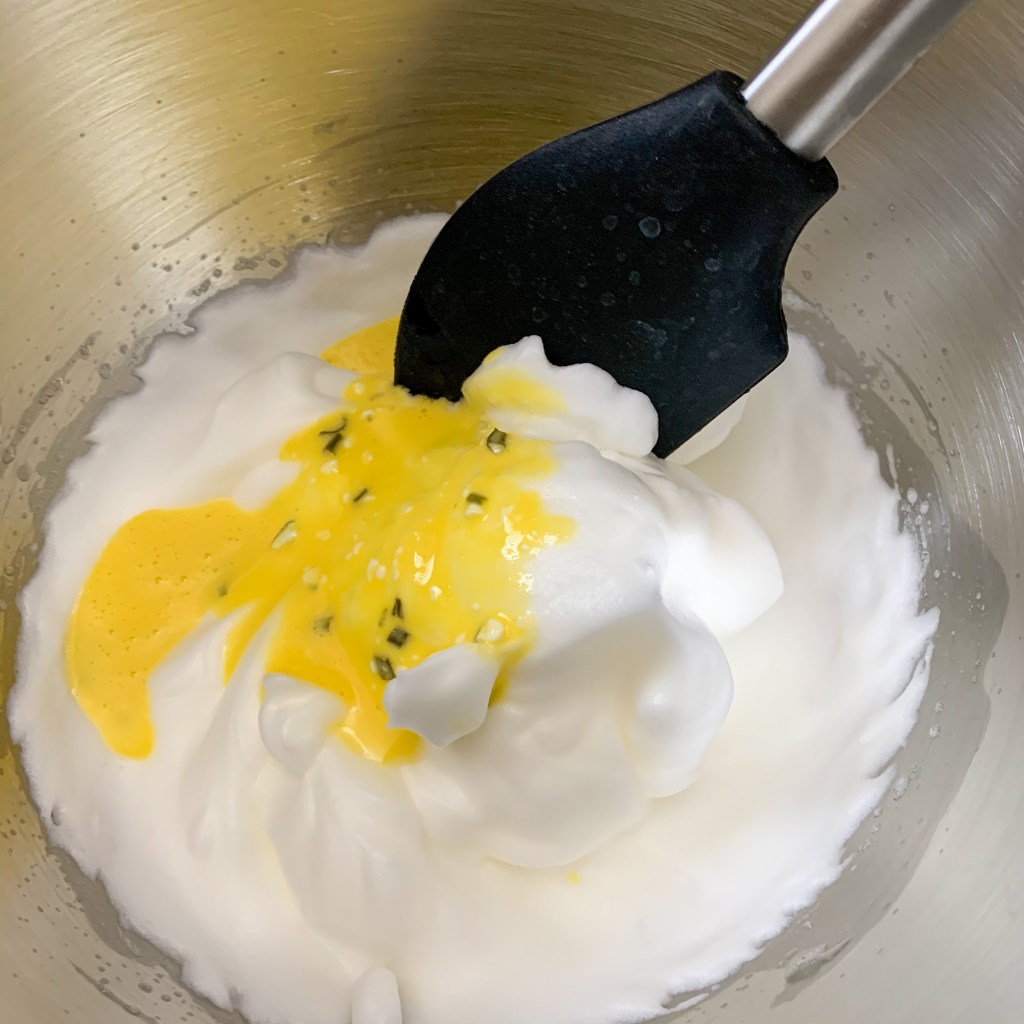
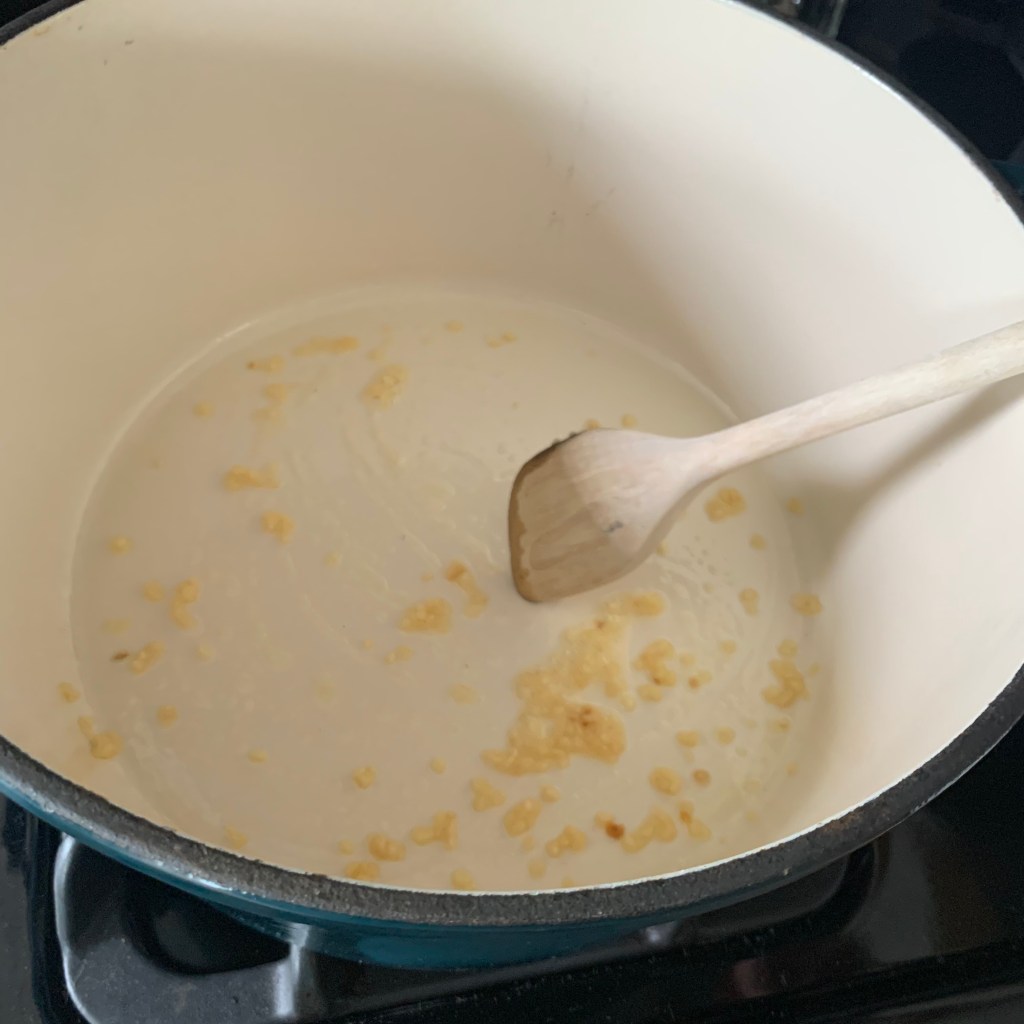
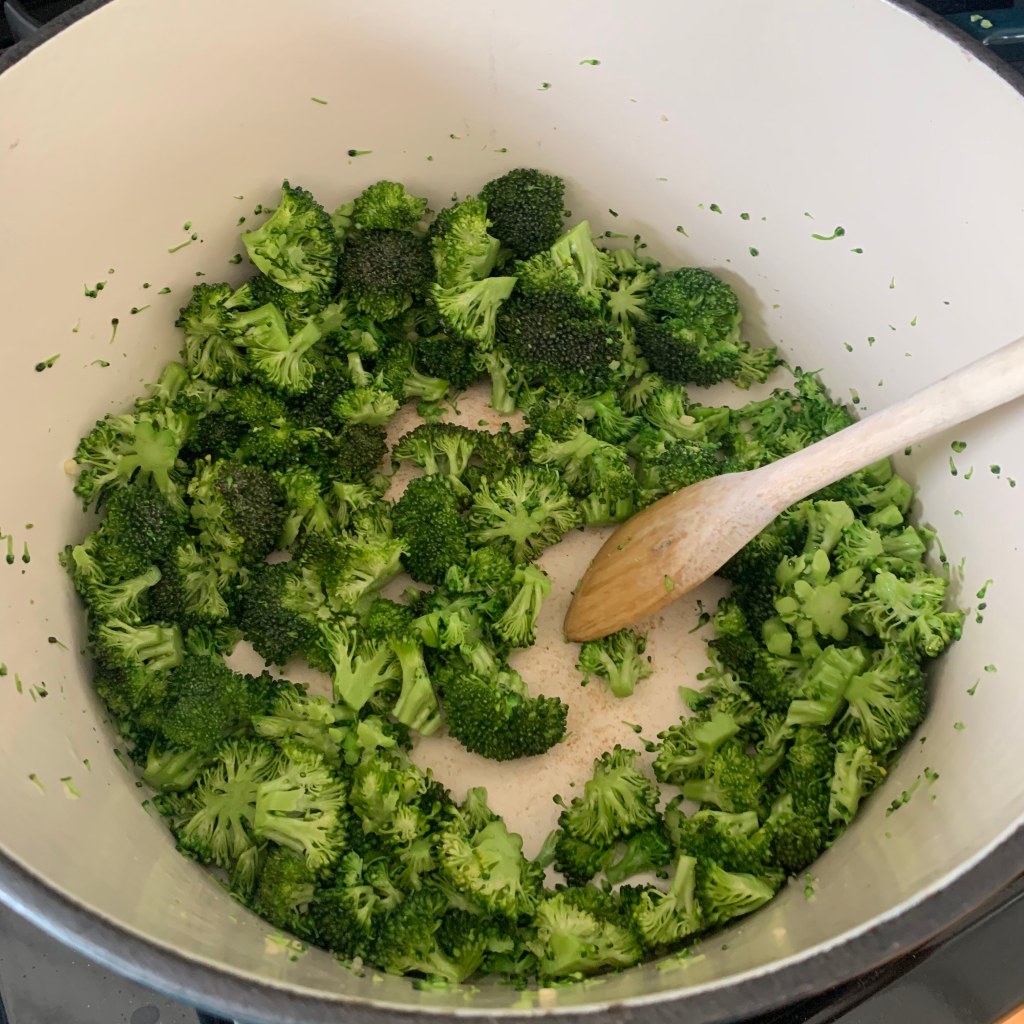
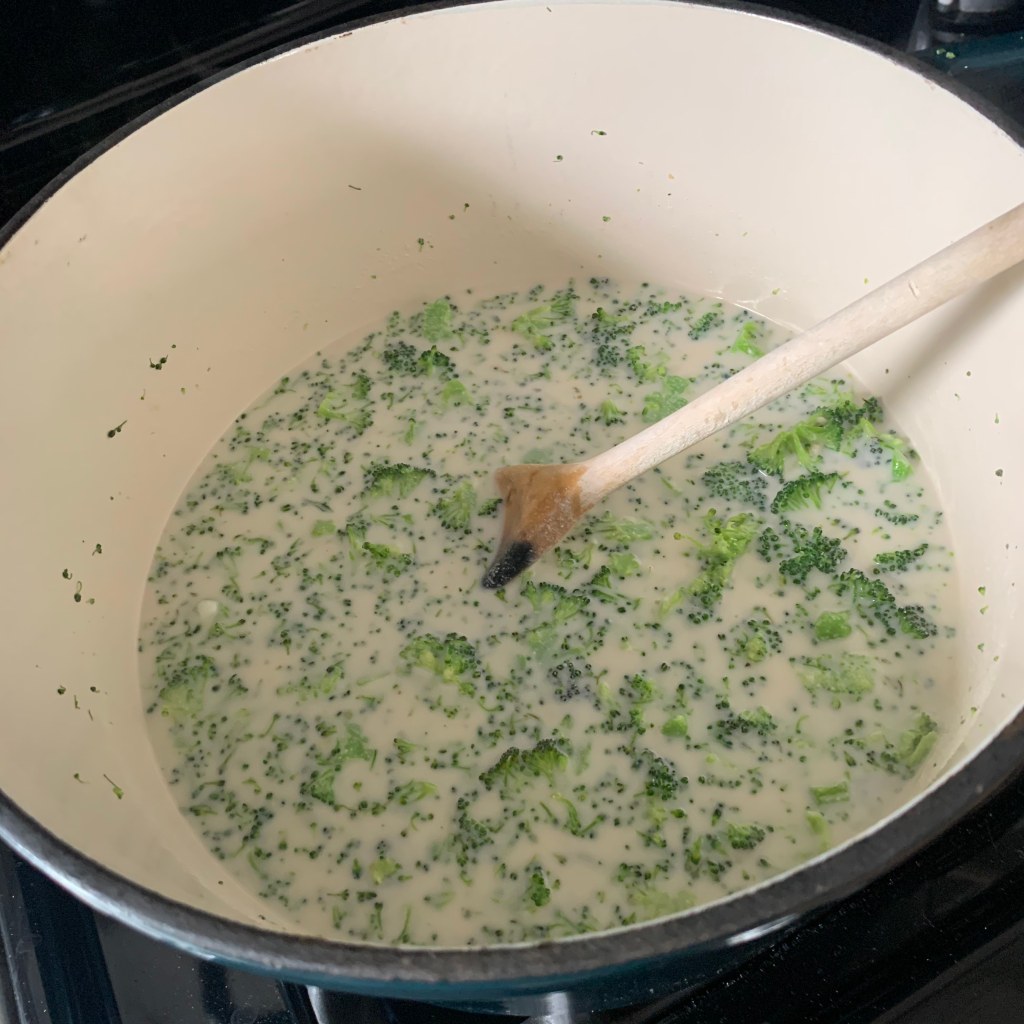
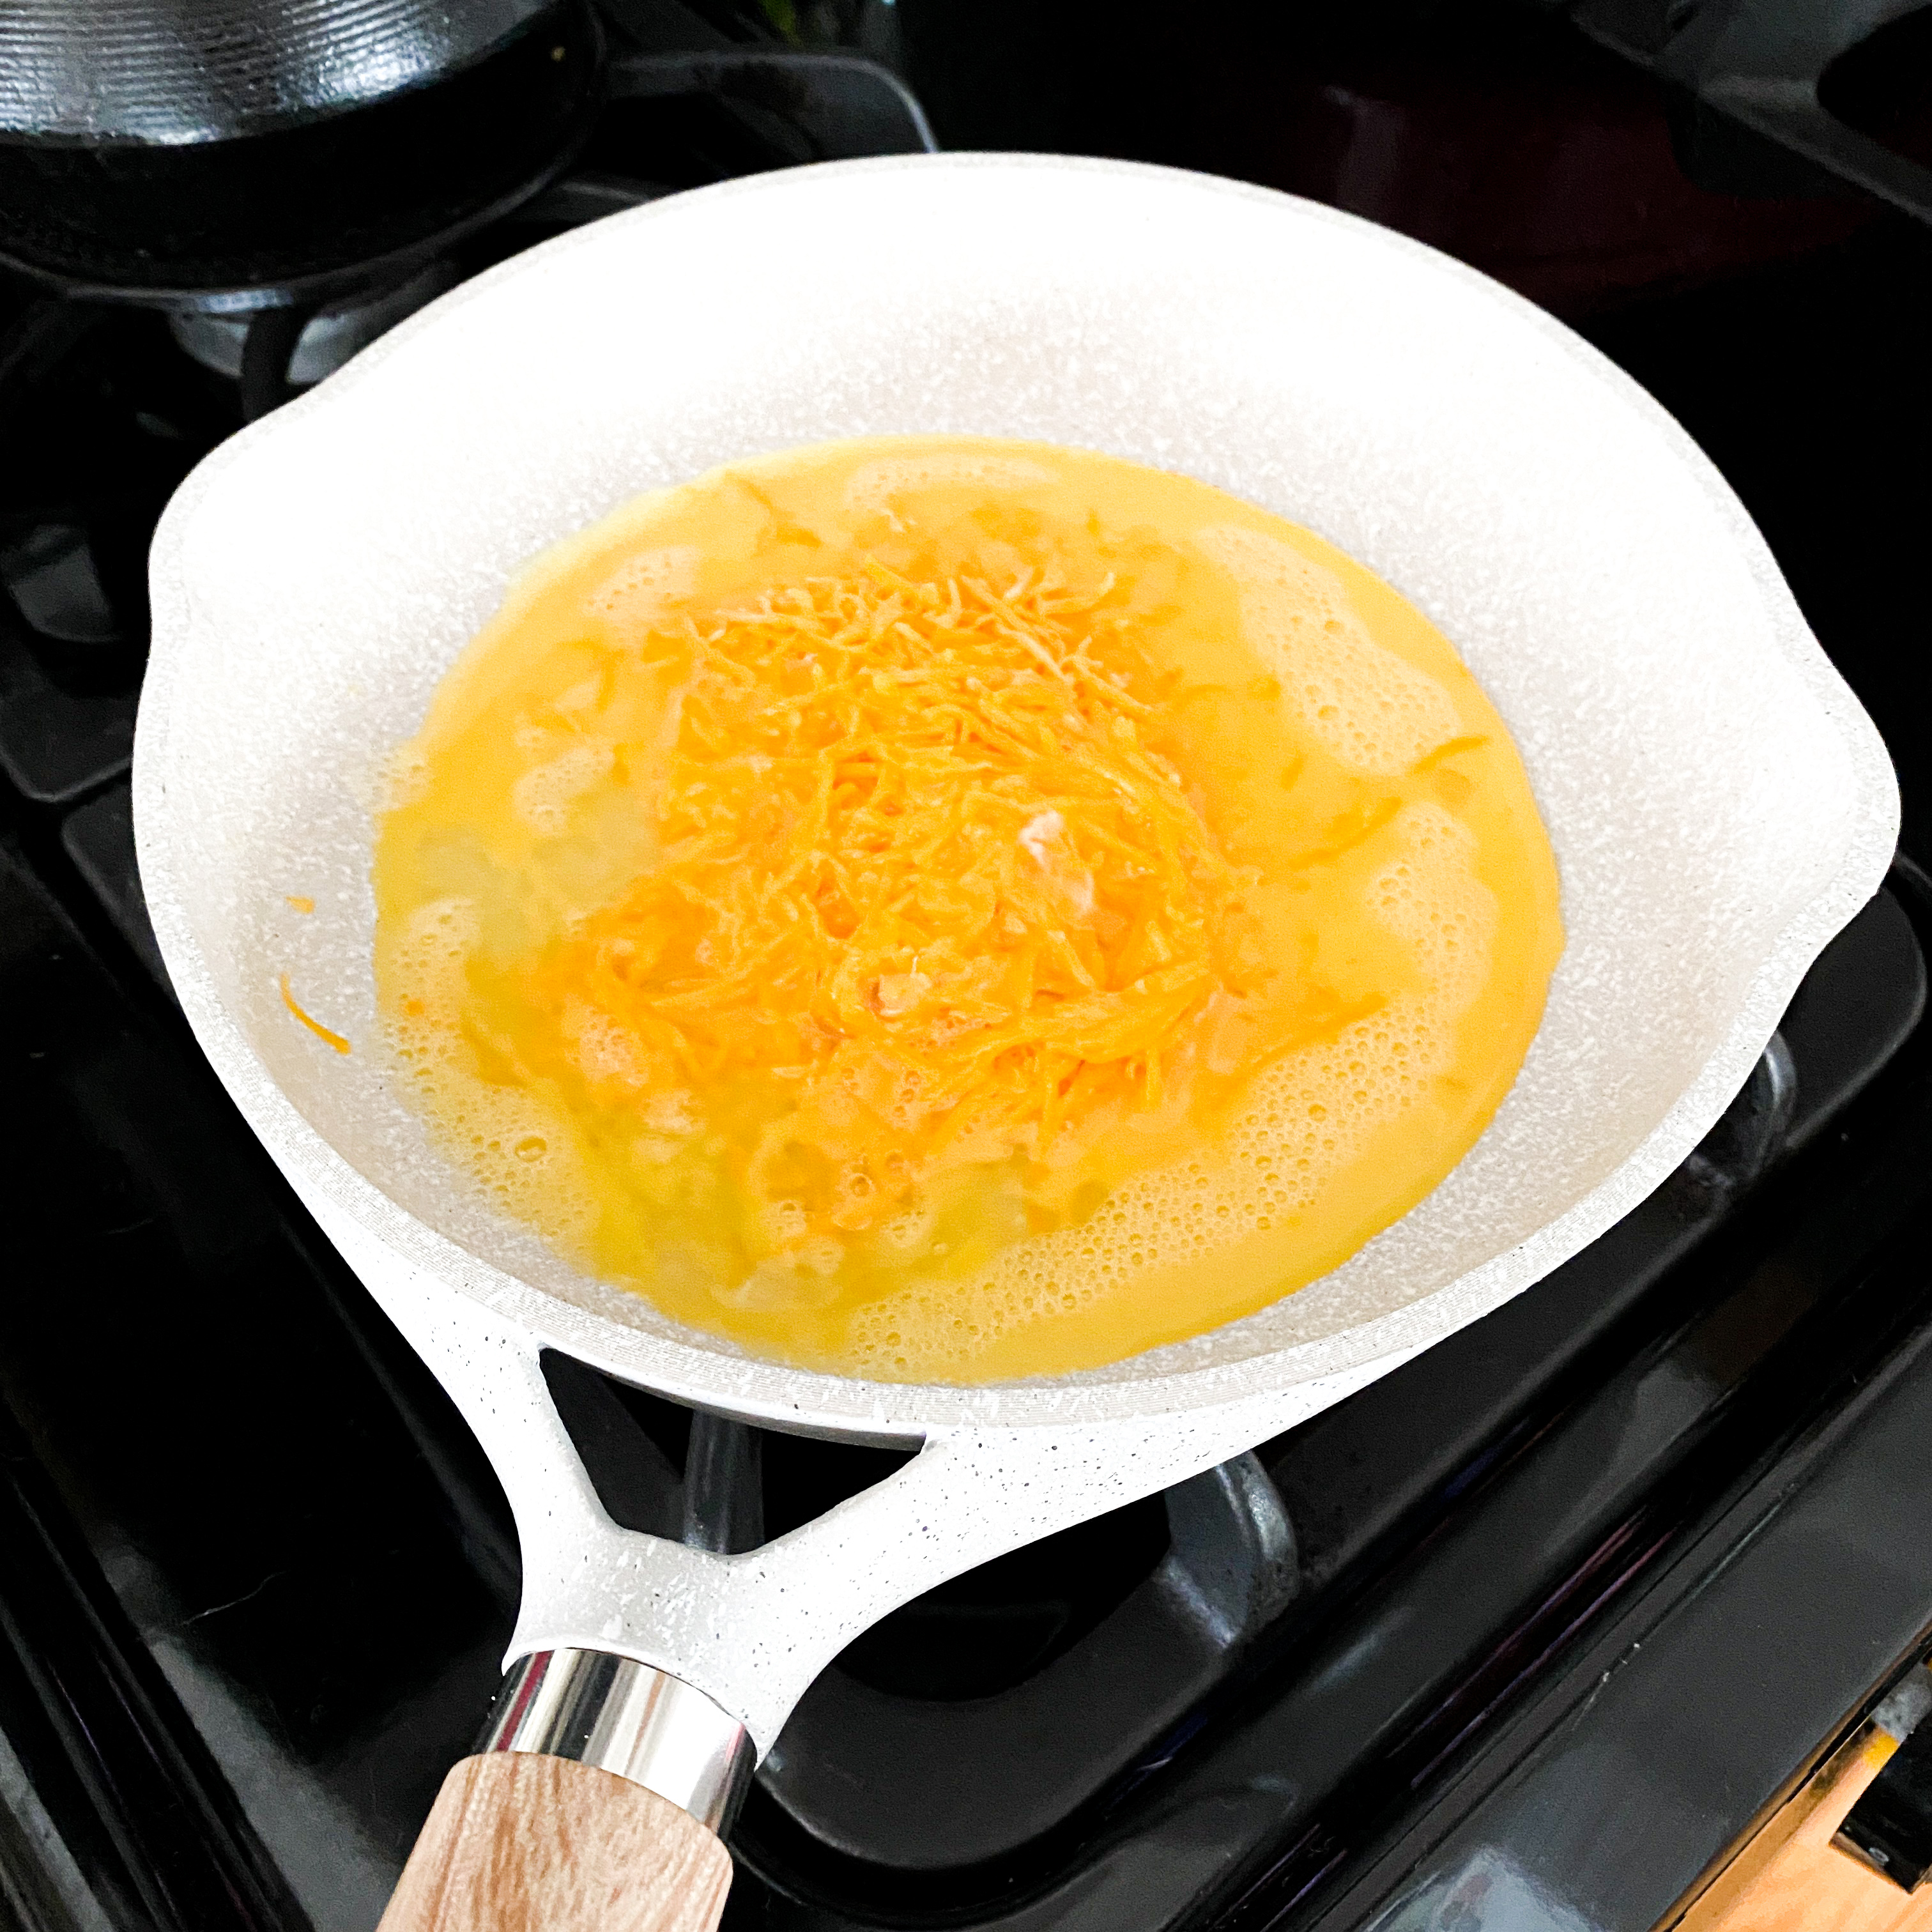
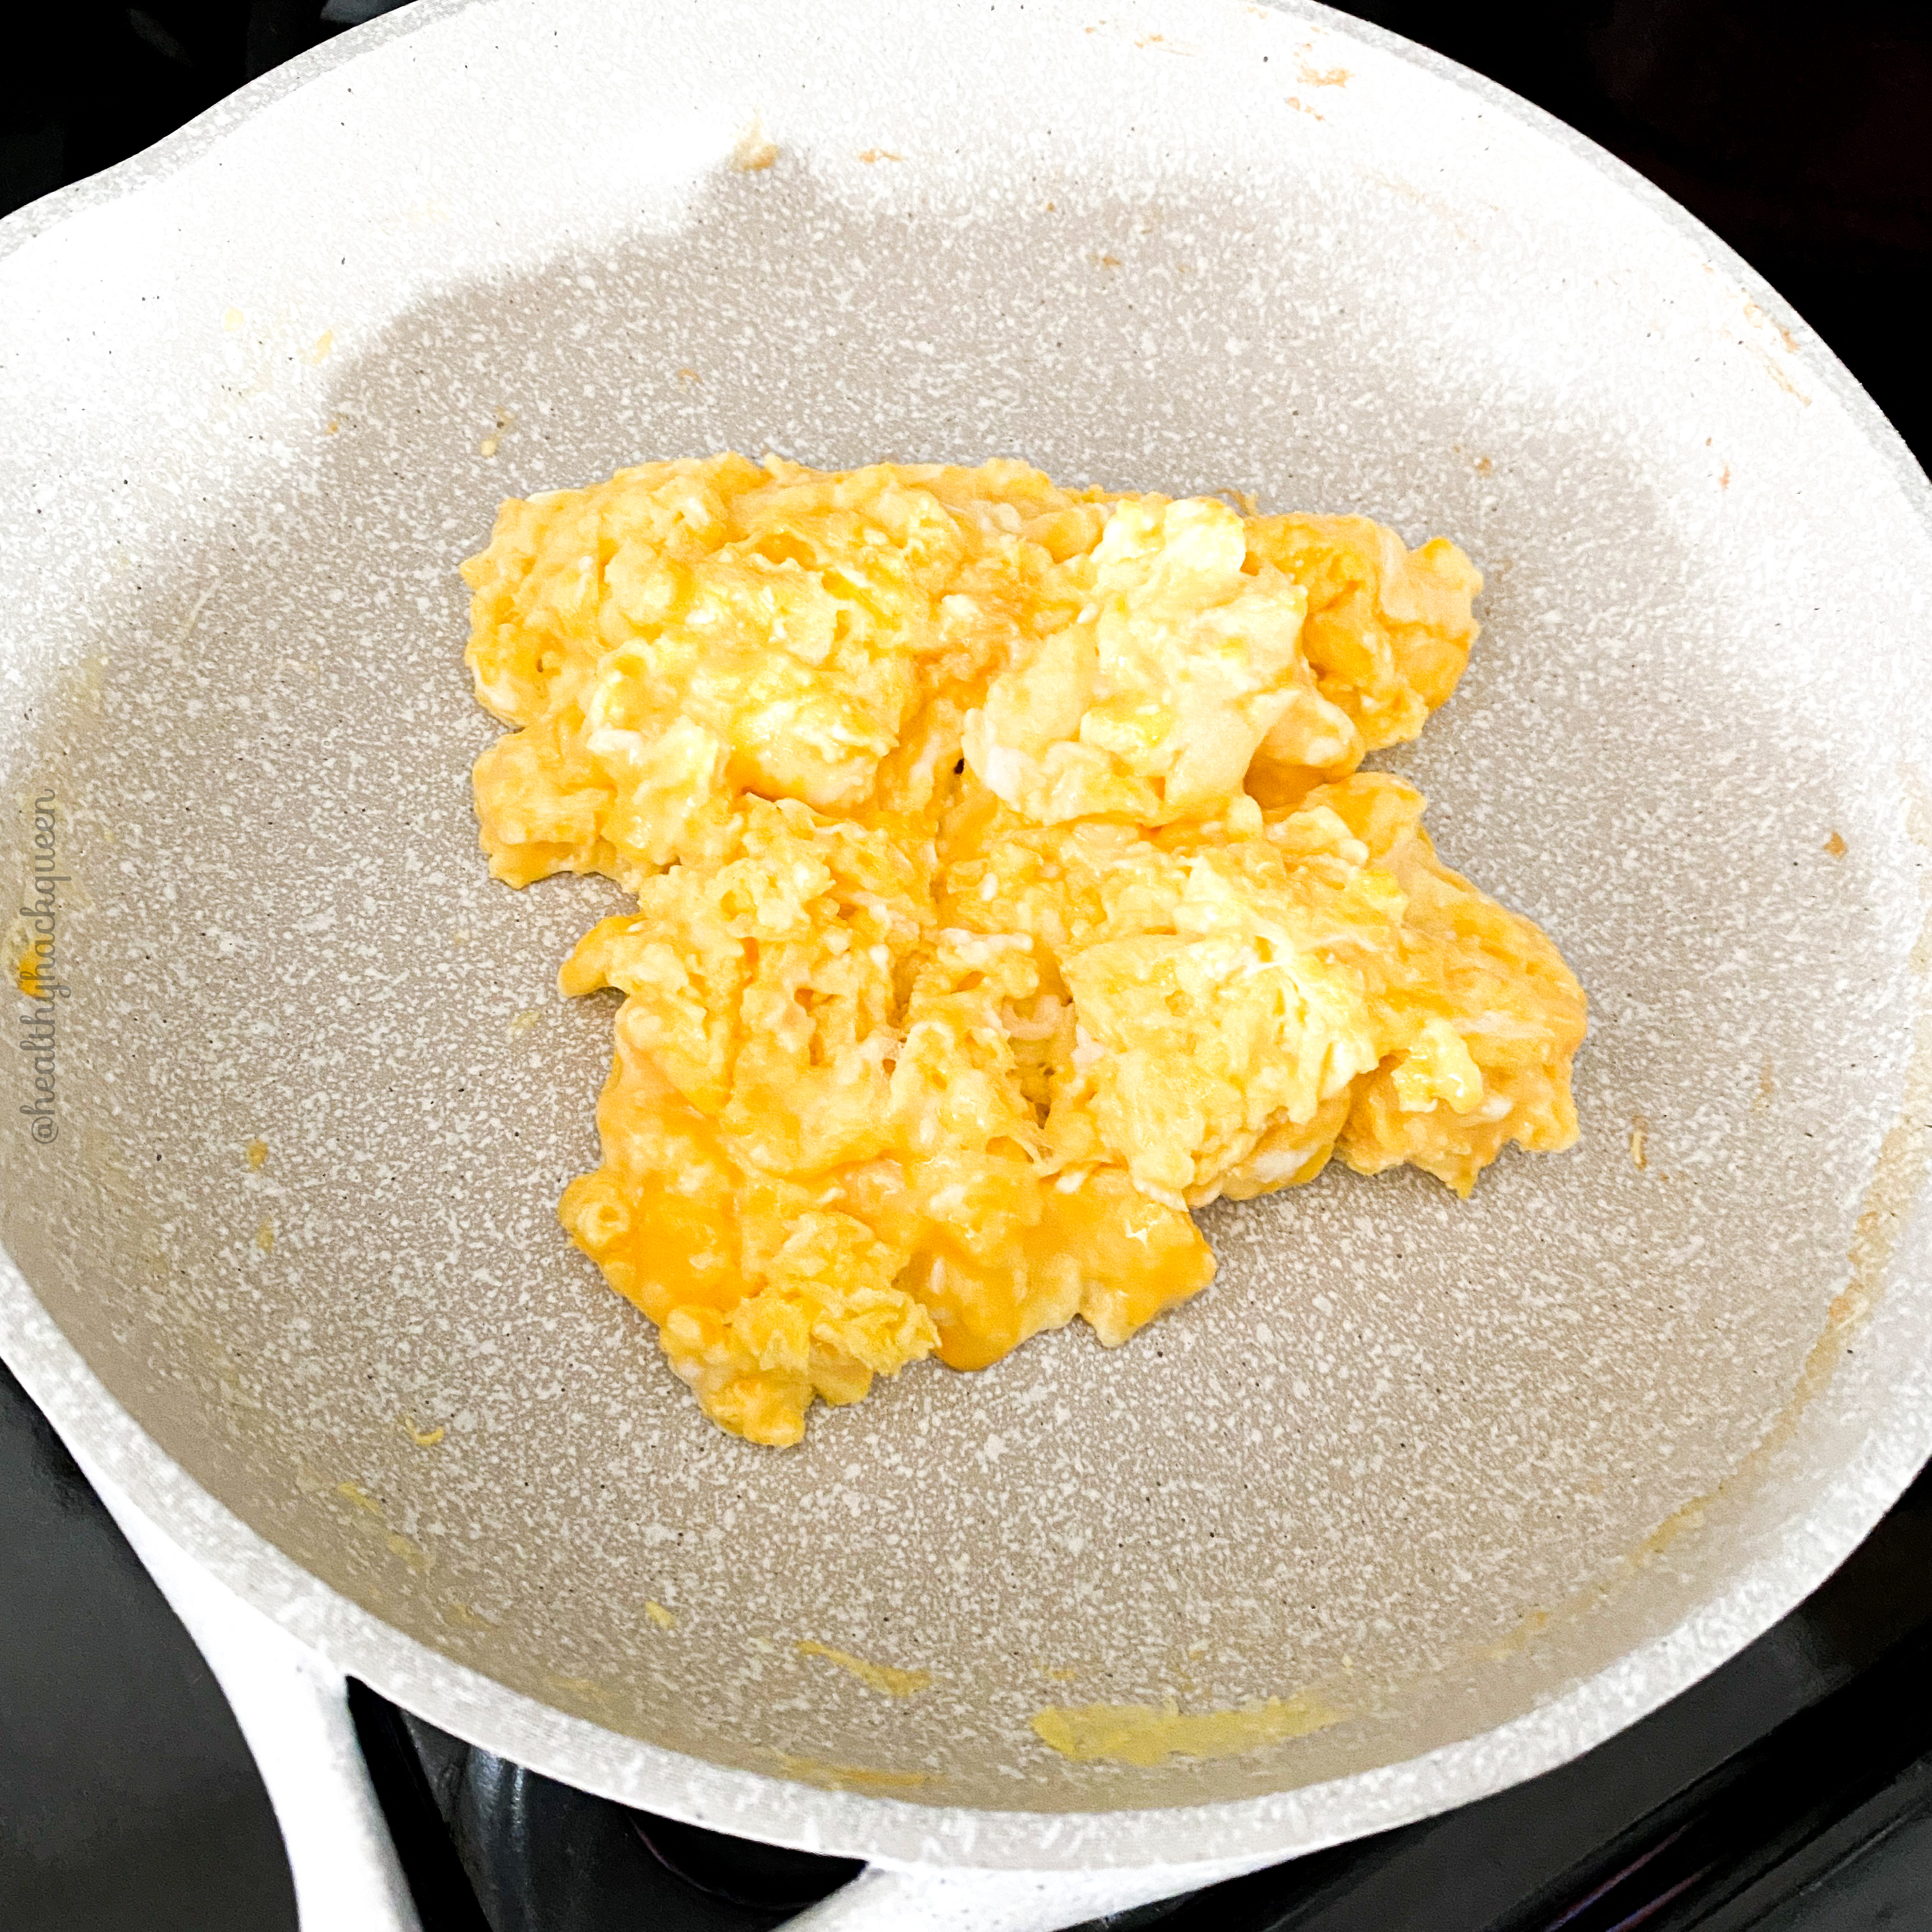
- Scramble egg, egg whites, and cheese in a pan
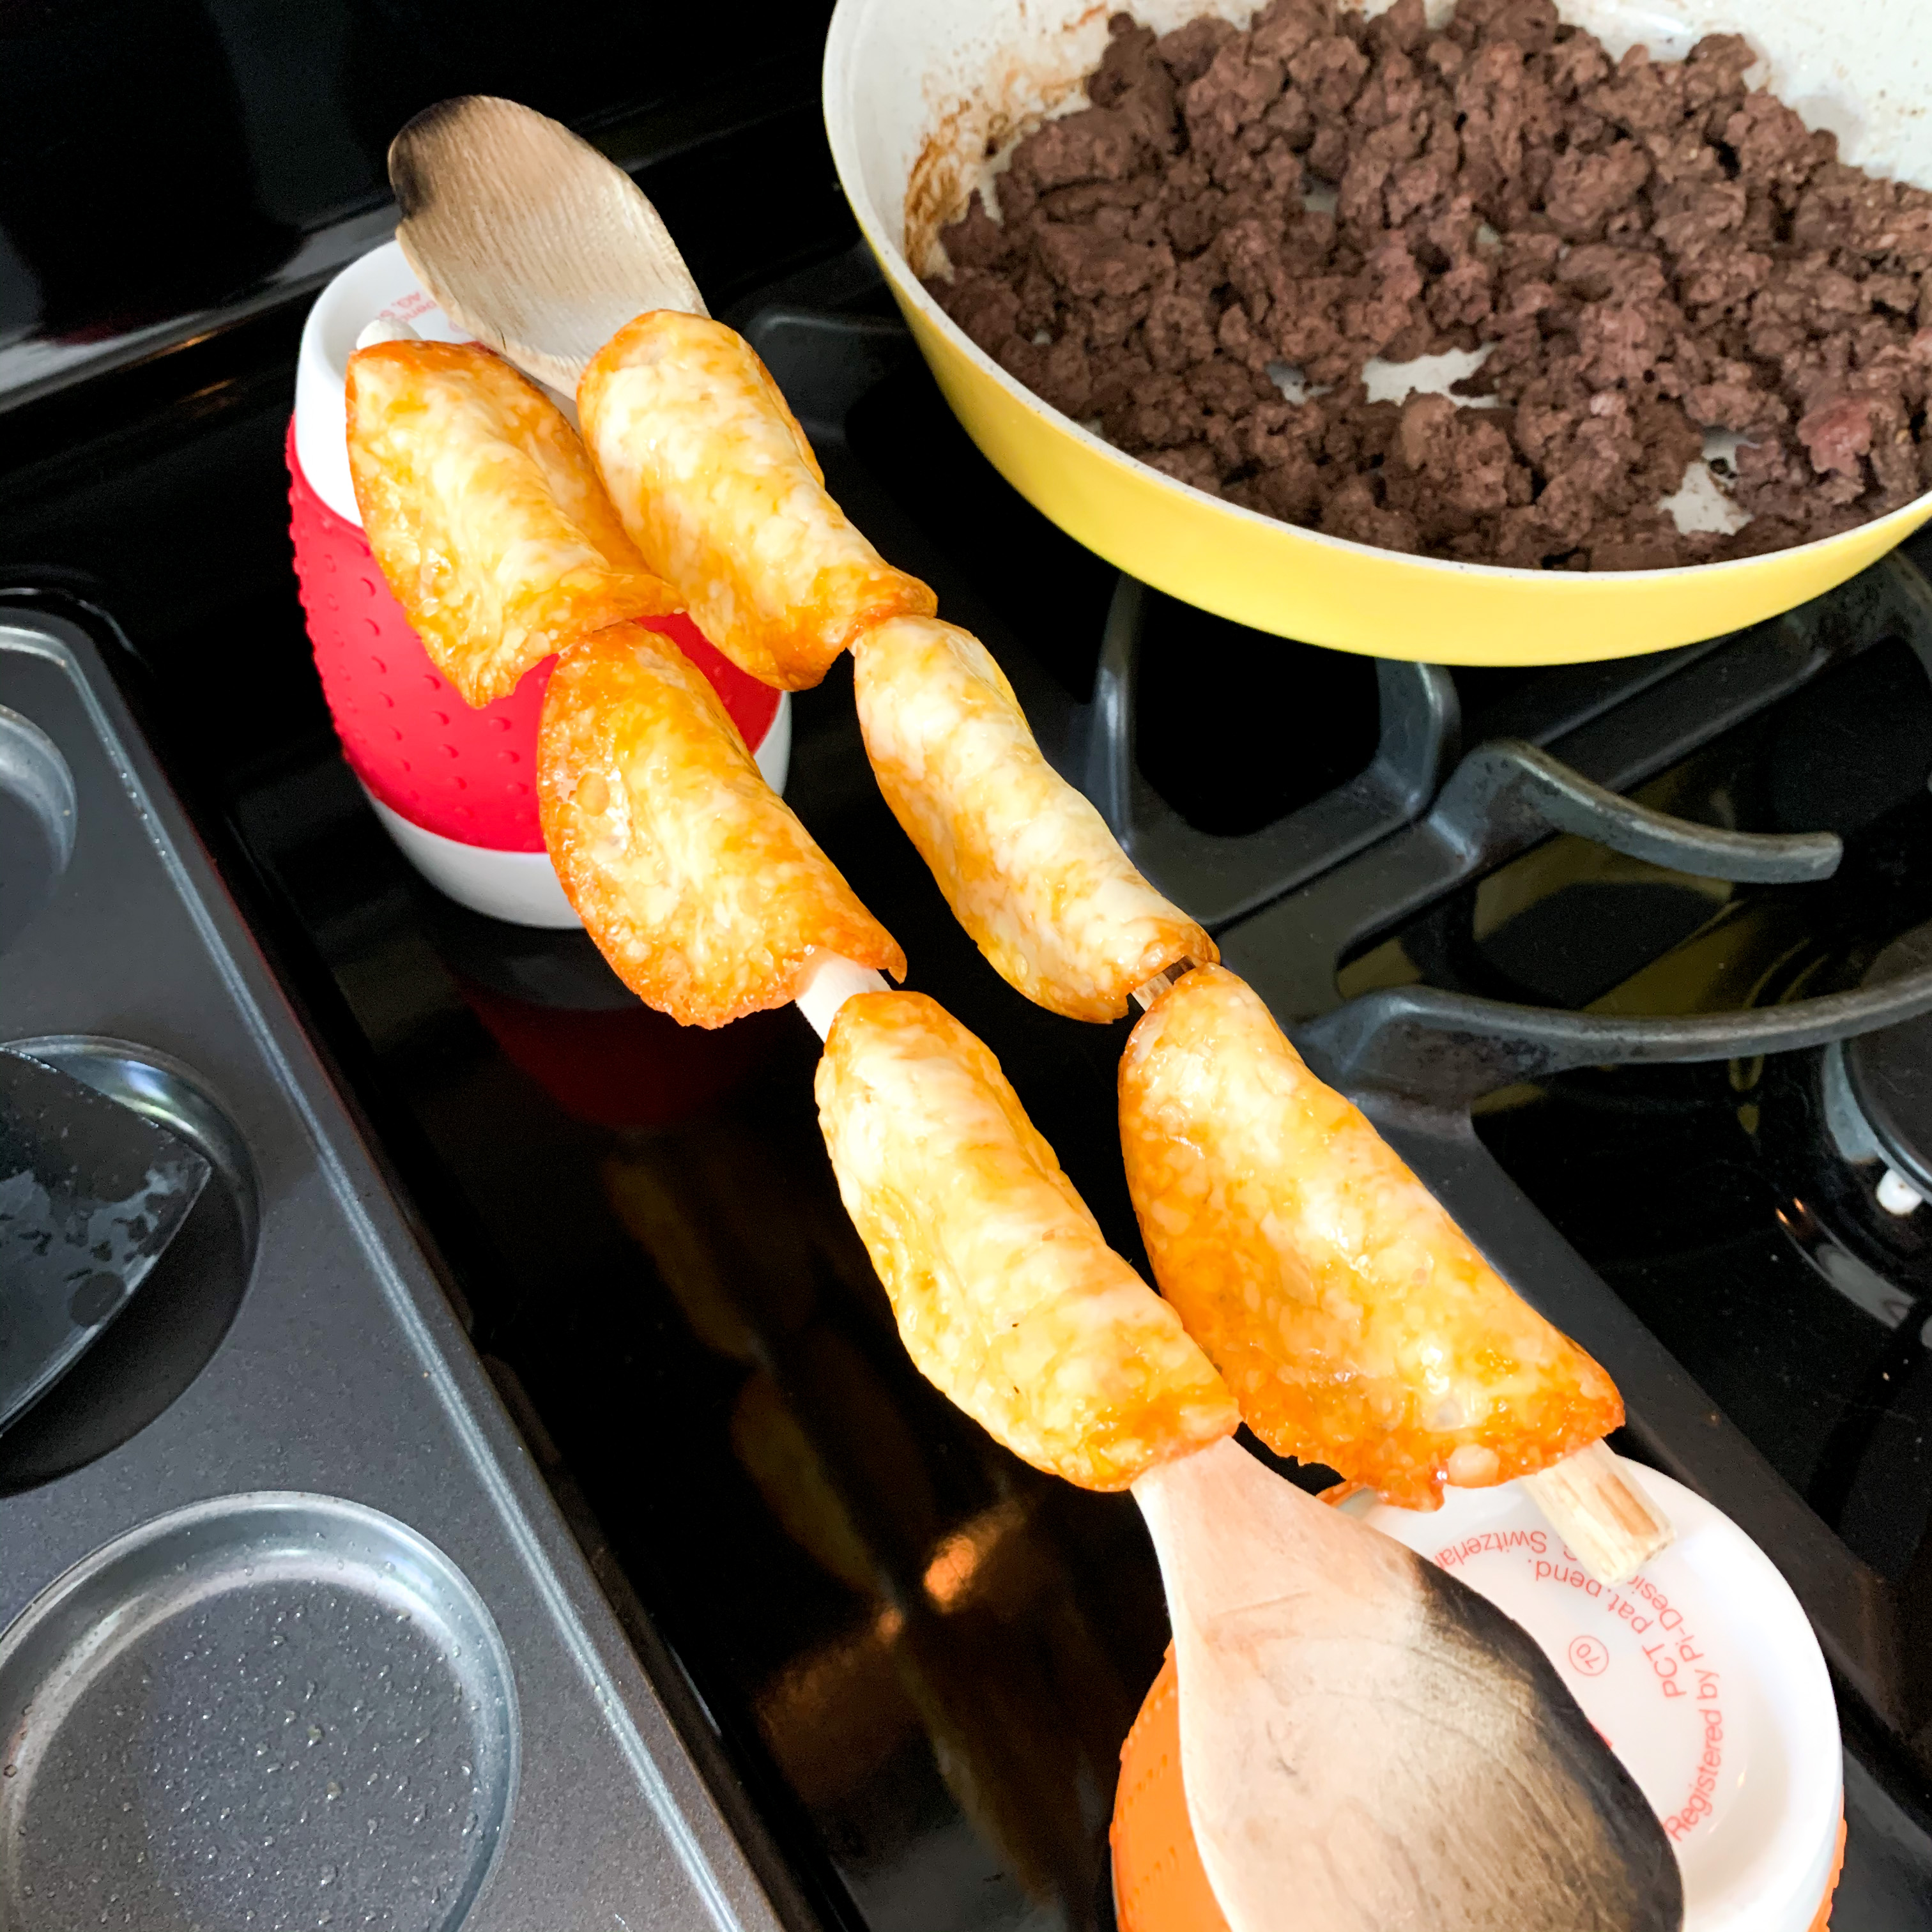
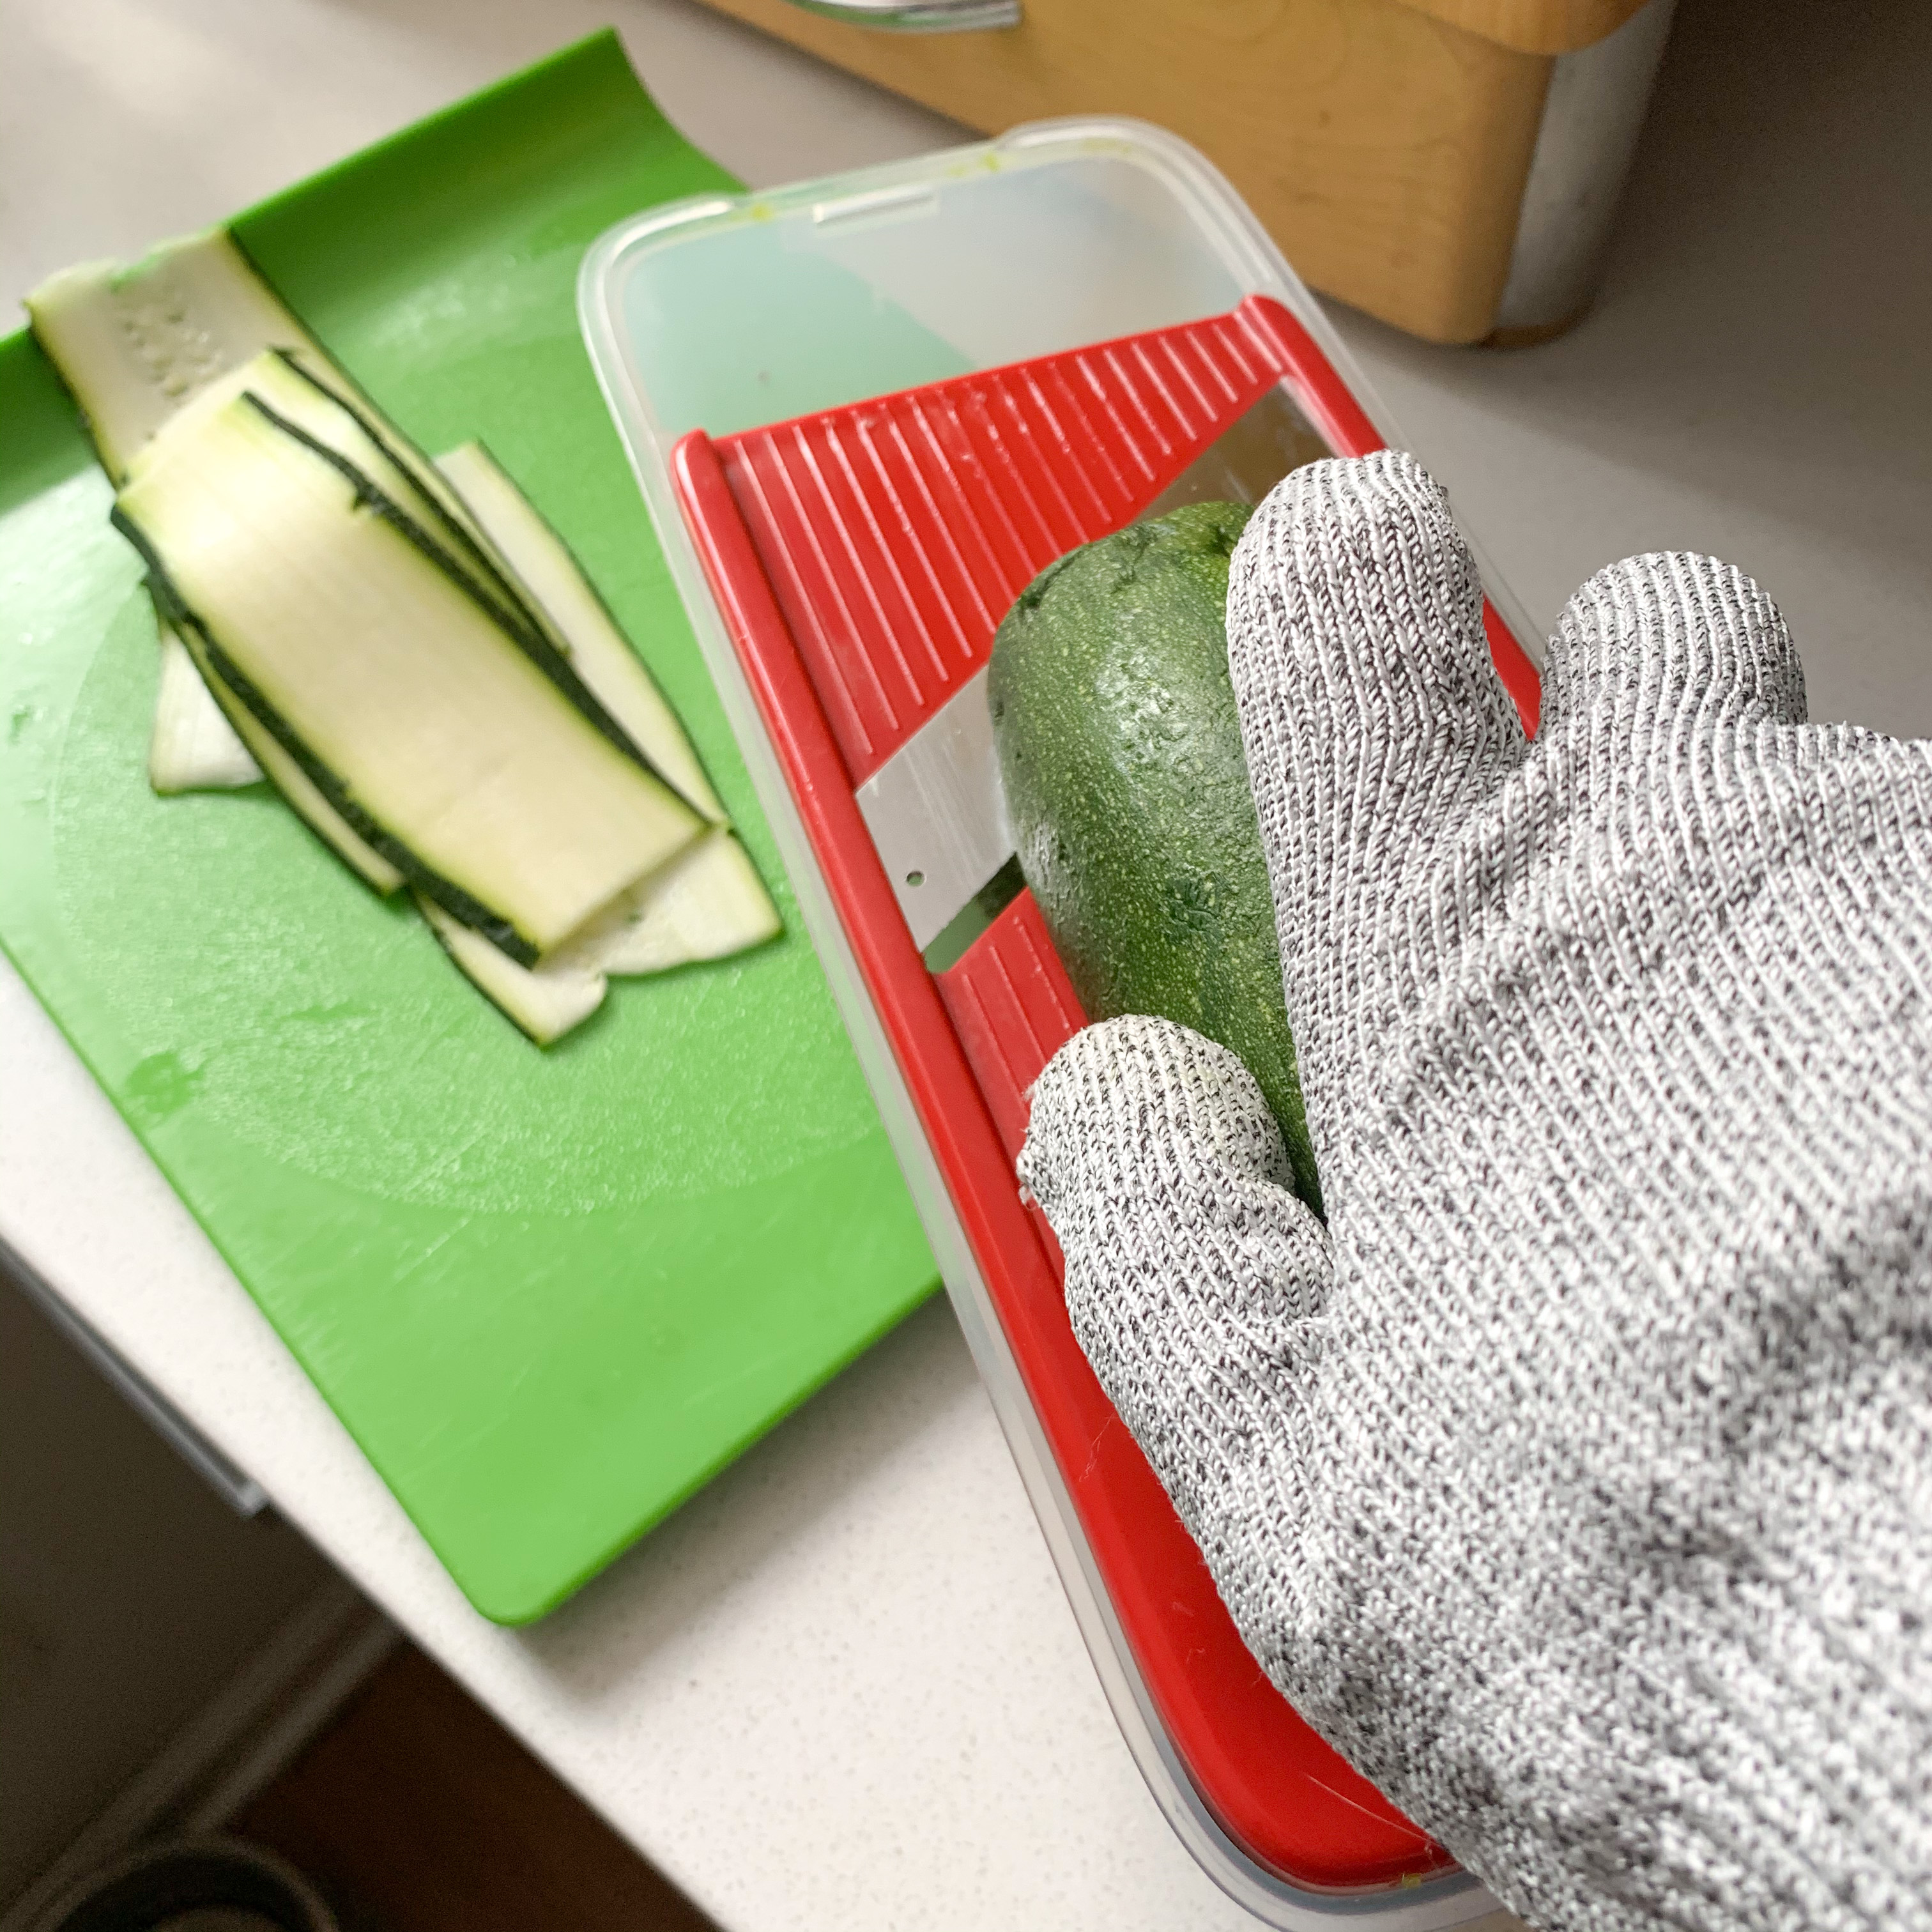
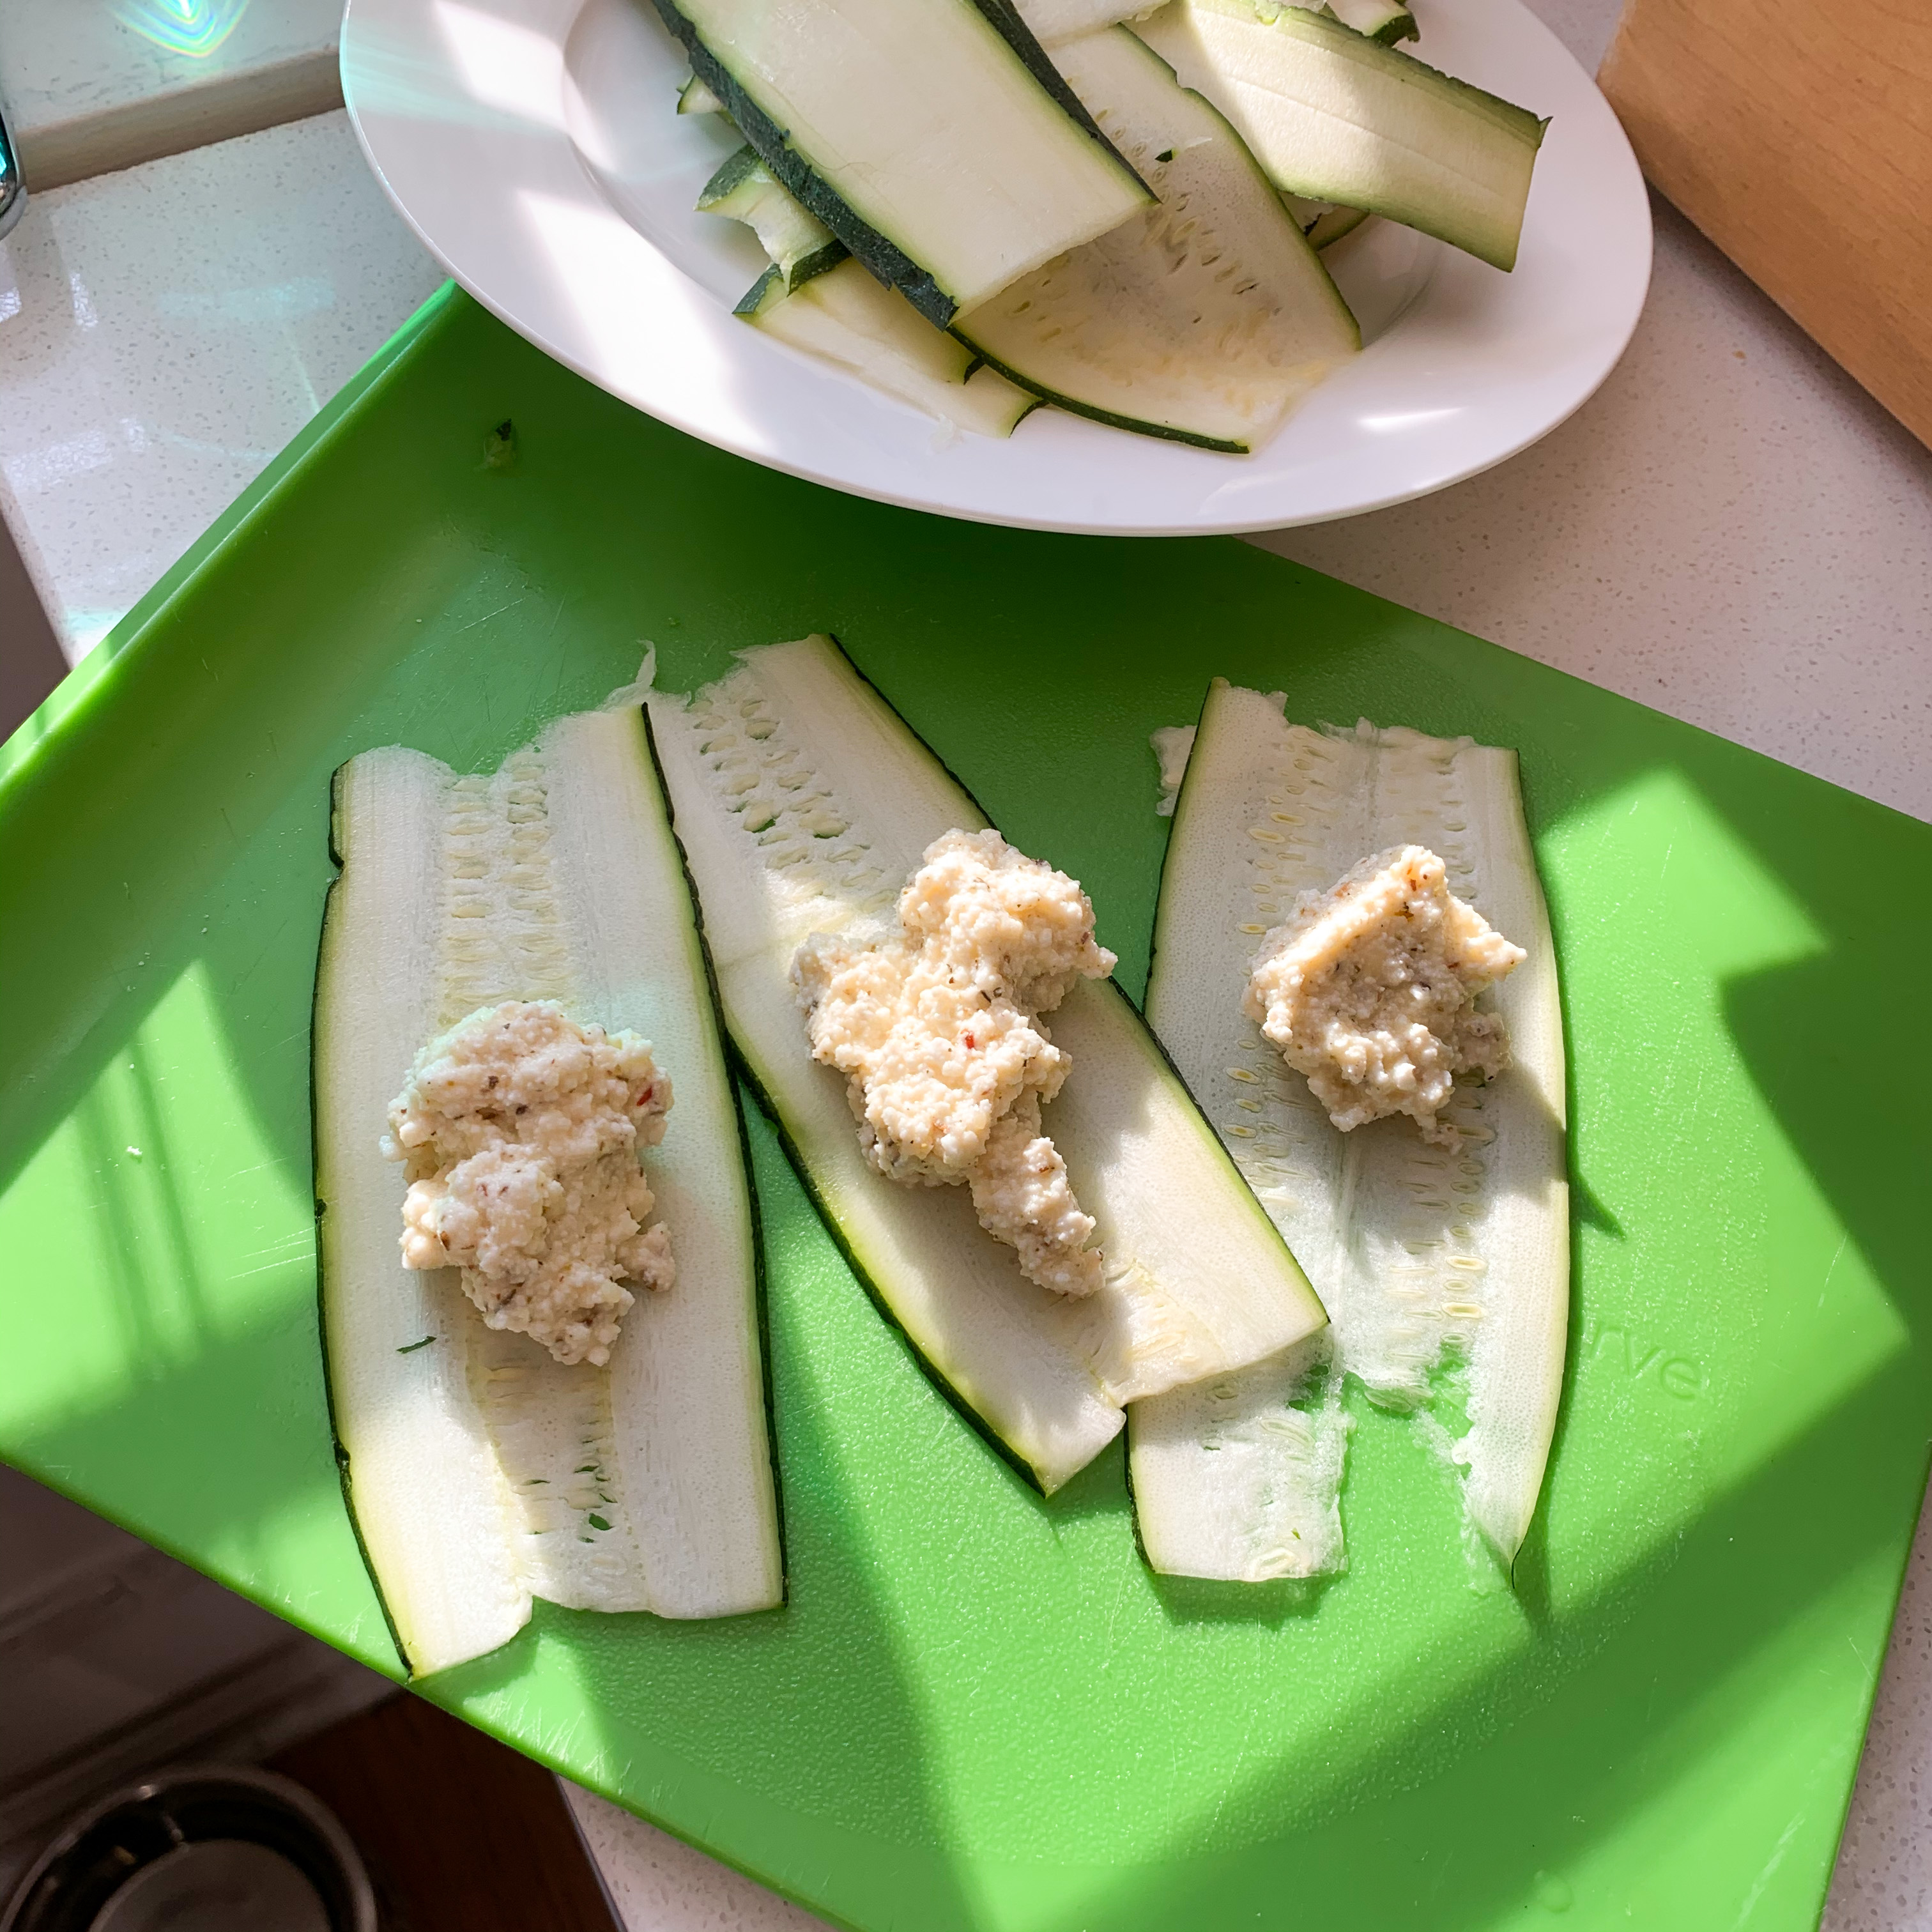
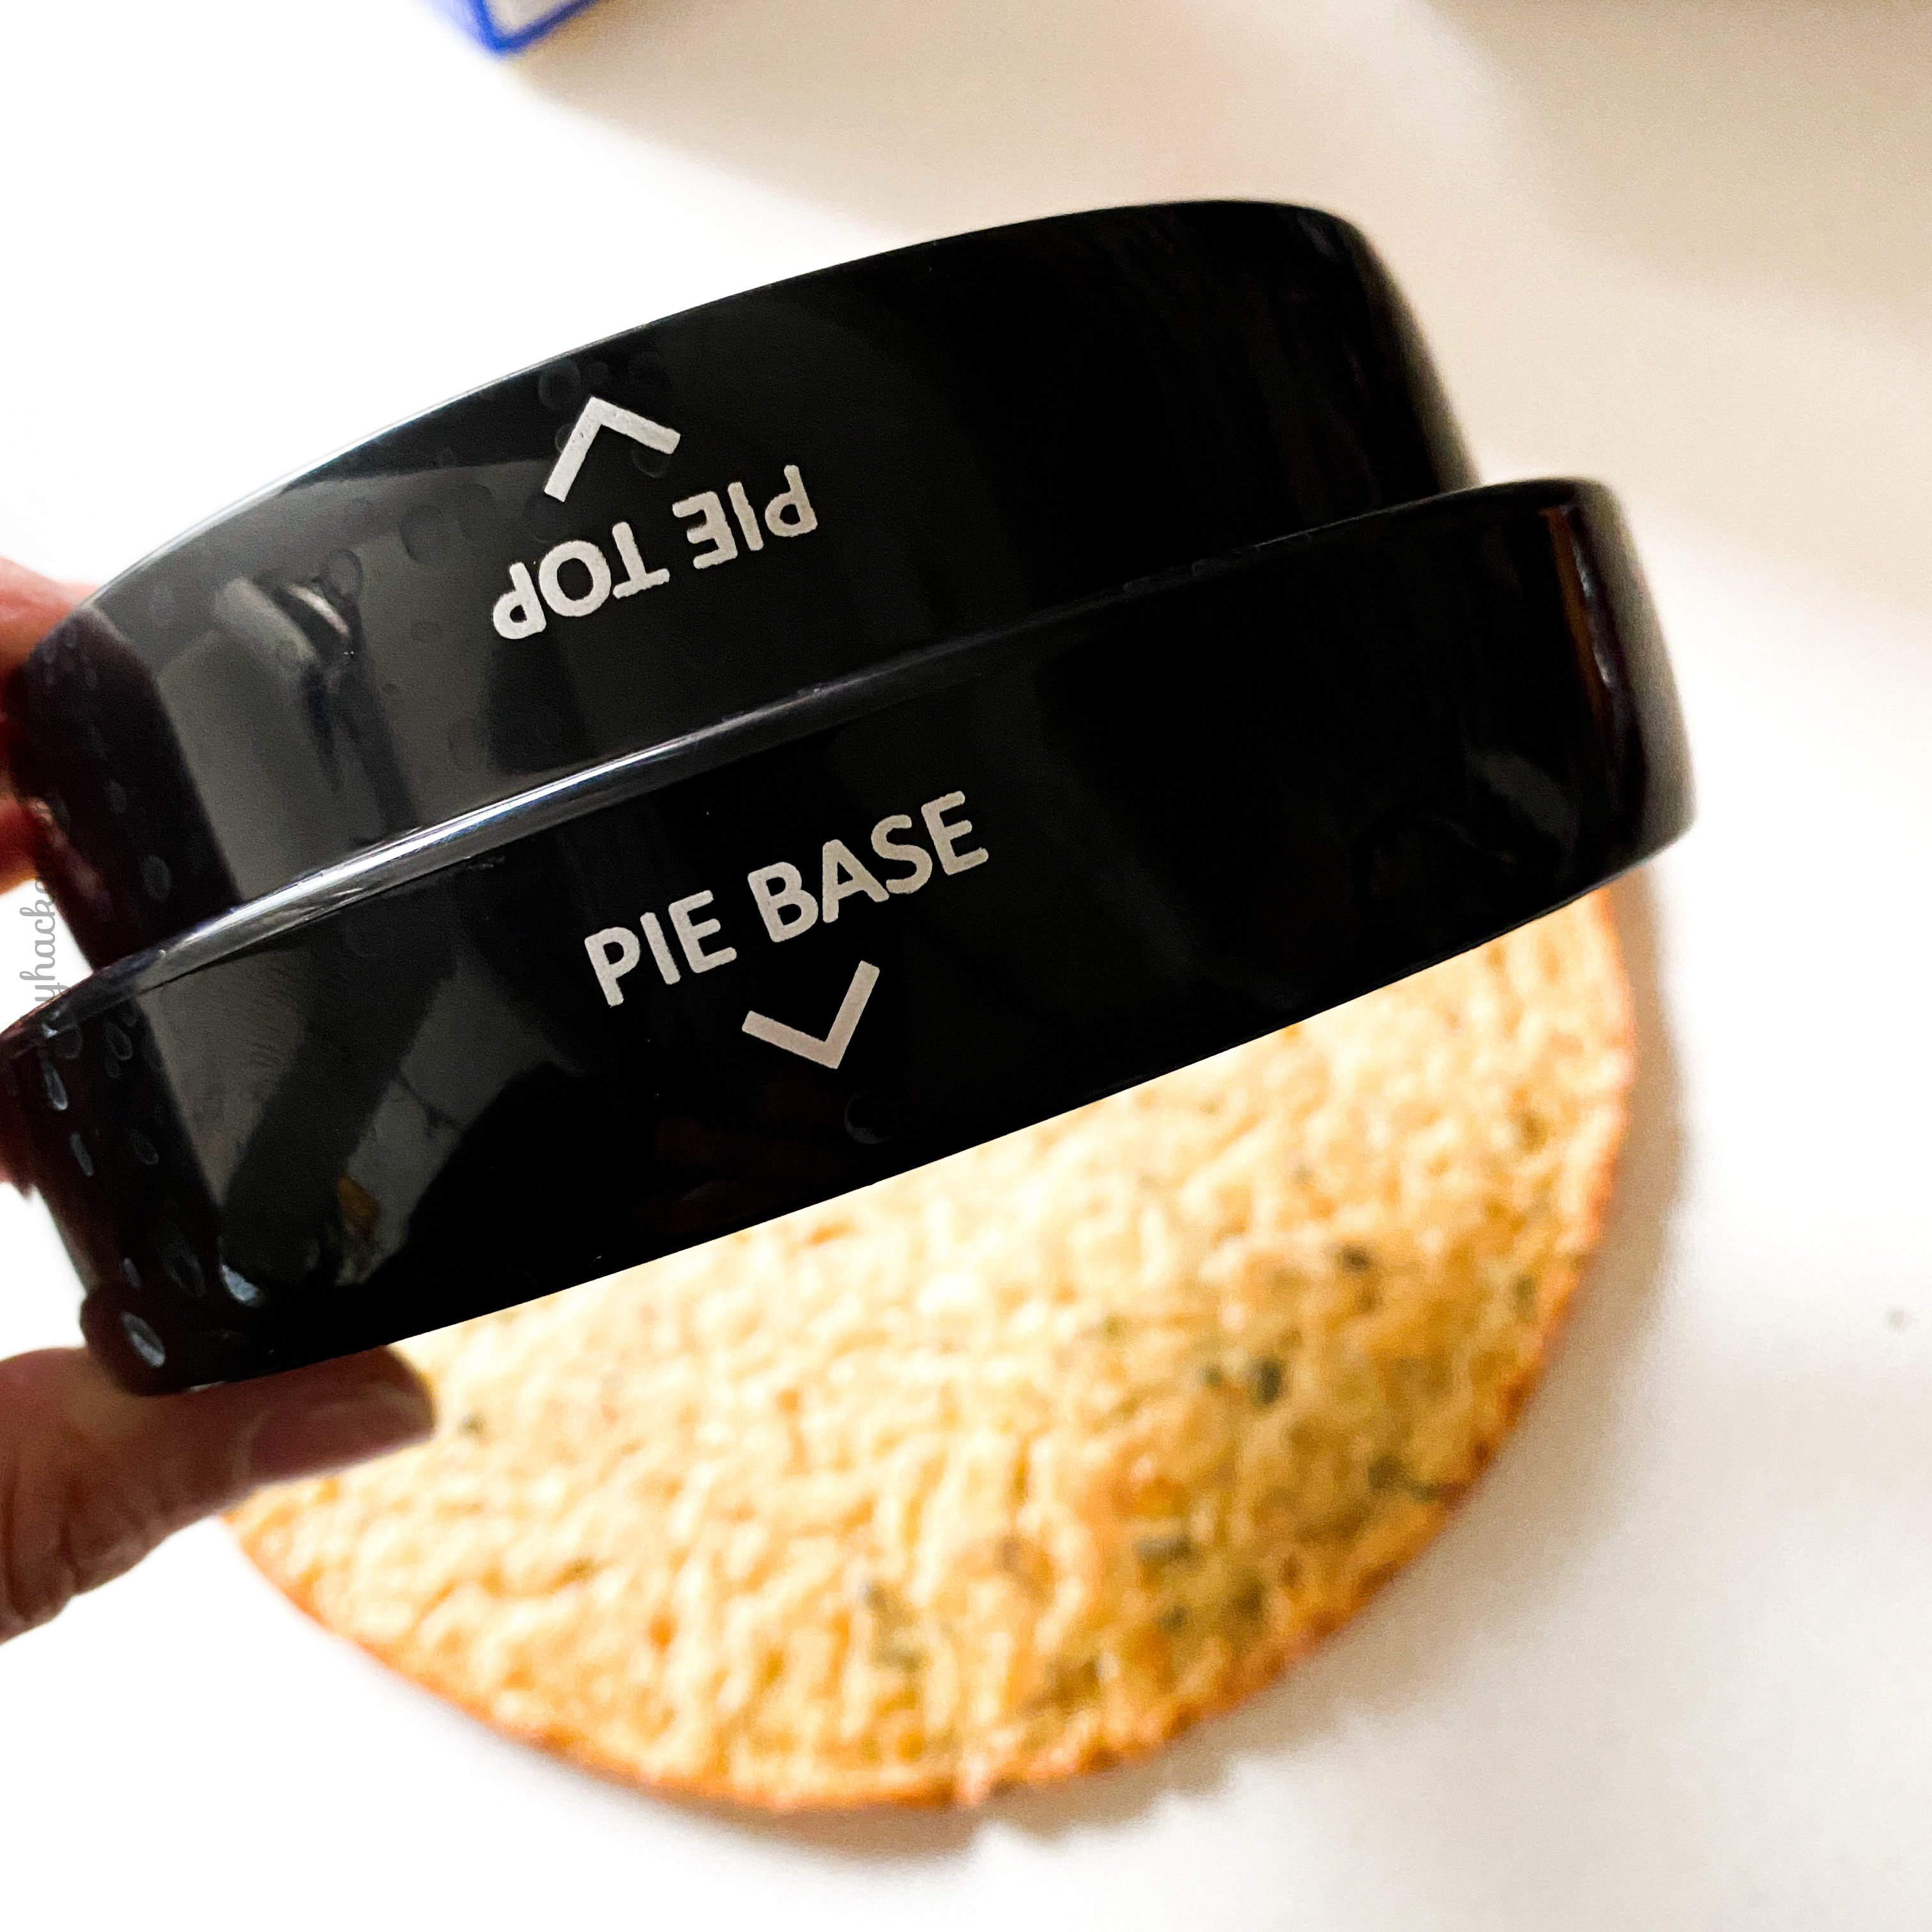
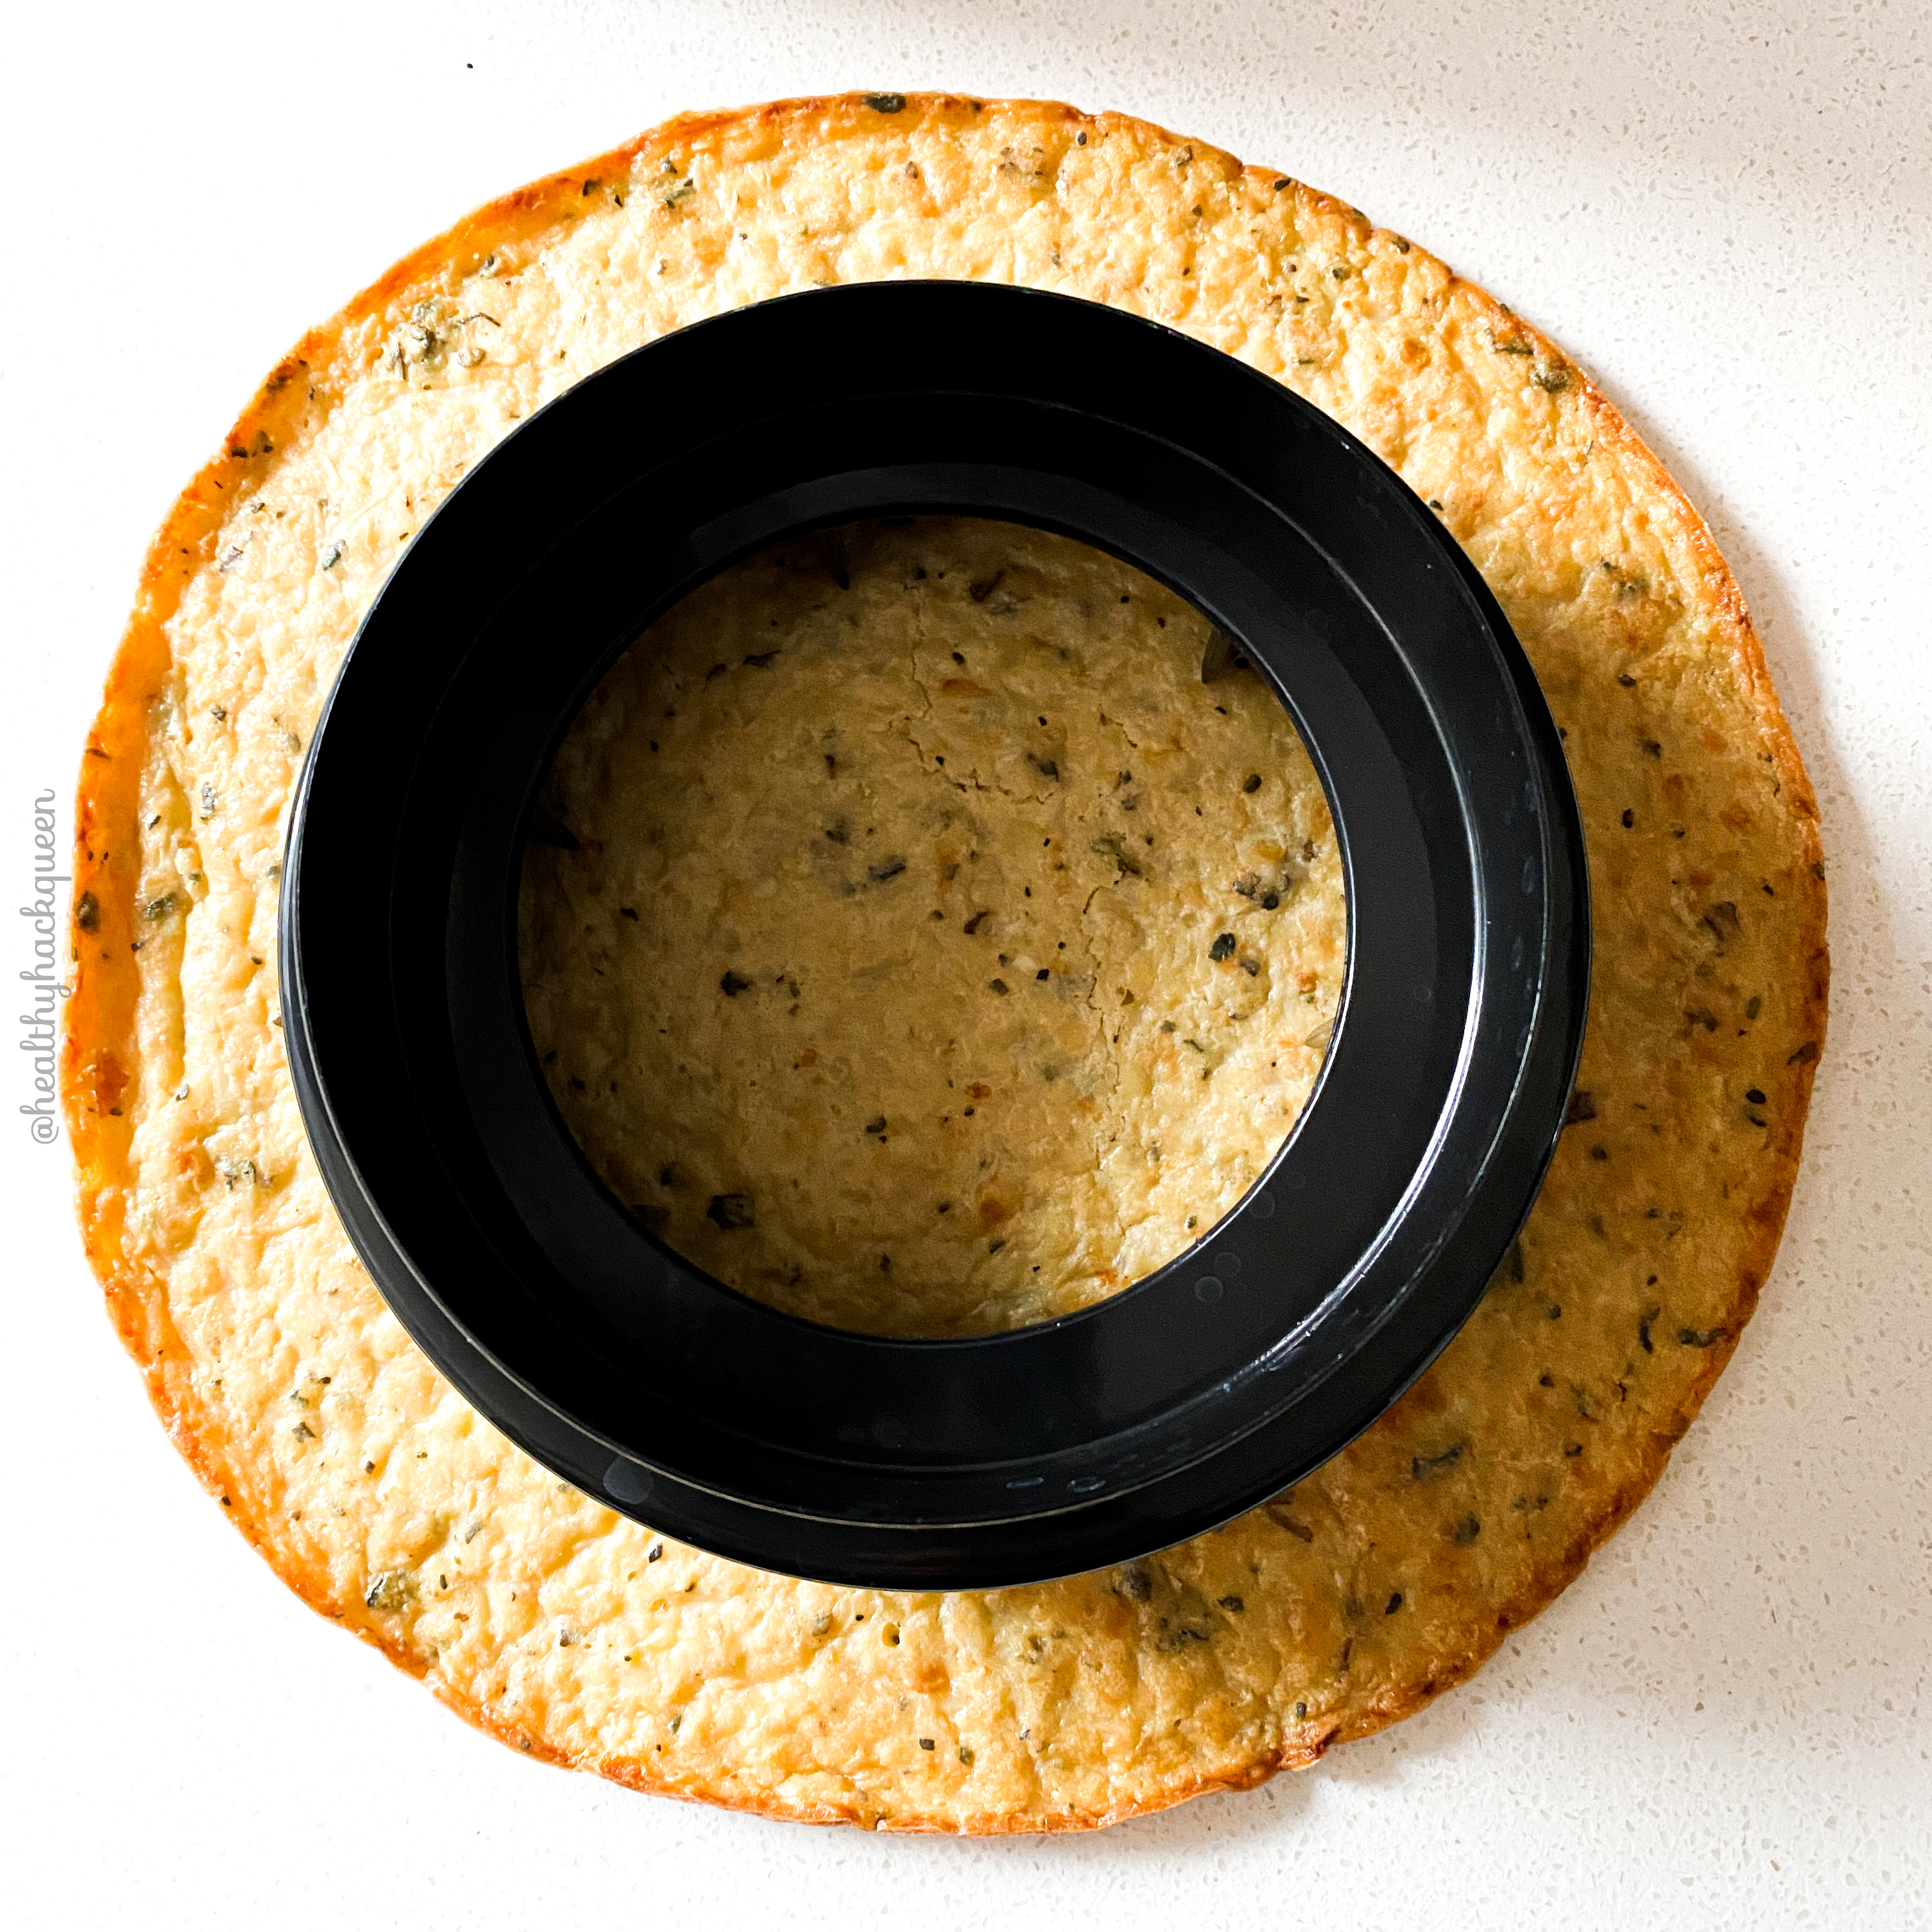
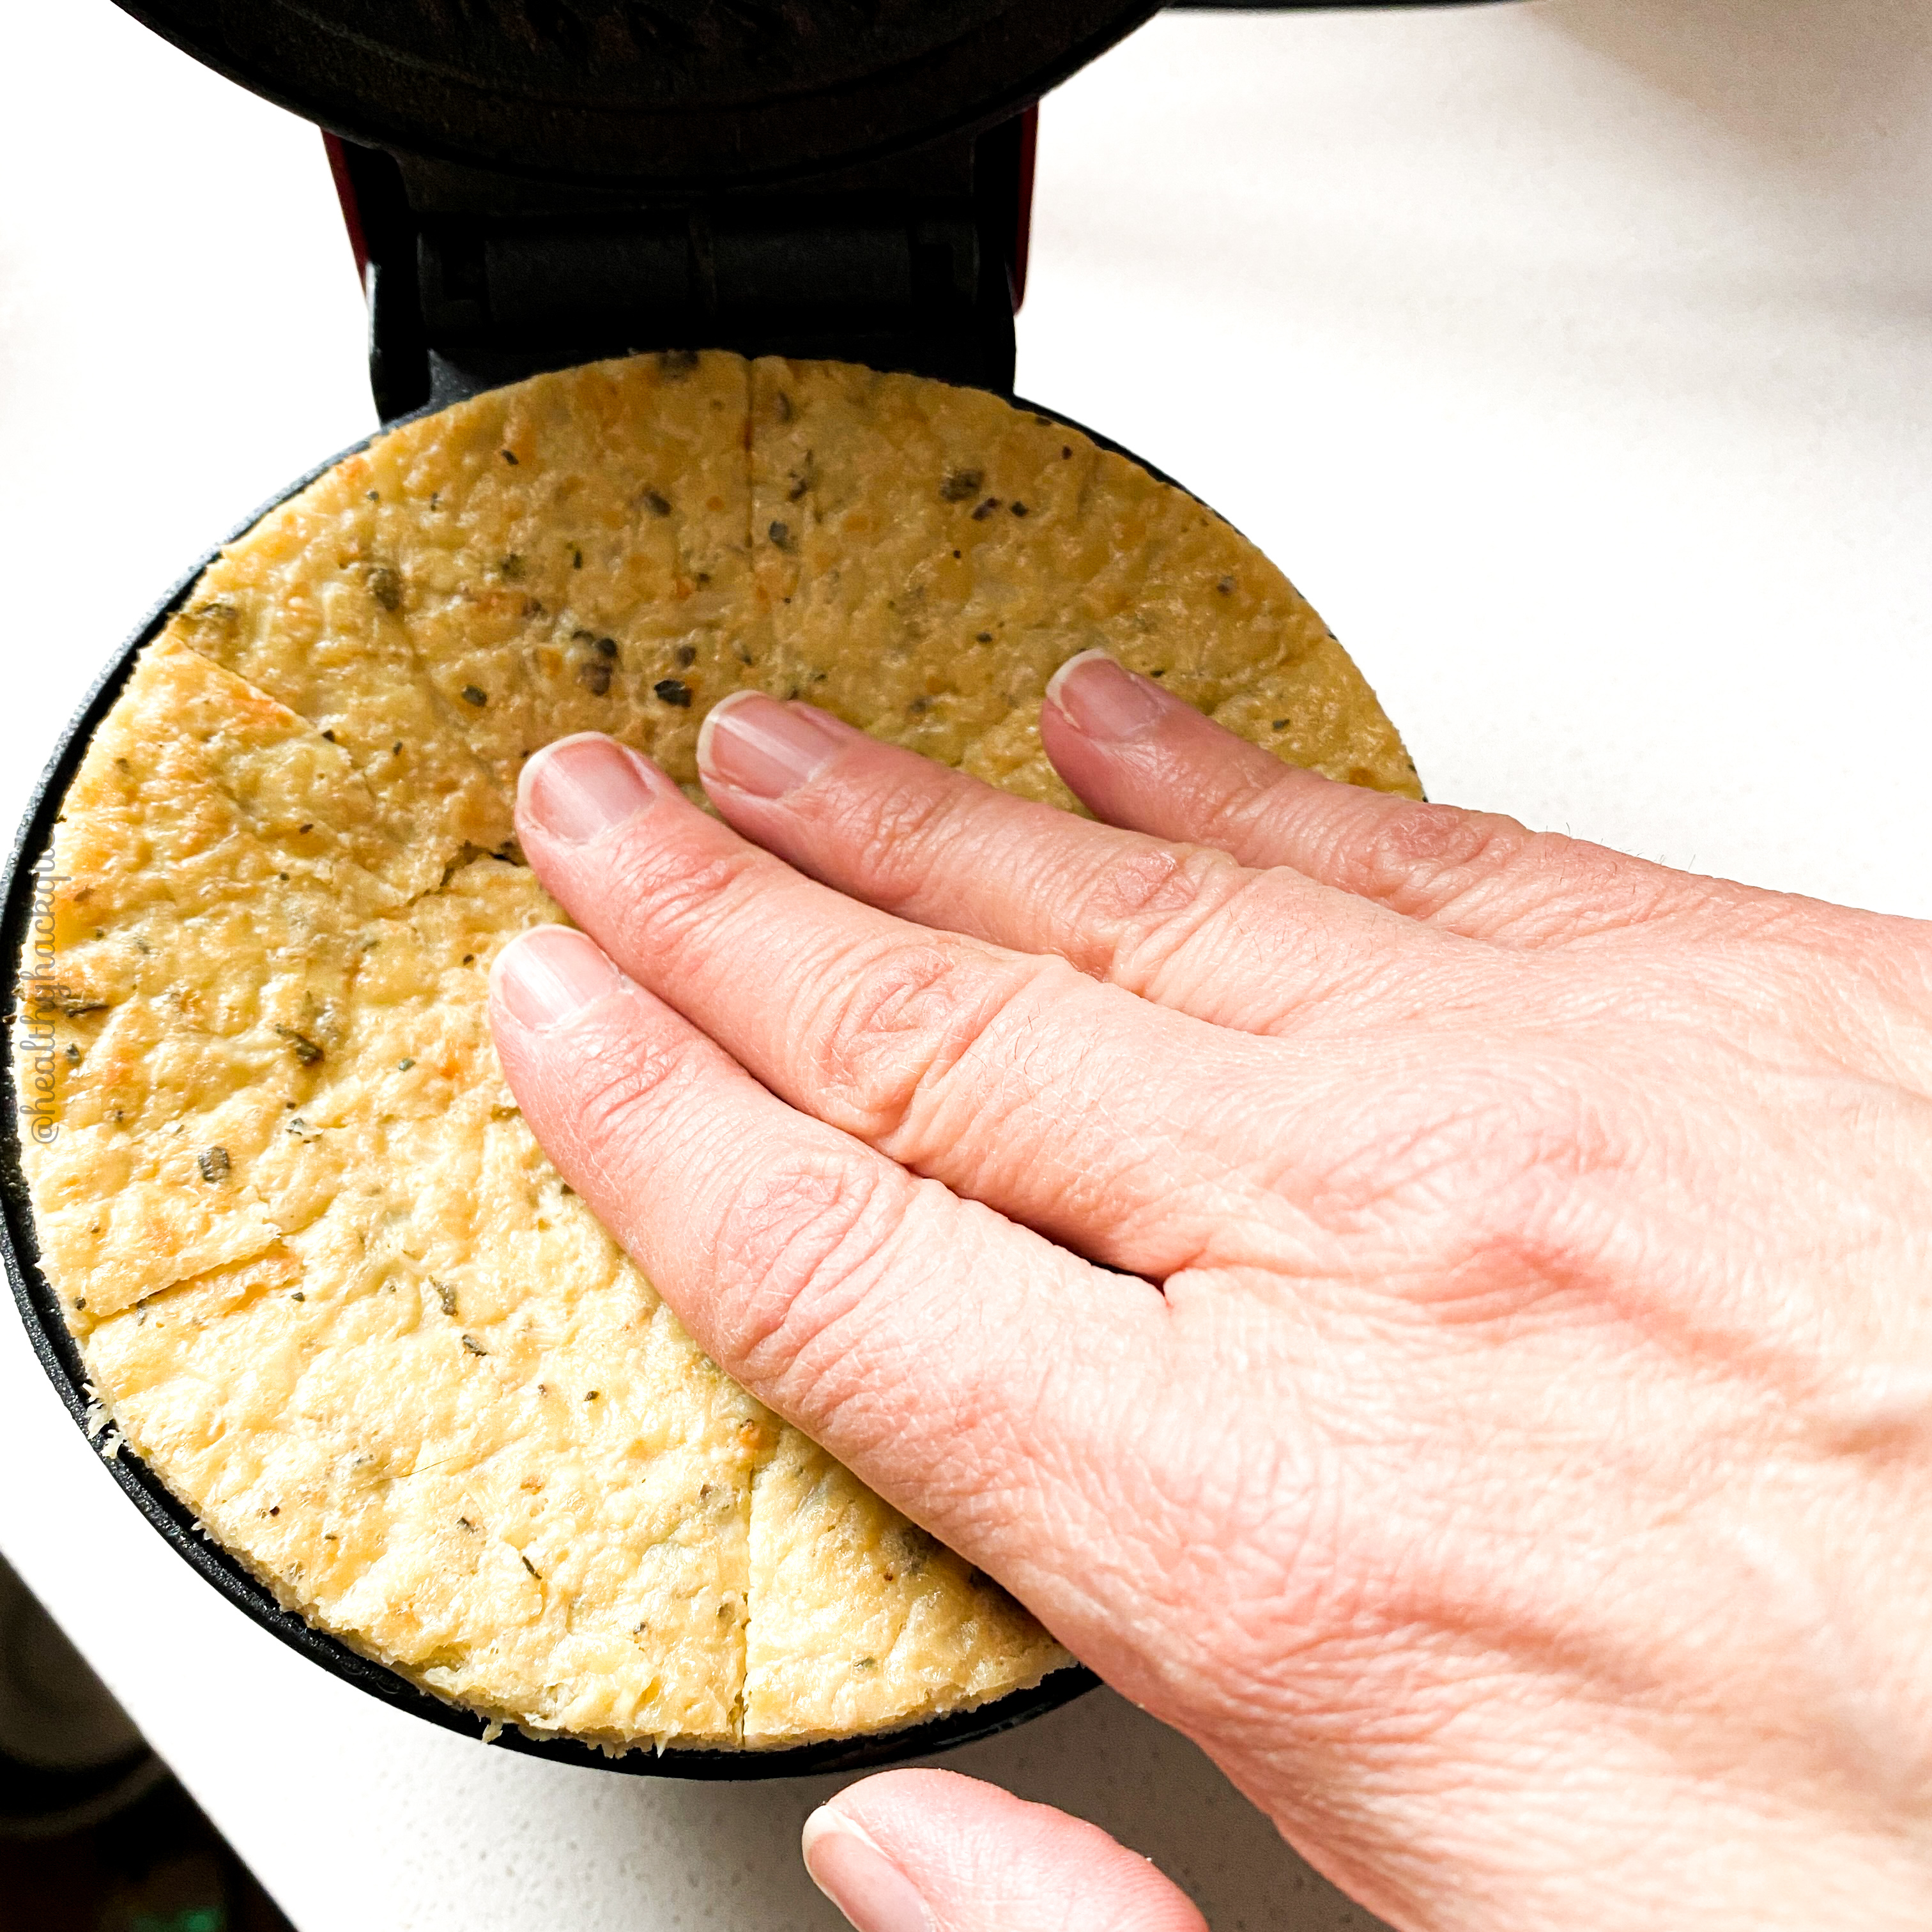
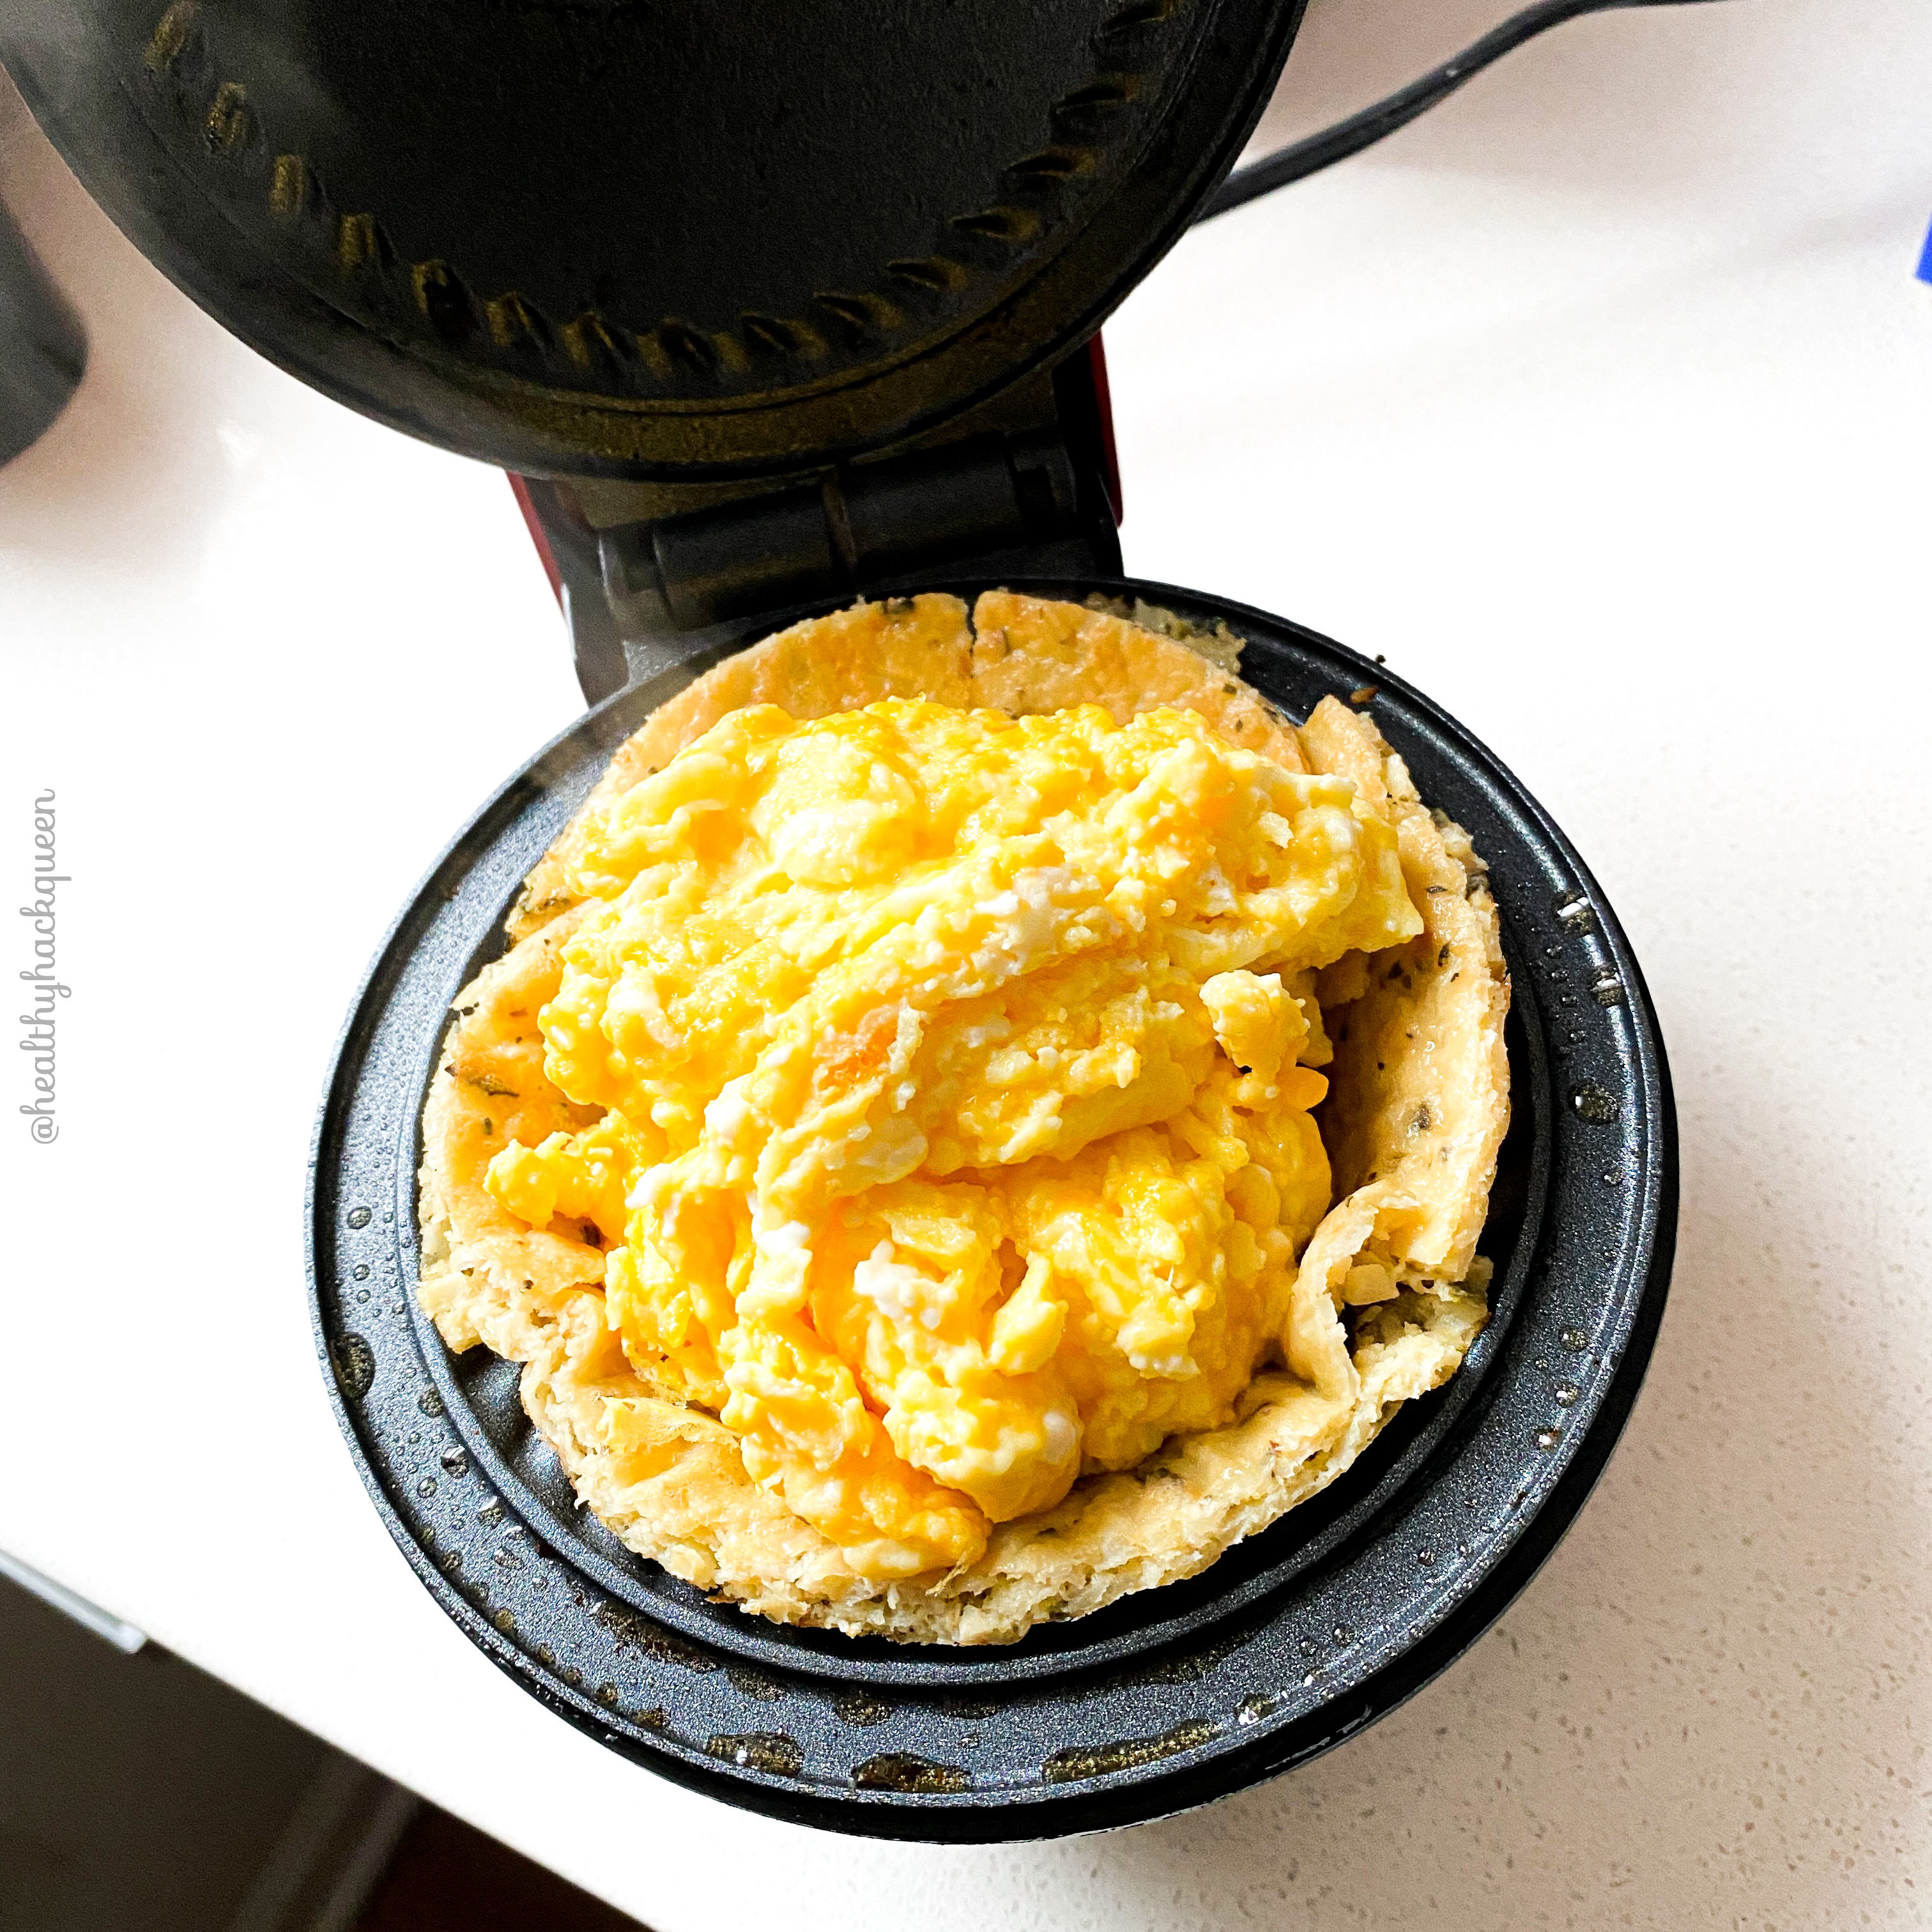
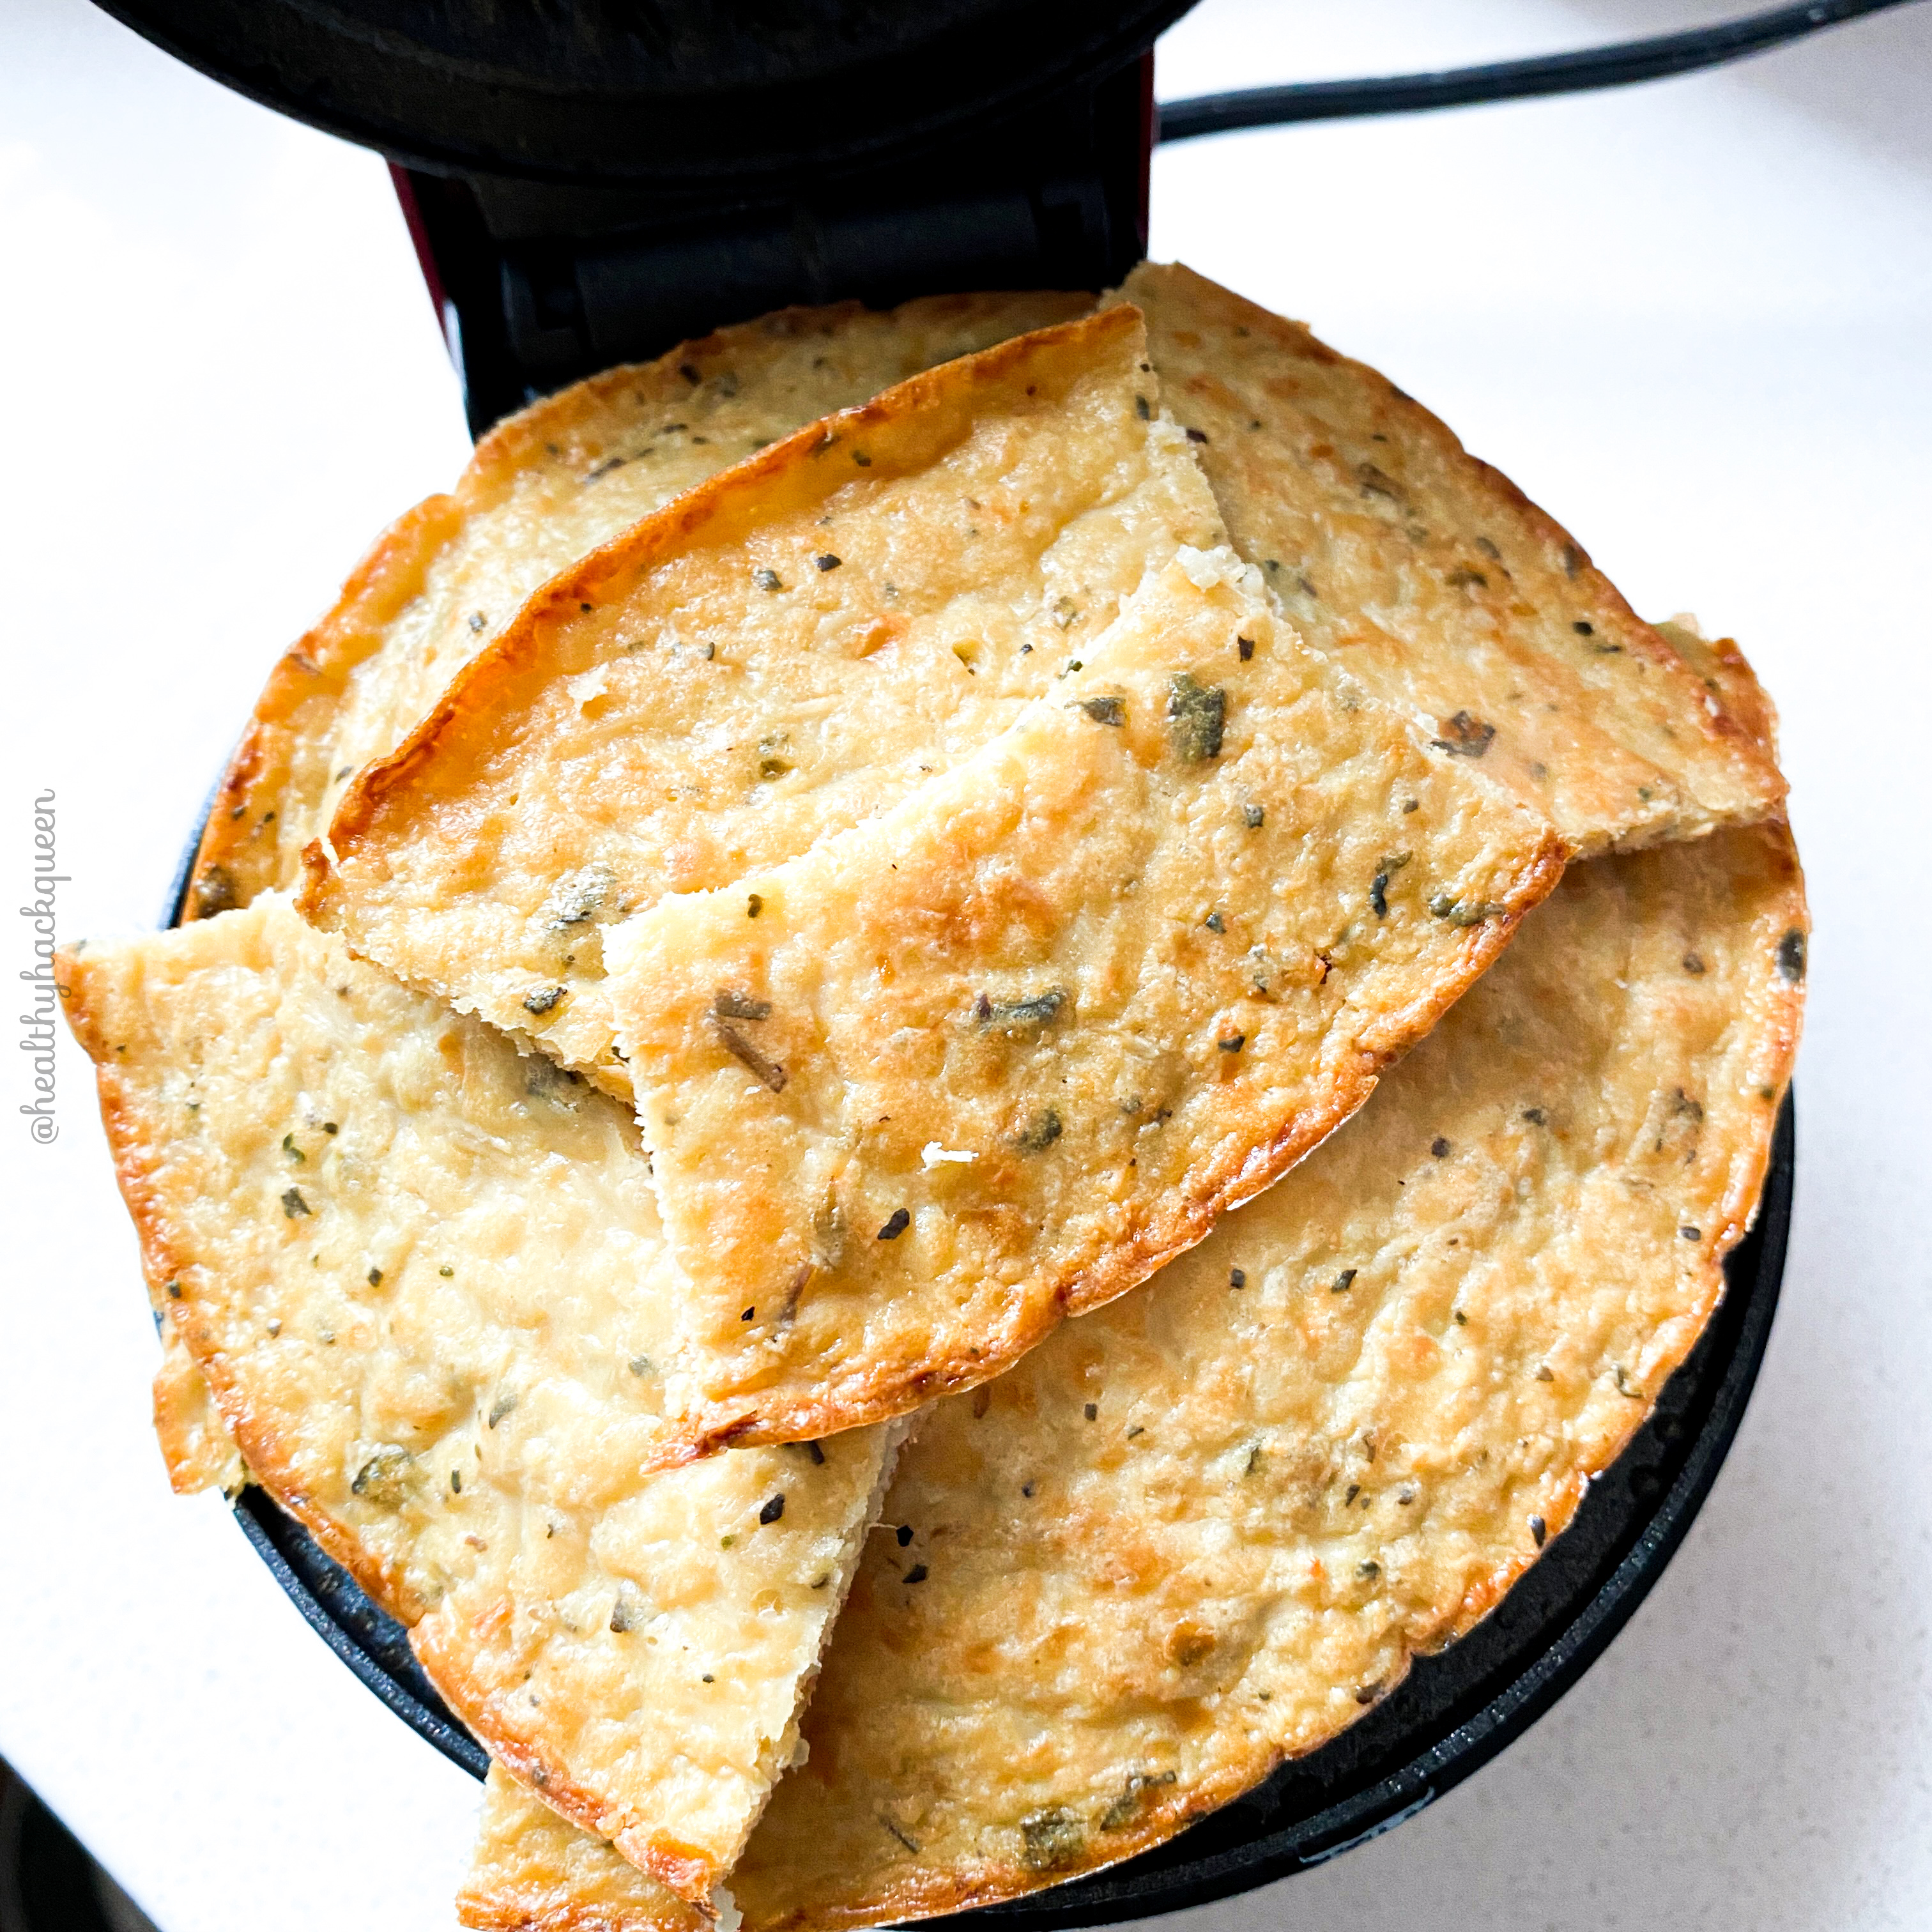
- Place one Outer Aisle crust on a flat surface and use the Dash pie cutter to cut out the center using the “Pie Base” ring
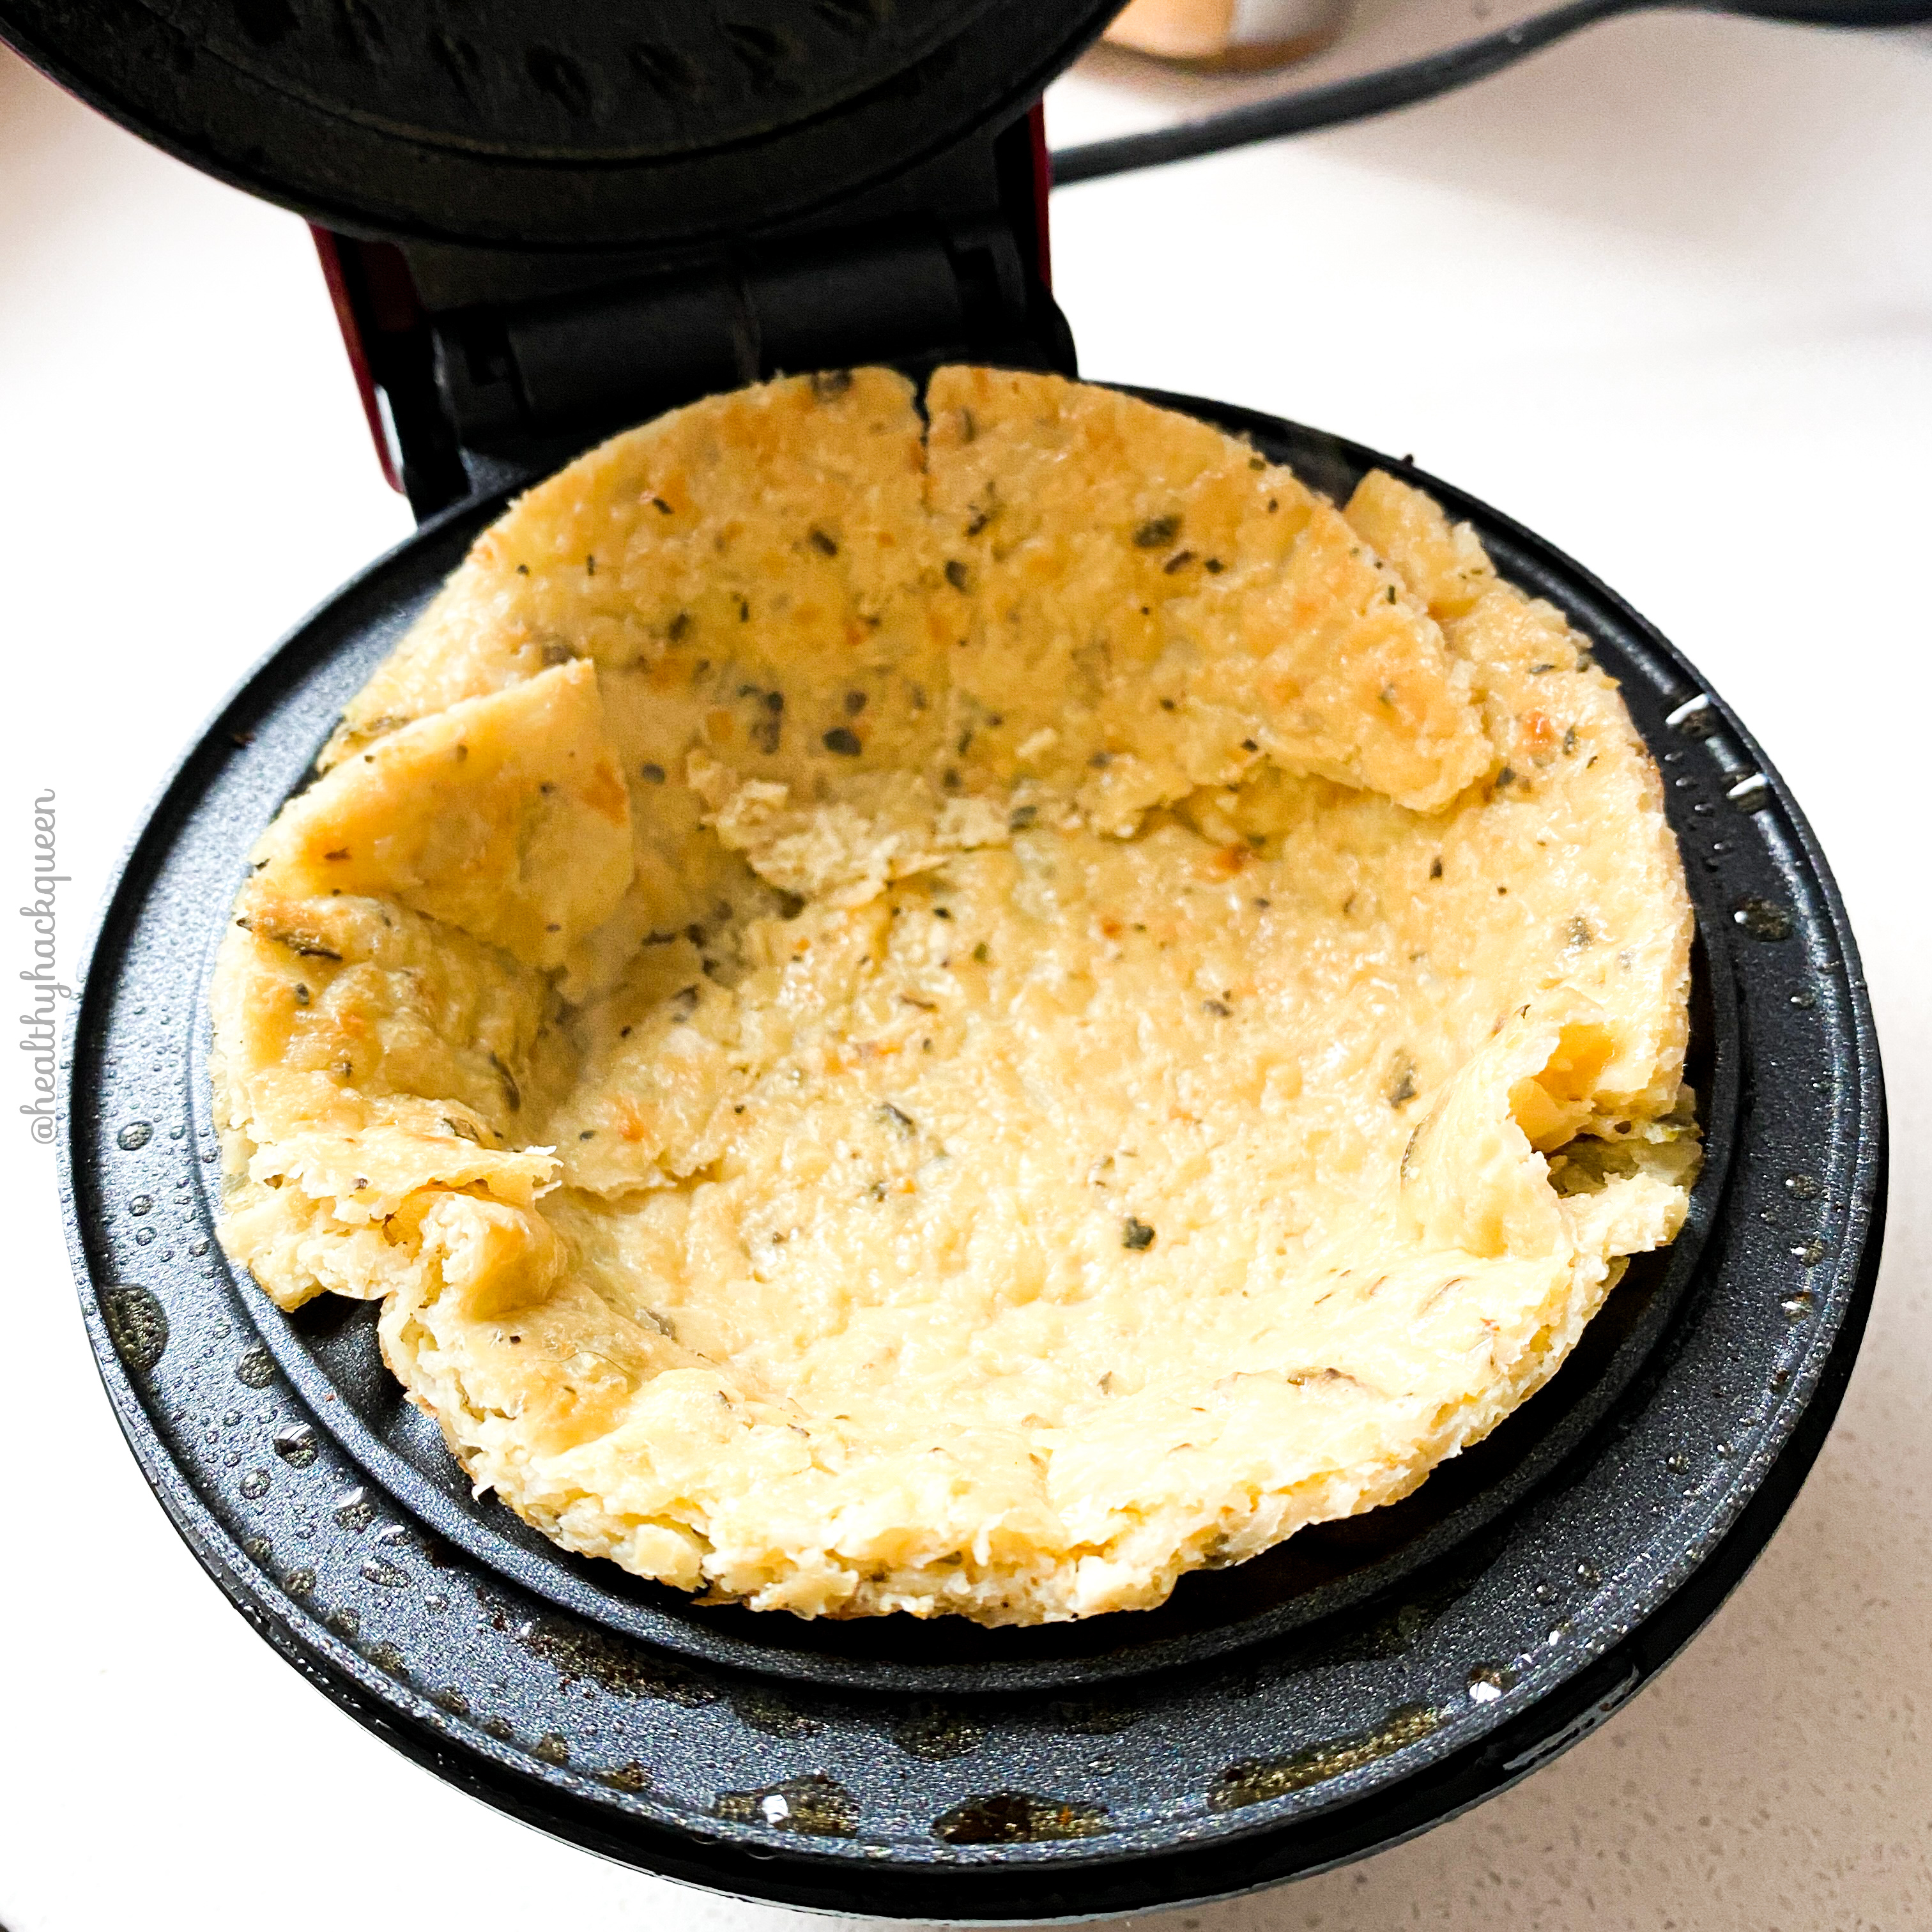
- Carefully avoiding the heated elements on the pie maker, gently press the crust into the bottom of the machine. If you need to soften it a bit, you can microwave it for ten seconds.
- Fill the pie with your cooked egg mixture
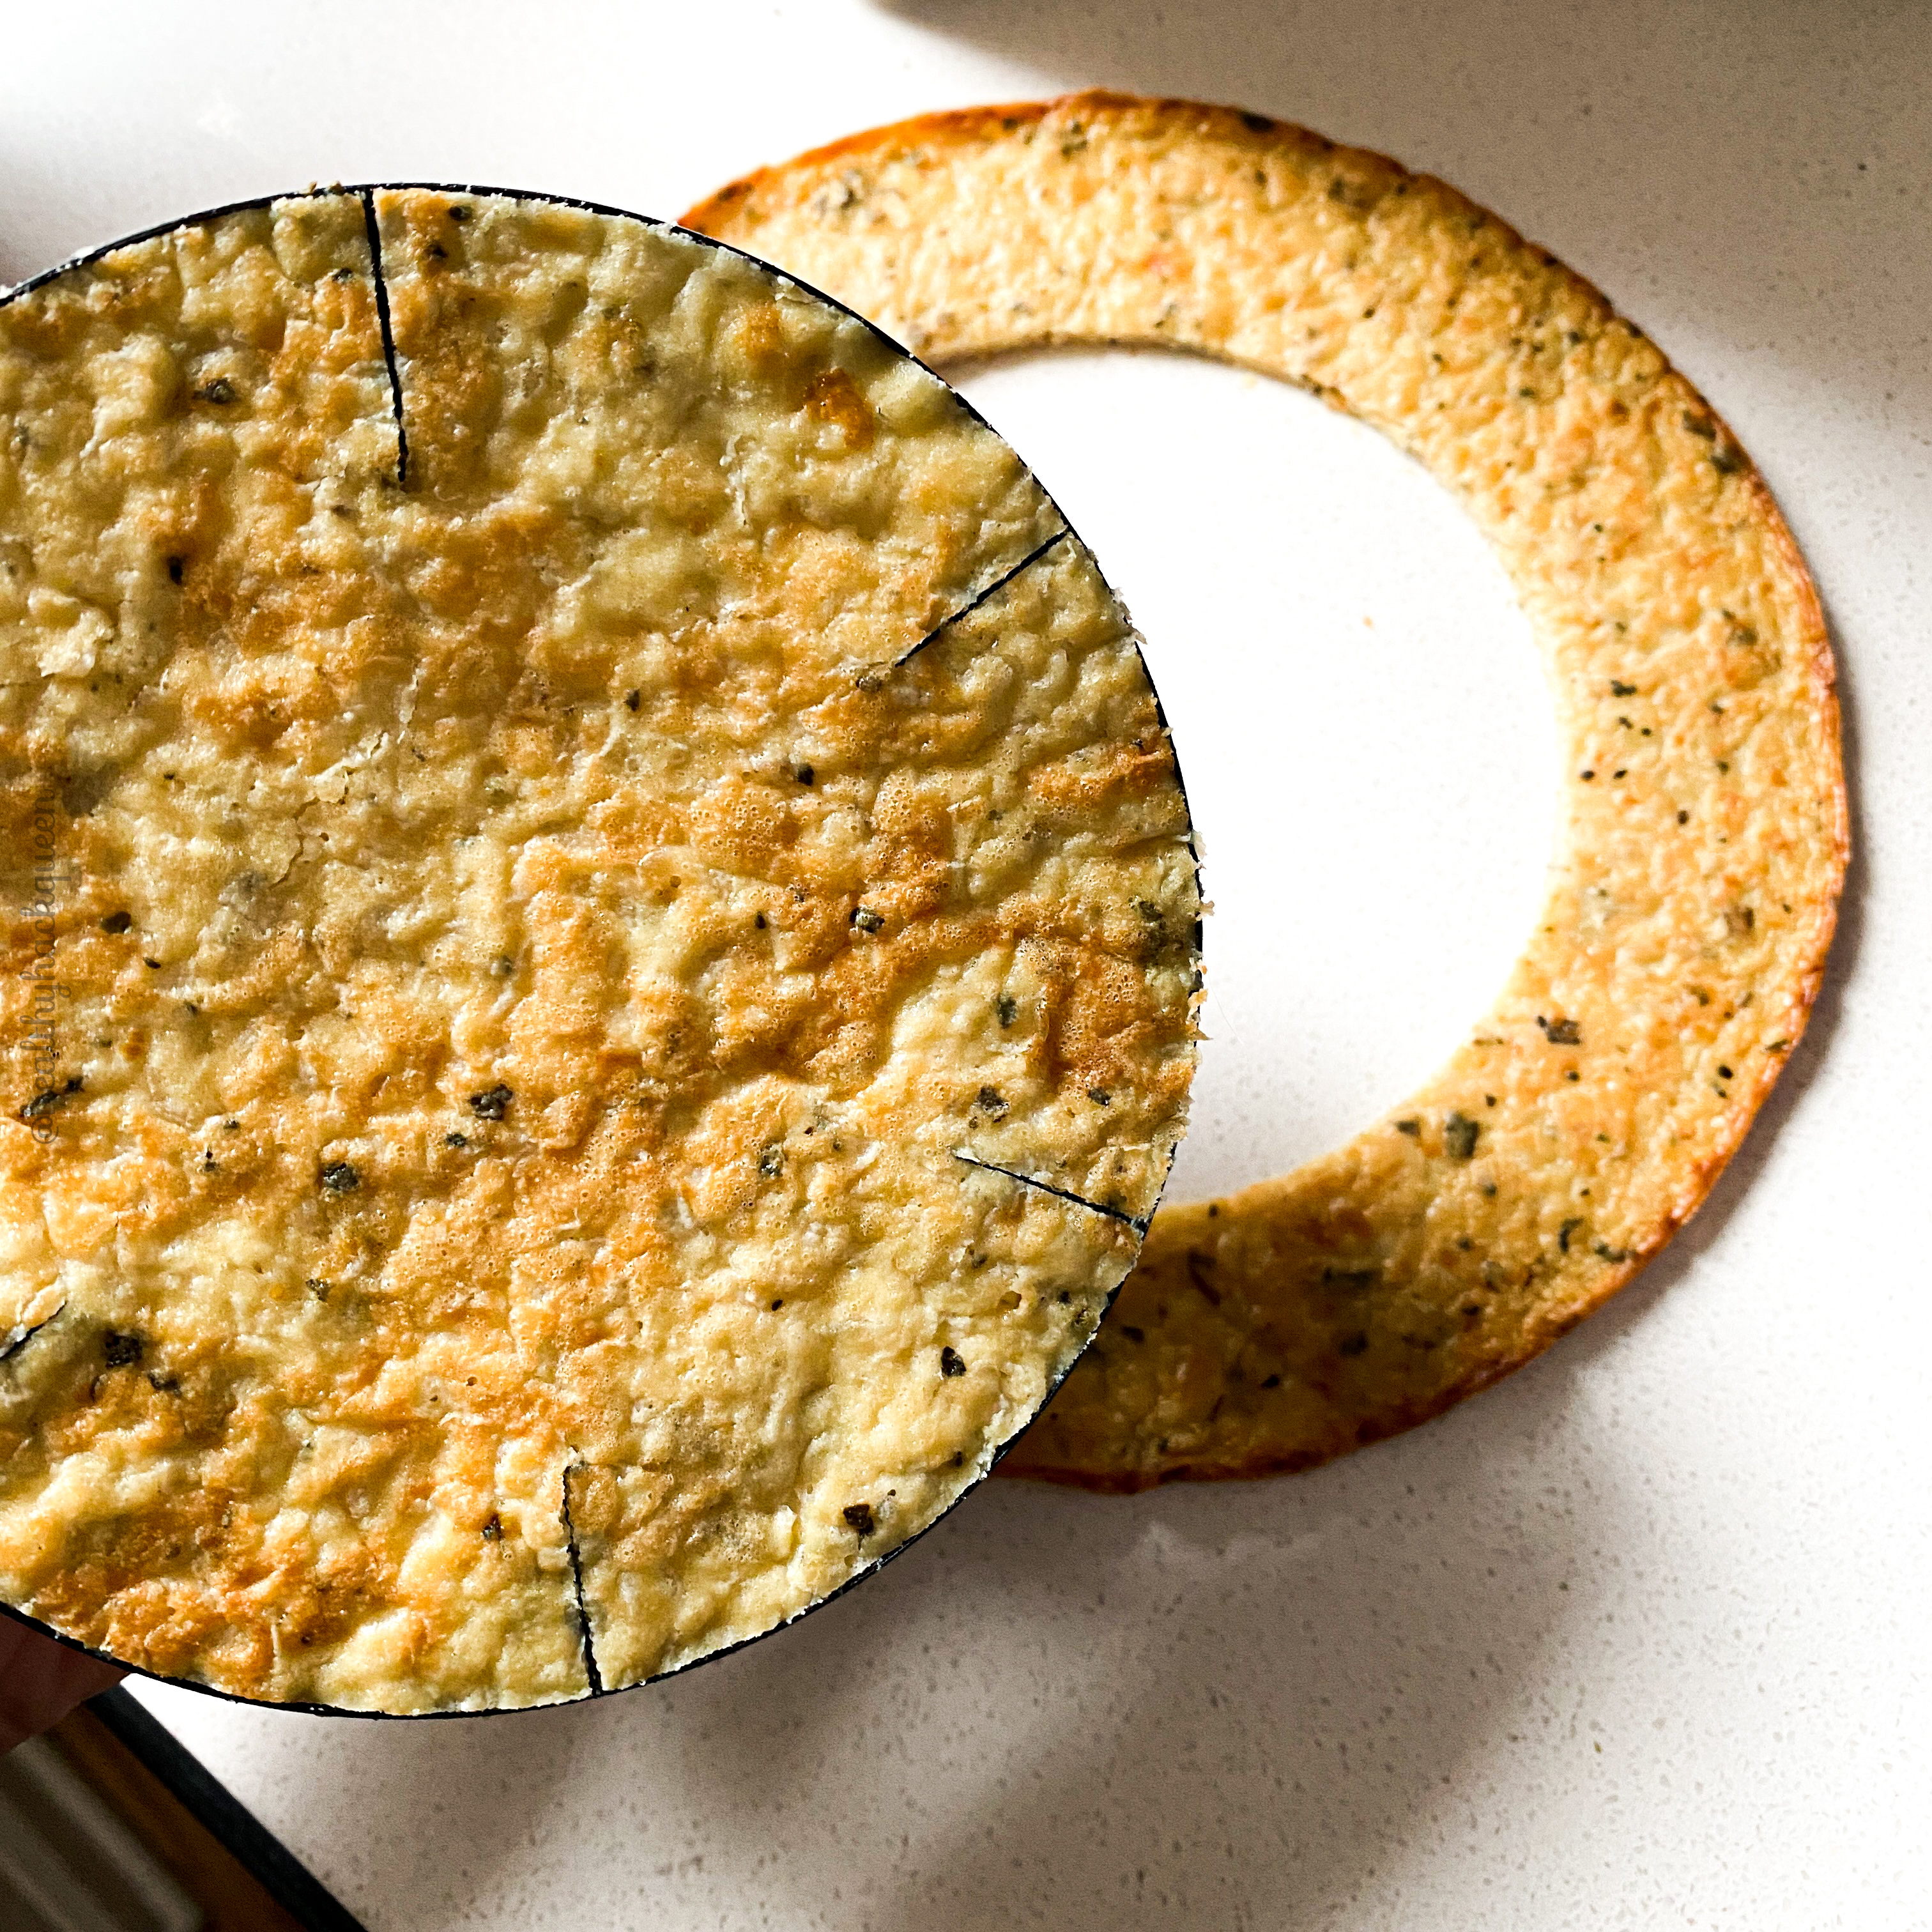
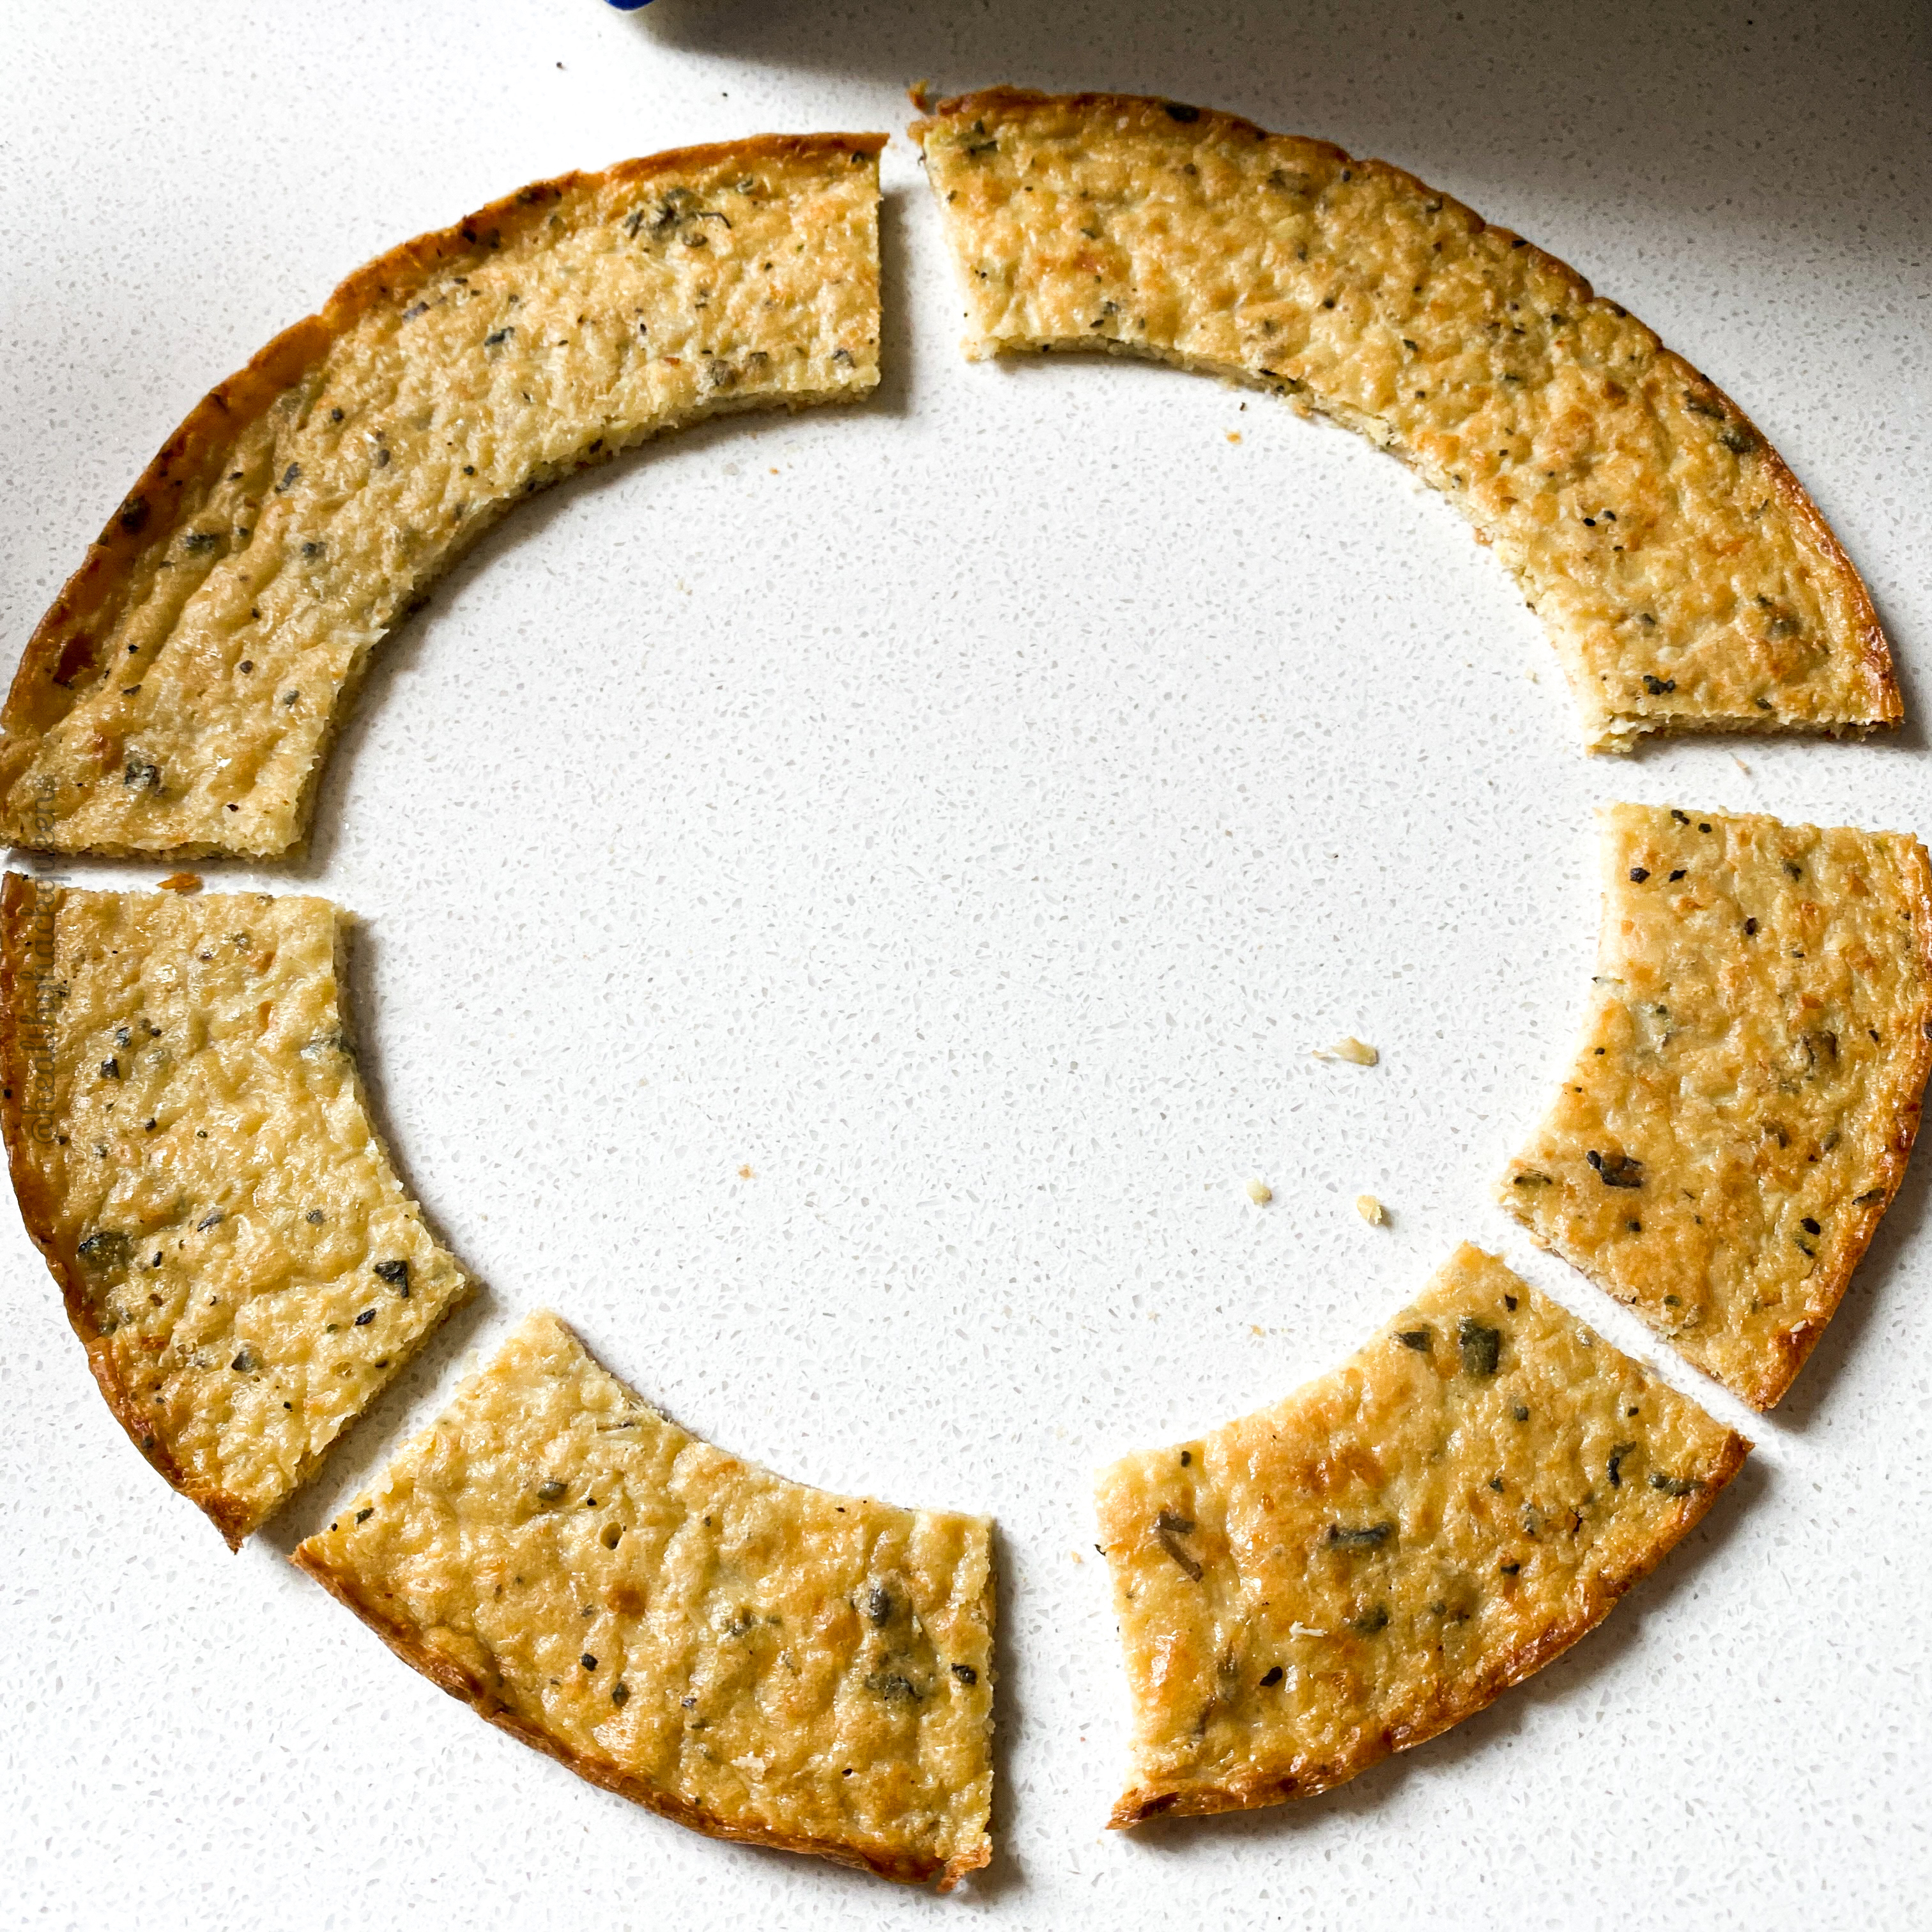
- Cut the remaining outer ring into four equal pieces, then cut two of those in half
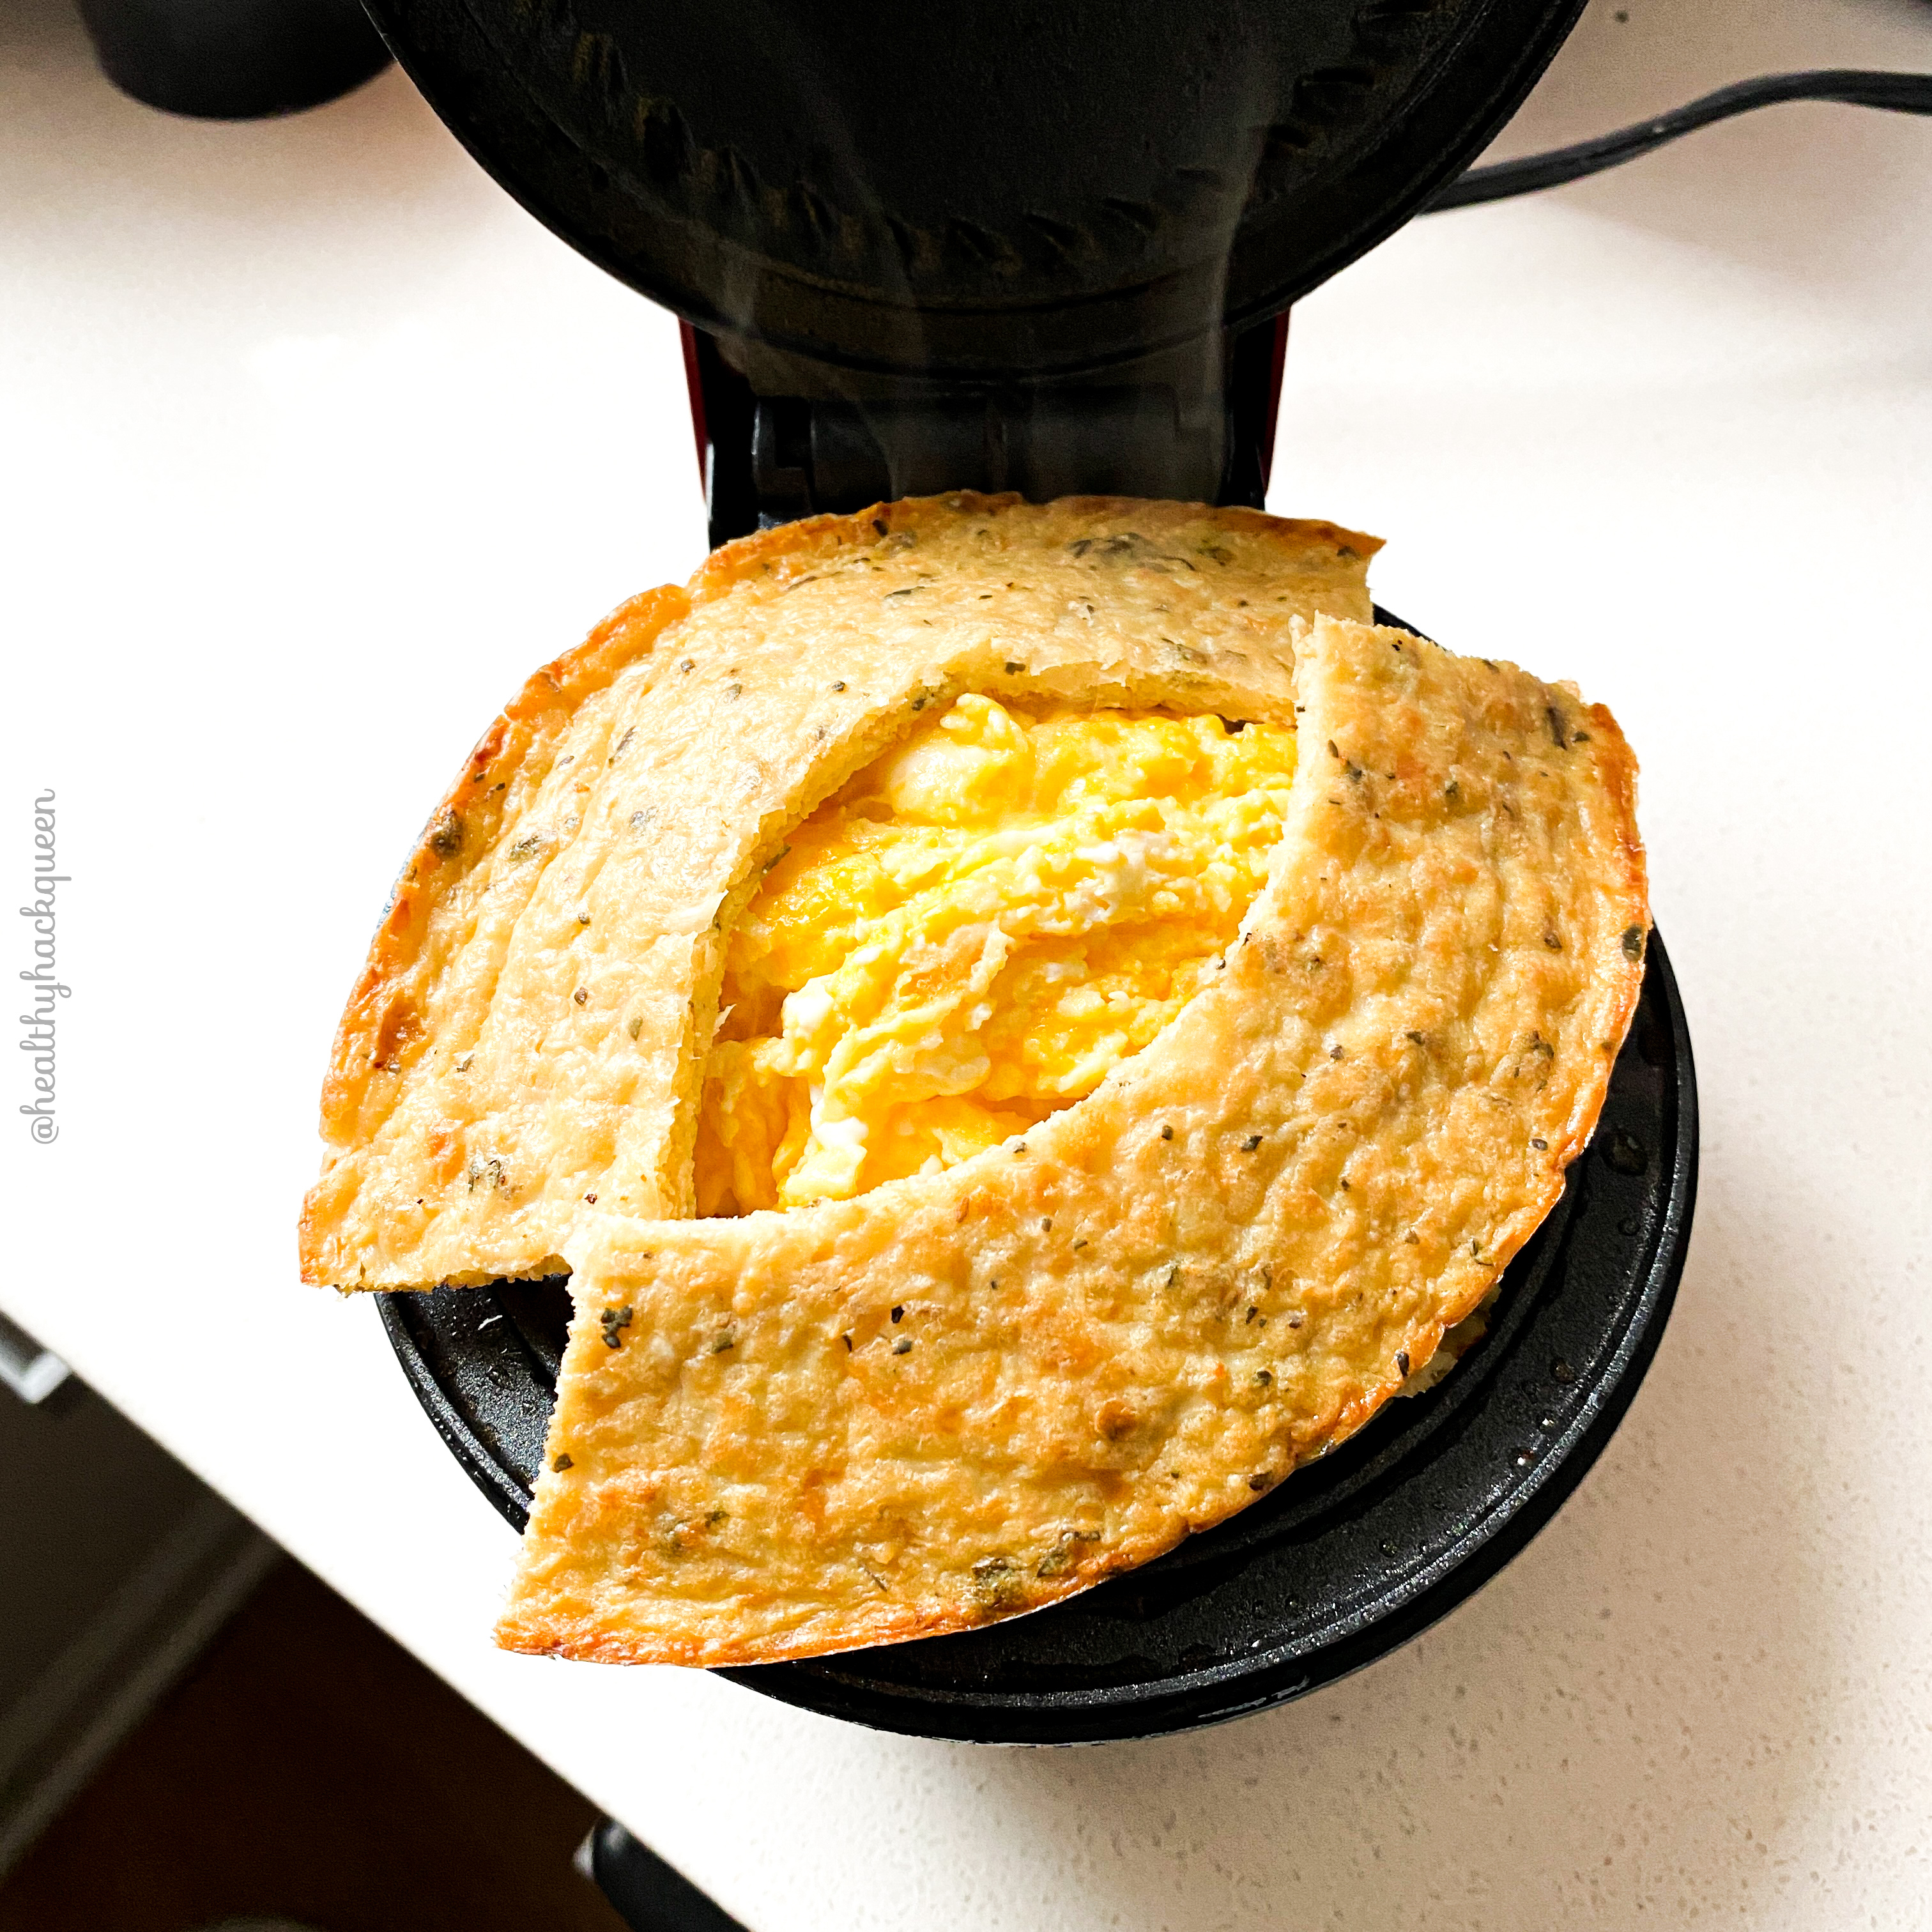
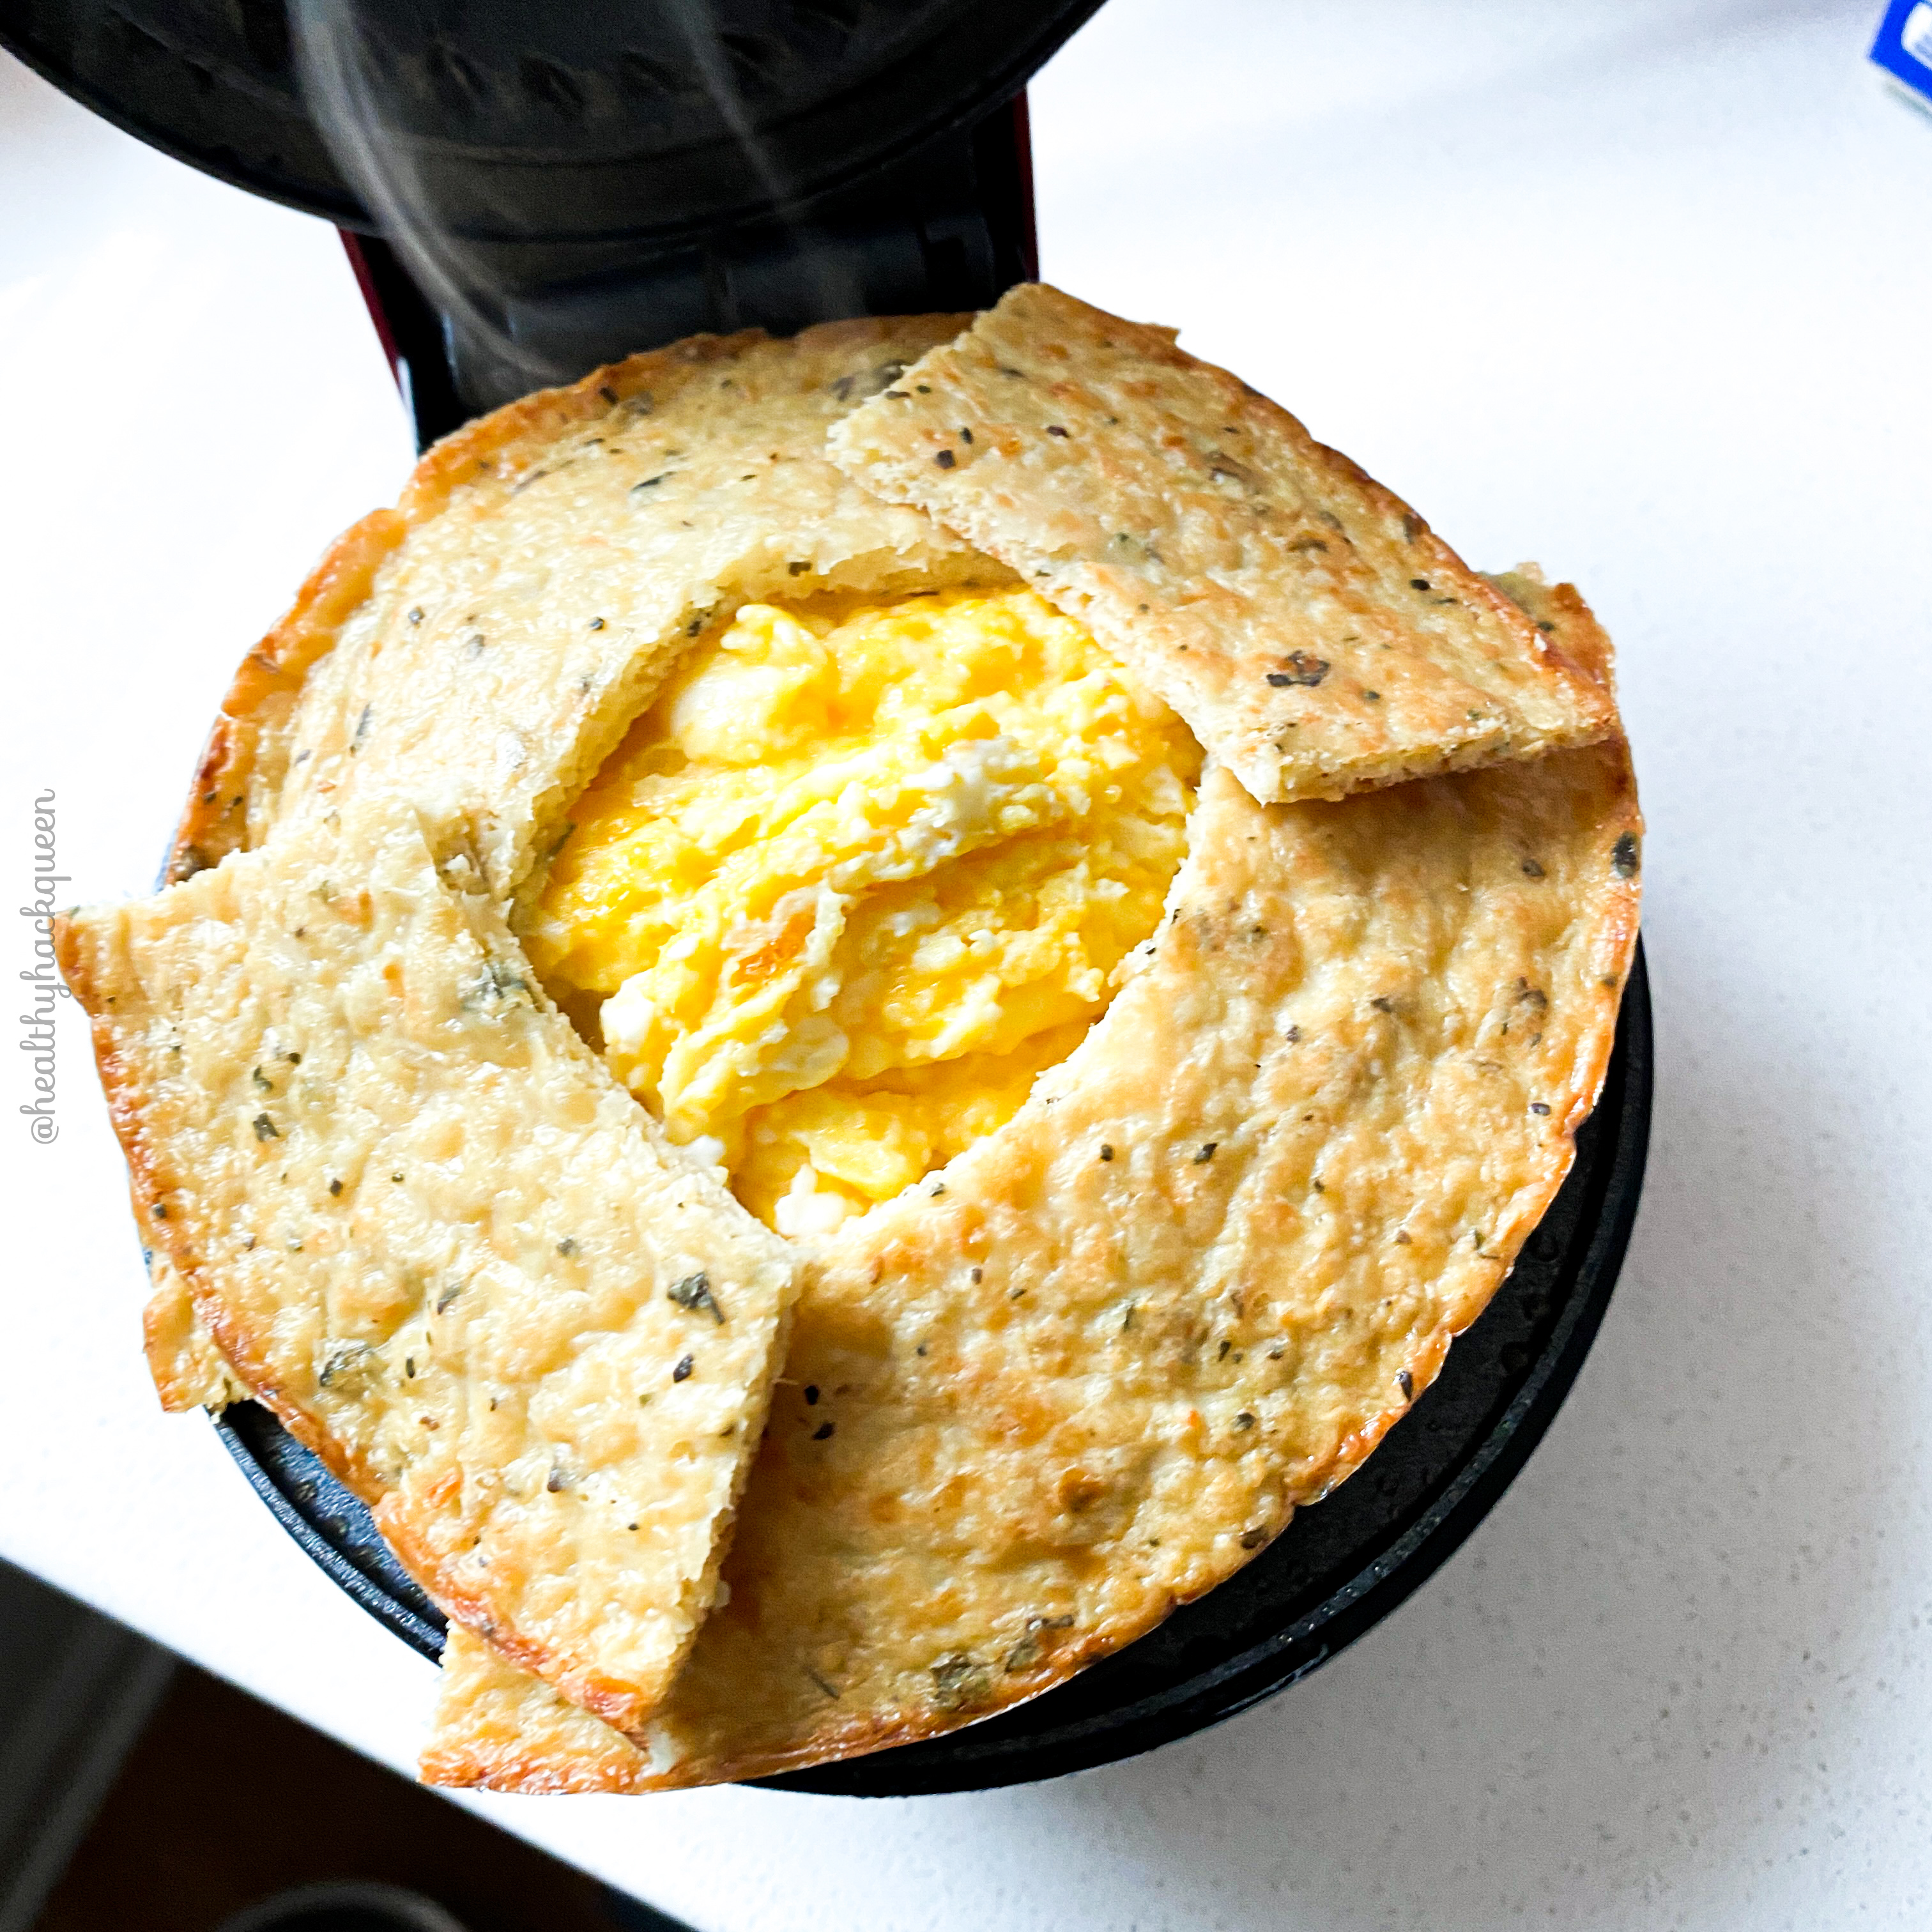
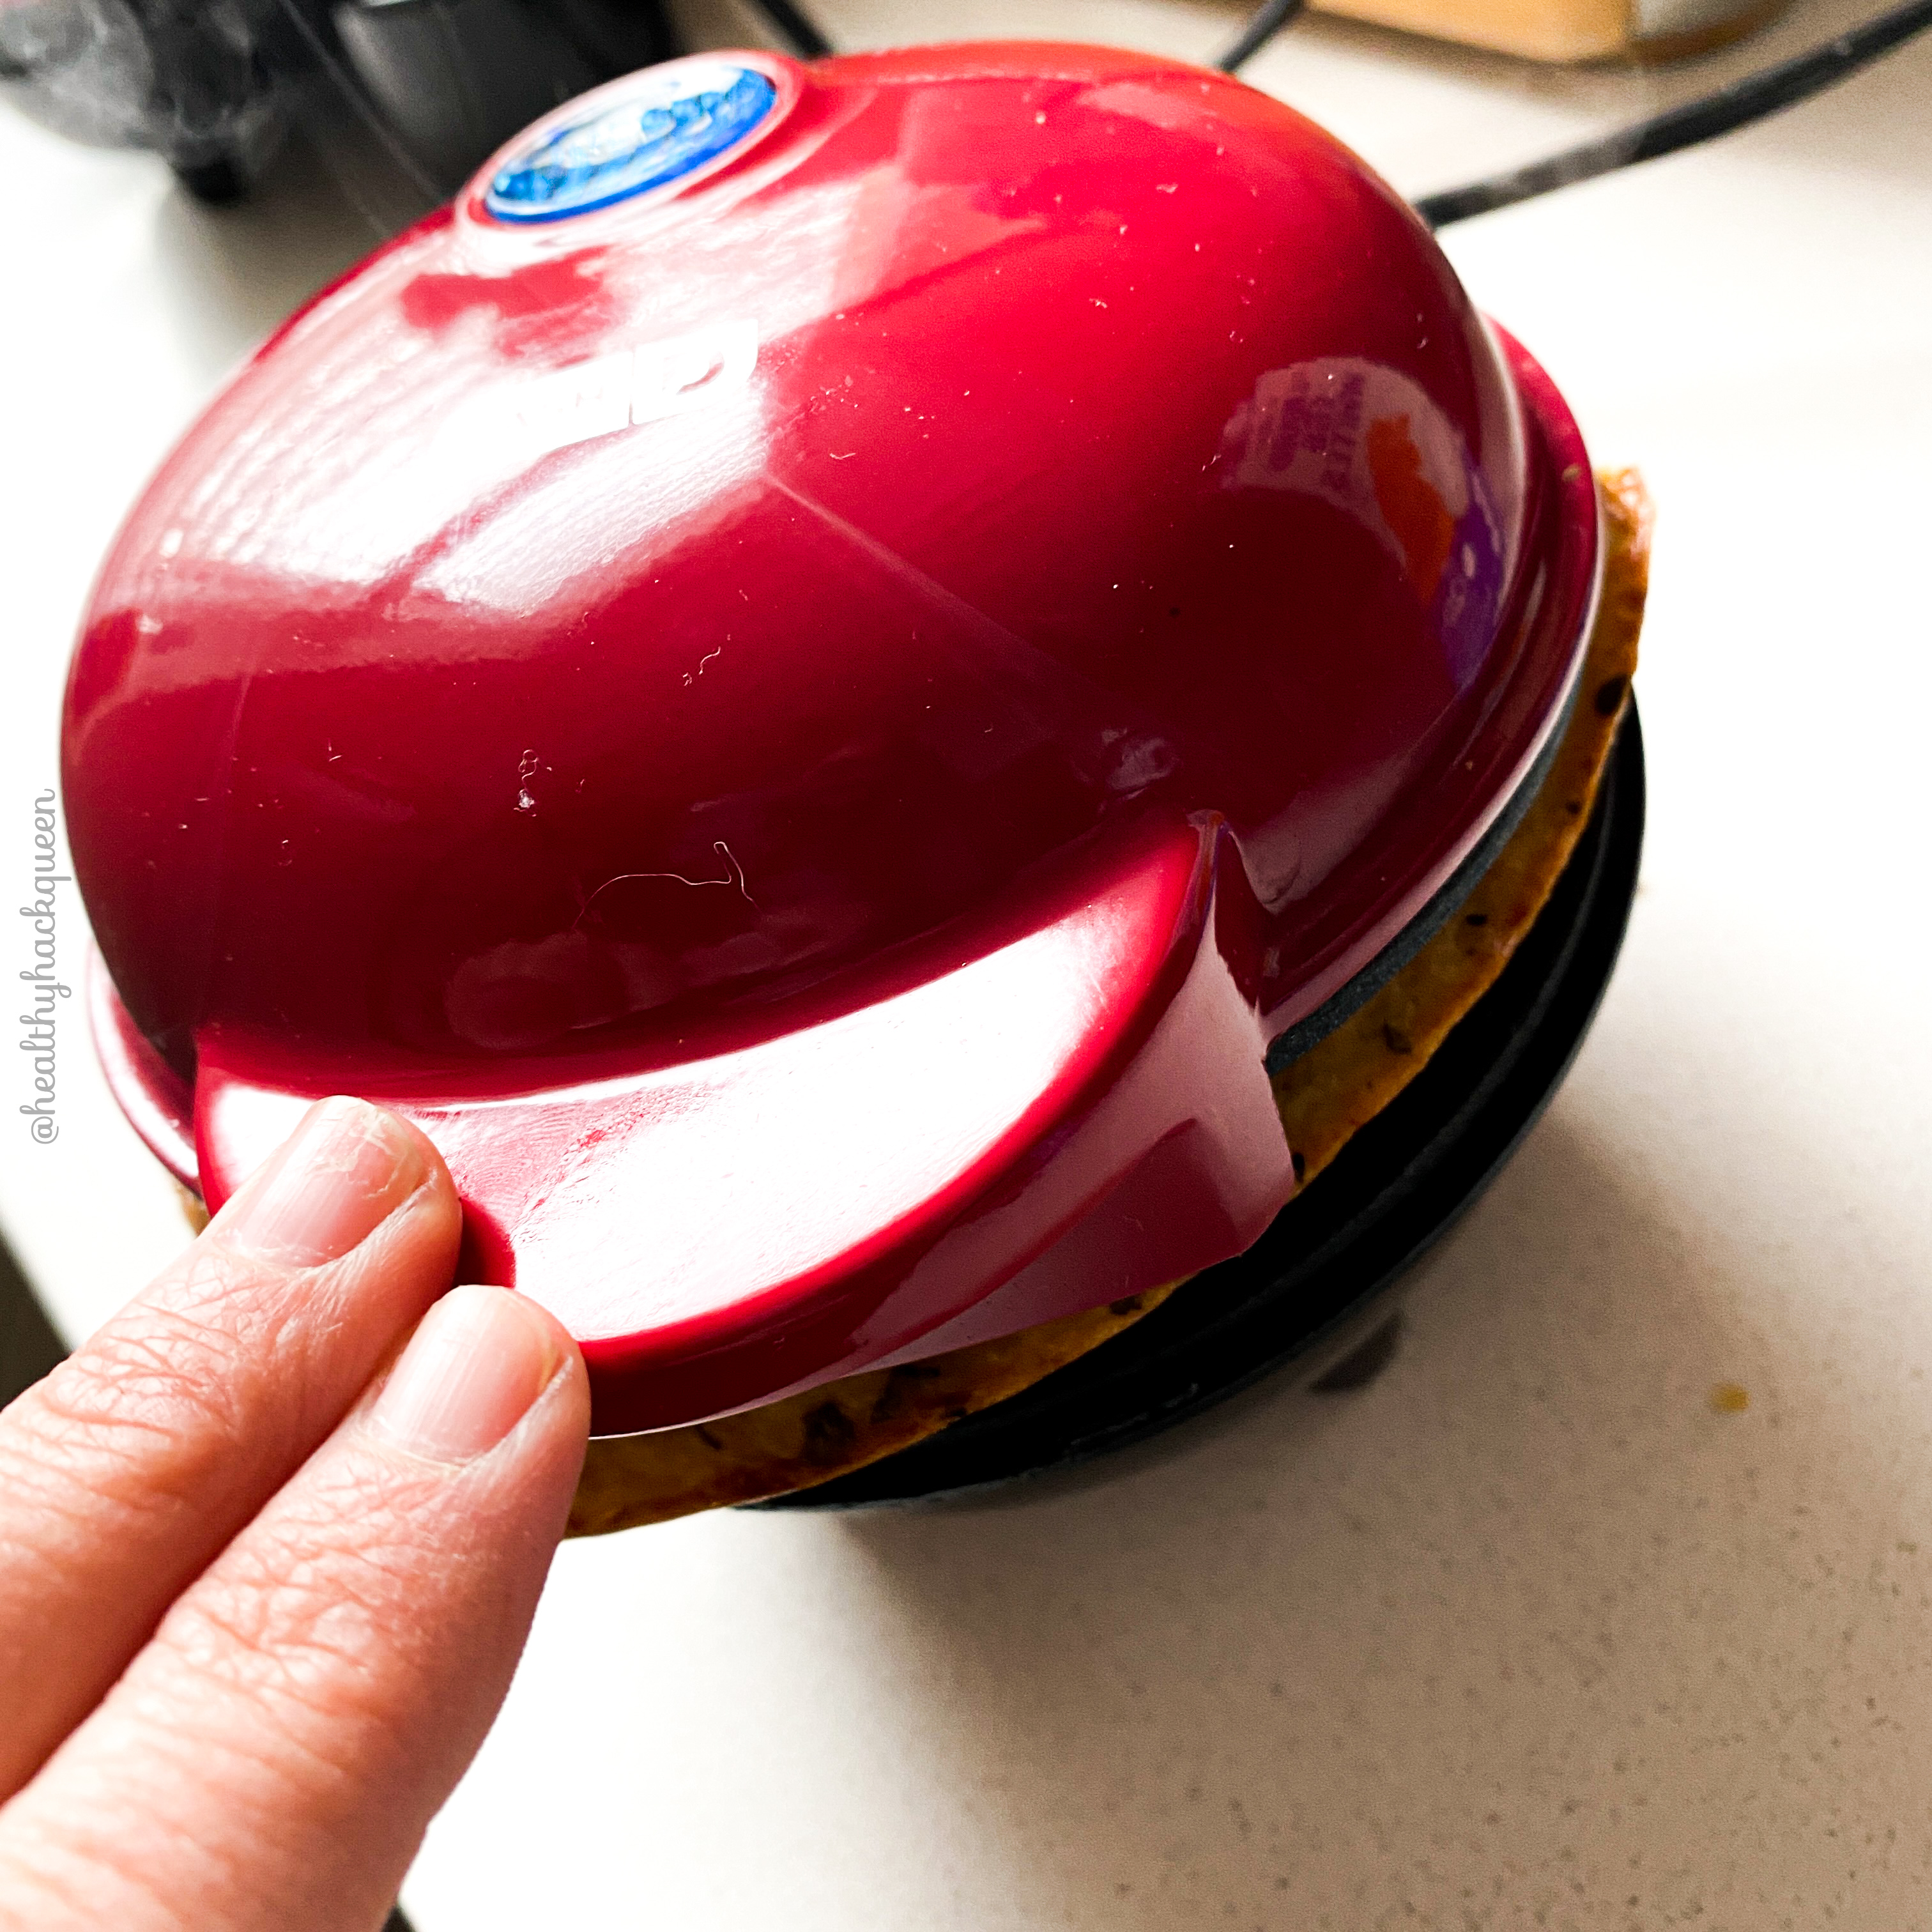
- Place the two longest pieces on top facing each other, then place two small pieces where those join, and then cover the center with the remaining two pieces.
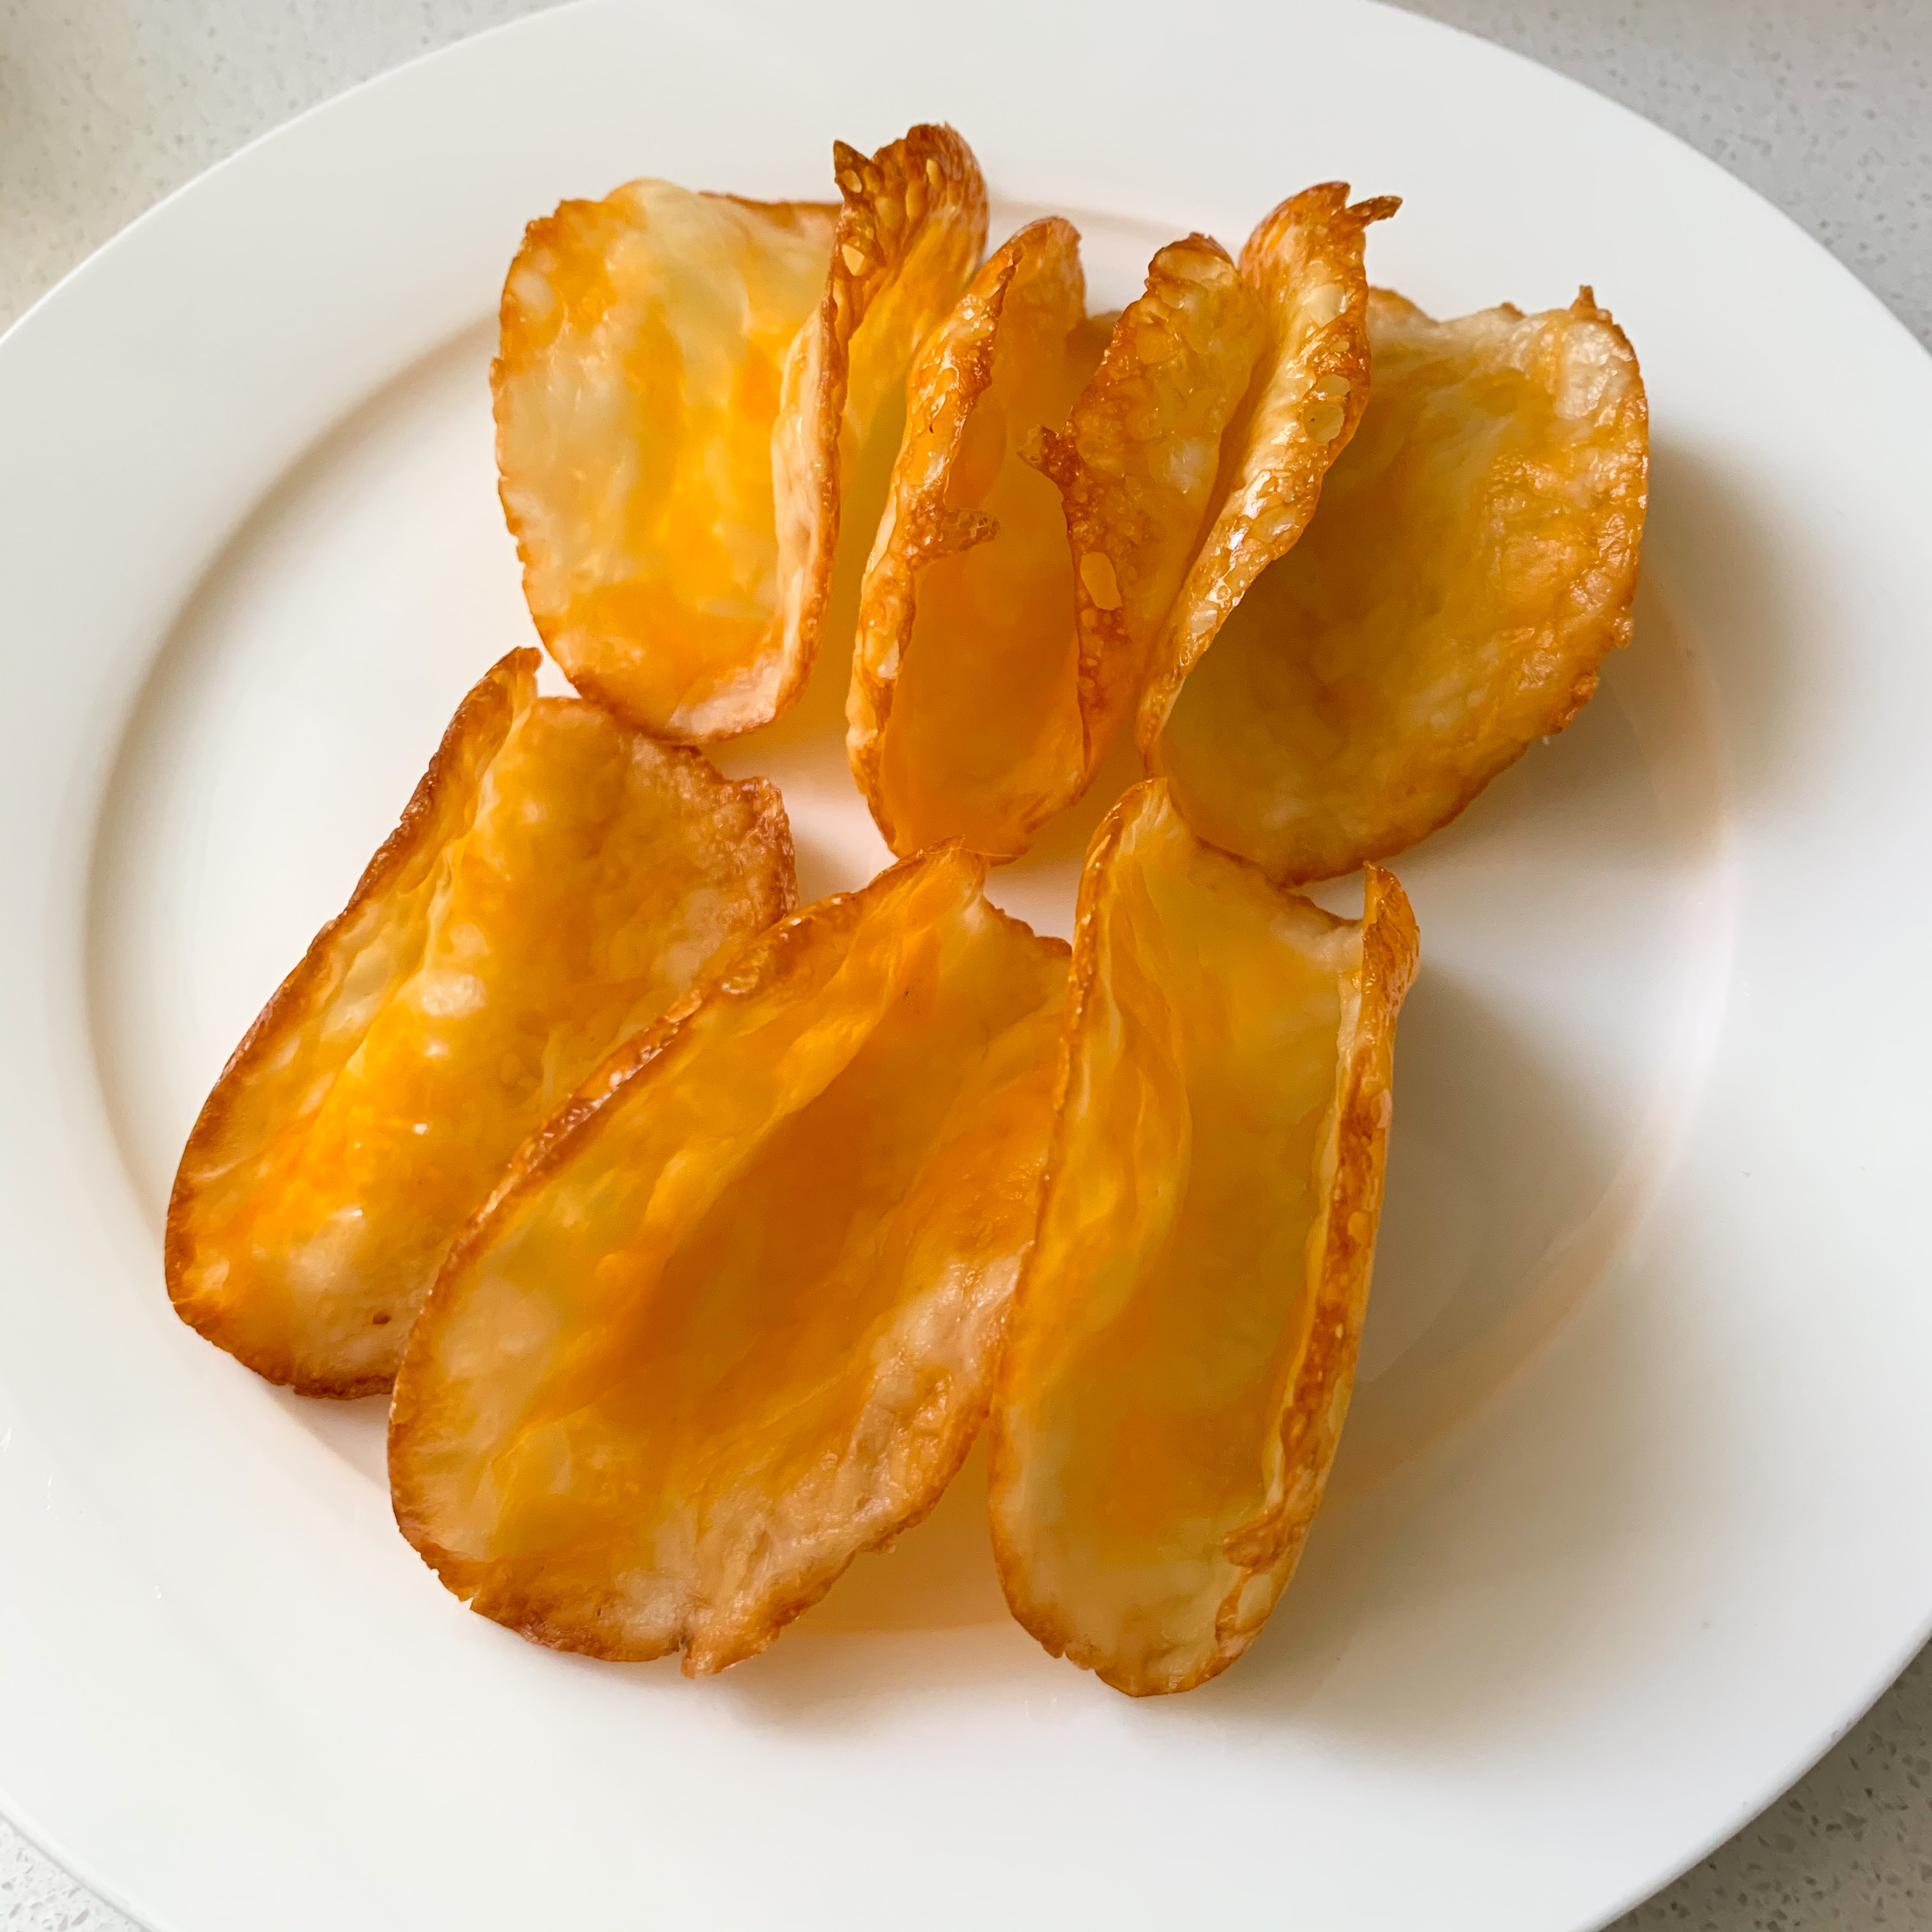
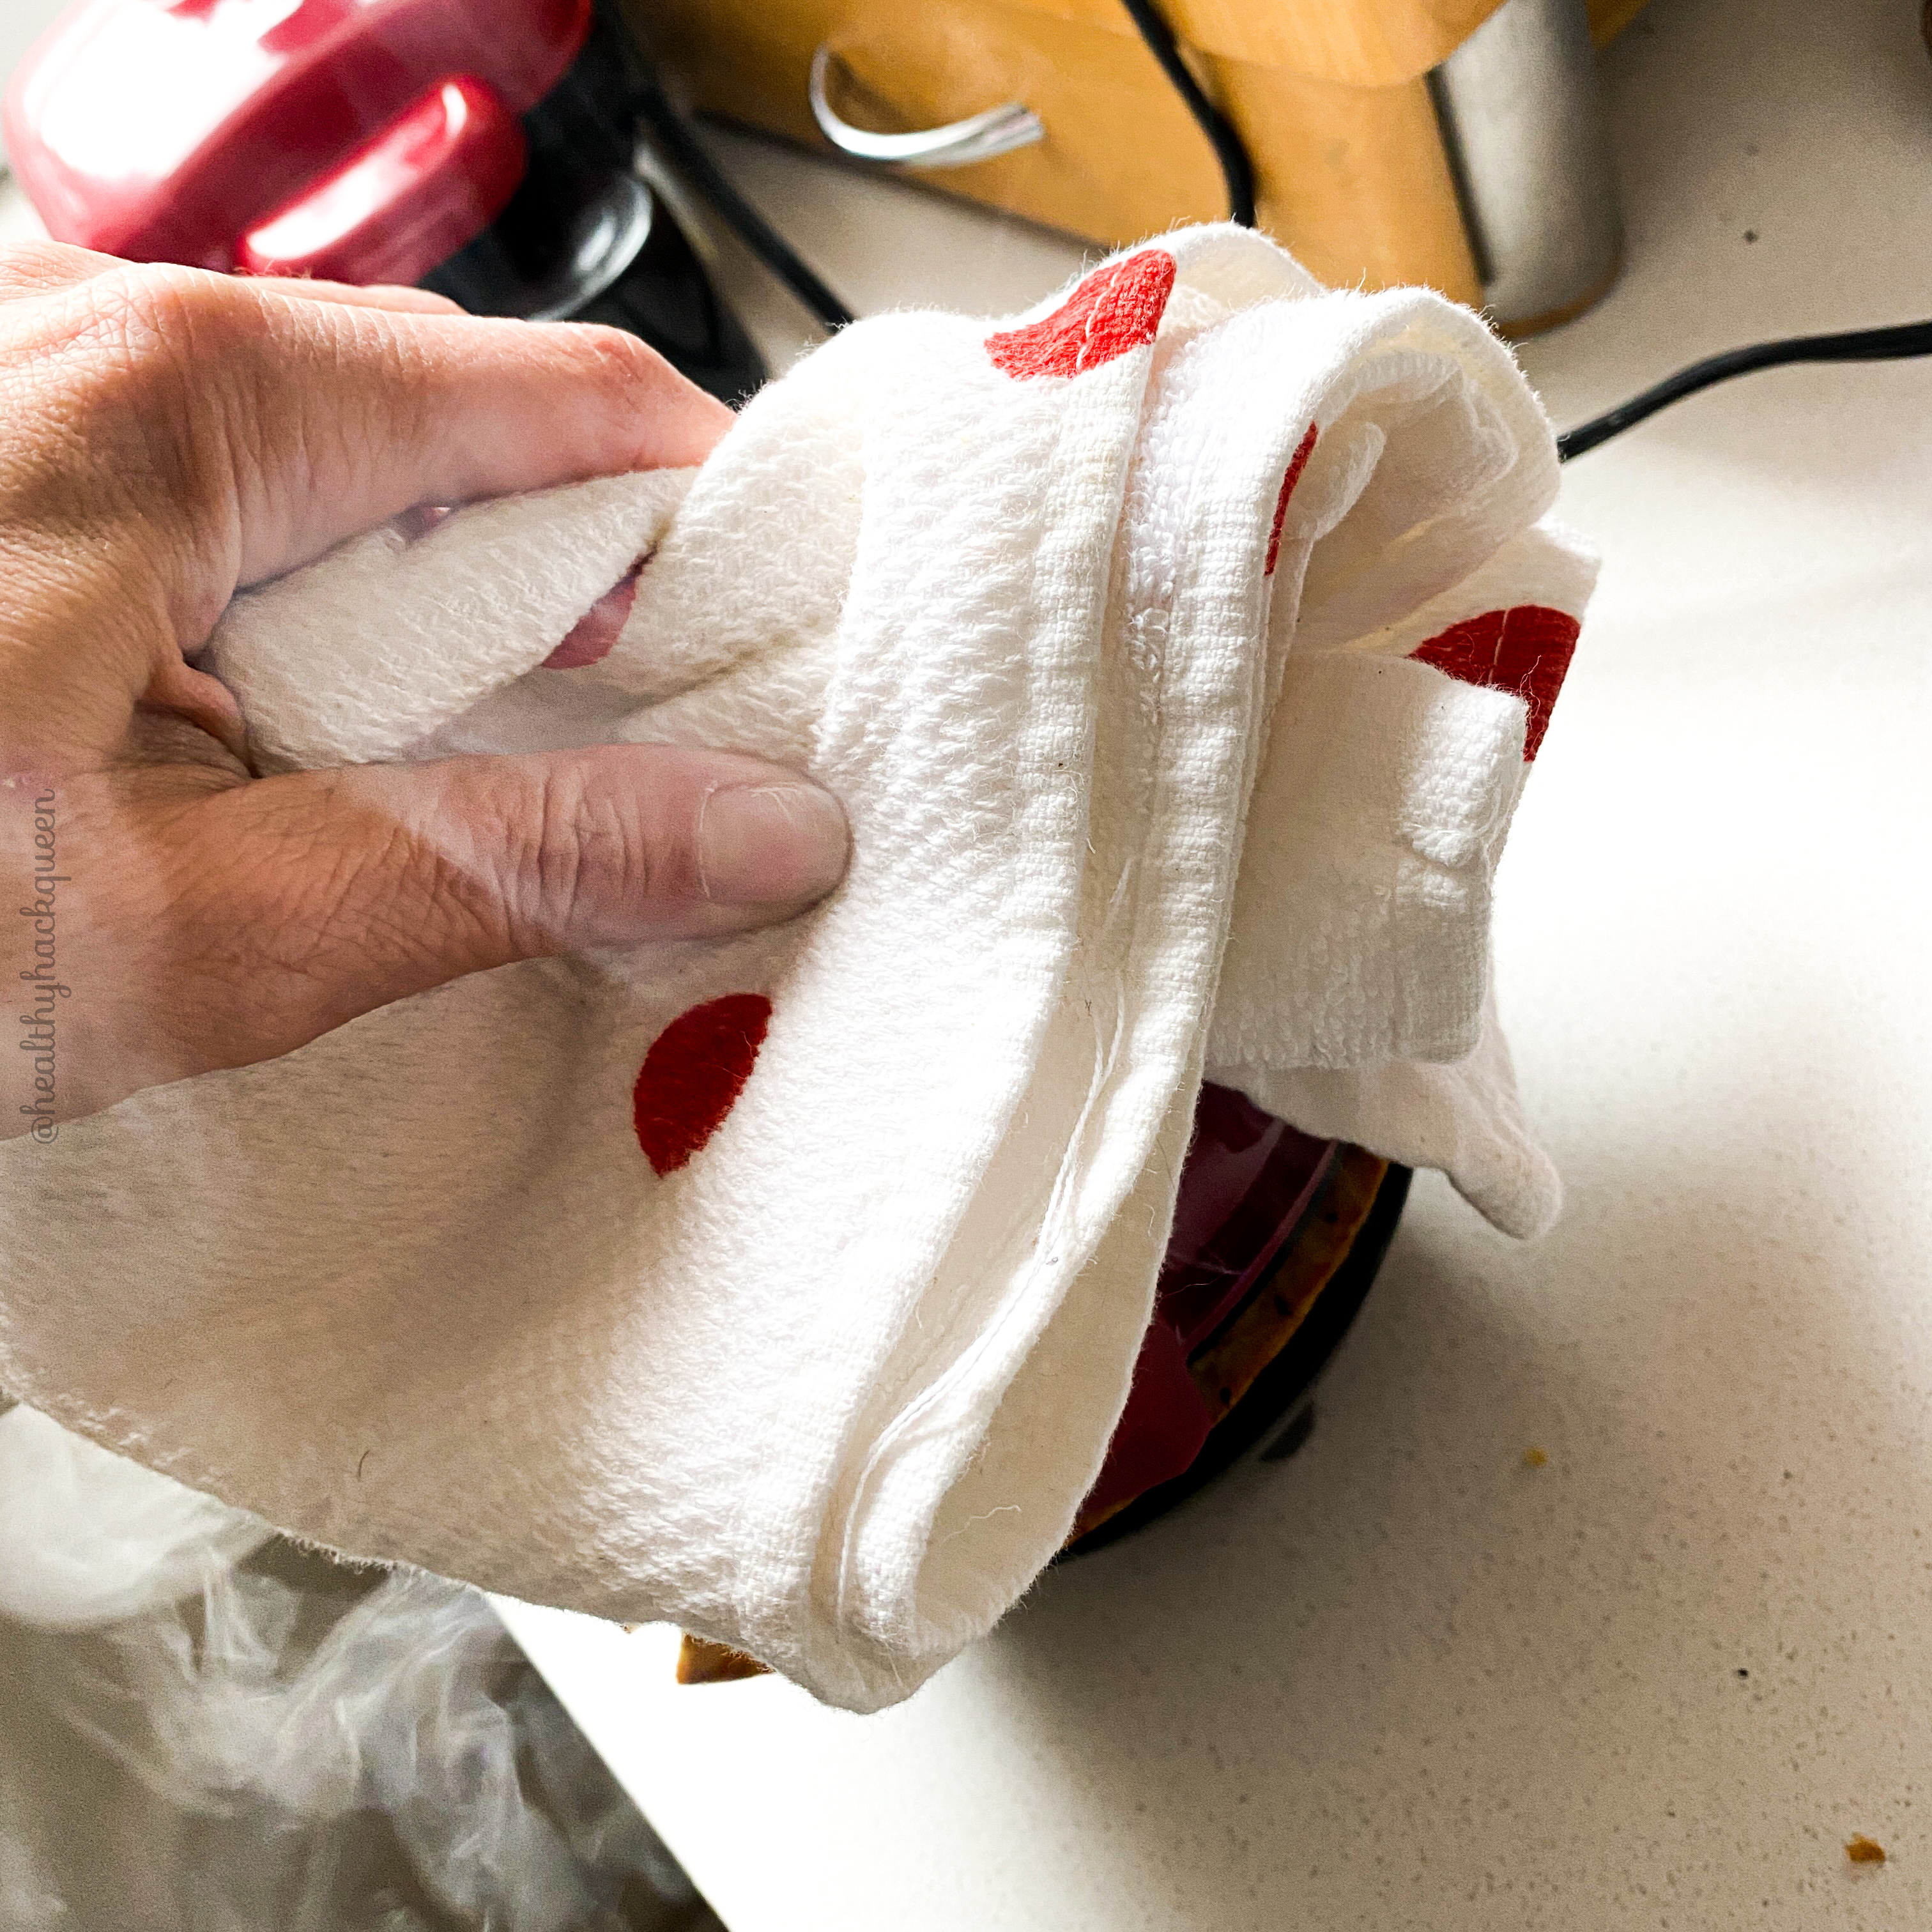
- Keeping the pieces in place, close the machine and press down with a towel. The machine releases quite a bit of steam, so be careful.
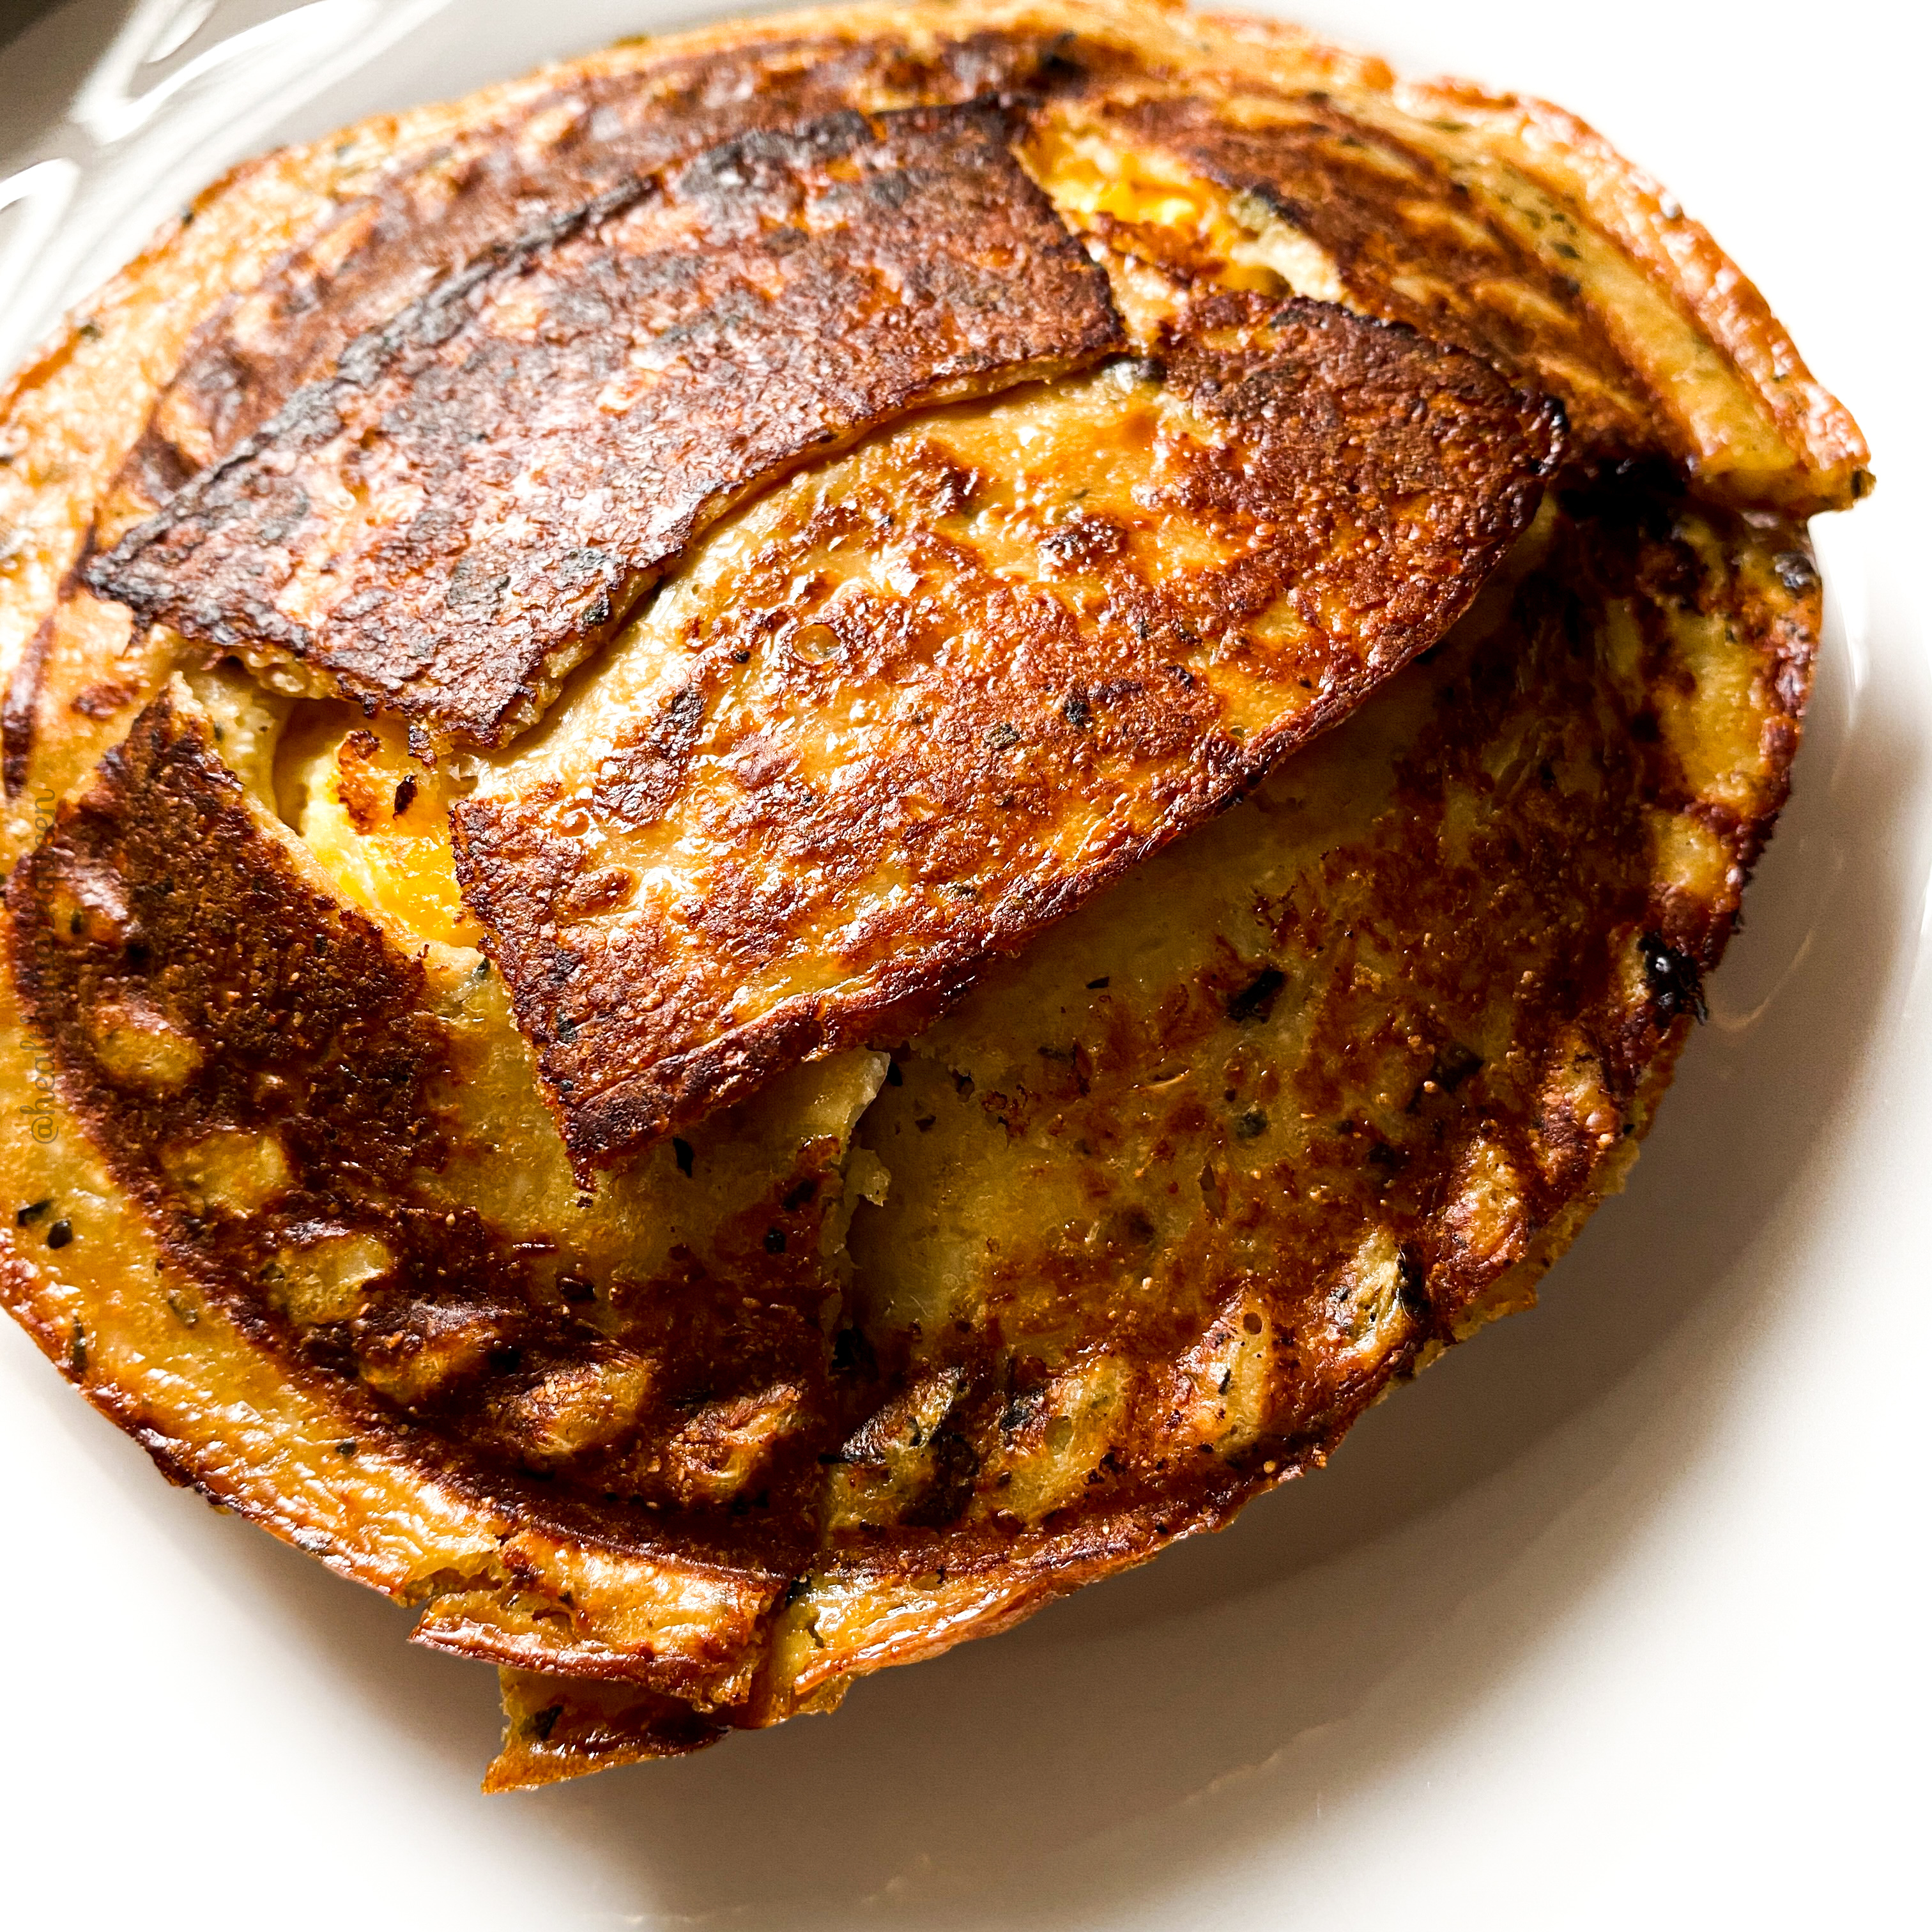
- It should only take a minute or so until the crust is browned. Lift up to see if it’s to your liking. You can cook longer if it hasn’t browned enough. Everything is already cooked, so it’s up to you how brown you like your pie crust.
- To remove, let the machine cool a bit, then flip over and pop the pie out onto a plate. Use another plate on top to flip it over.
- Enjoy!
PS. The sandwich thins from Outer Aisle also fit, but the portion size is three crusts for 1/2 Lean and 1 Green. You could always use two of those and then alter your fillings to complete the Lean and Green, and use the third for something else in the same day. I like using the larger crust and having 2/3 Lean to play with for my fillings instead.


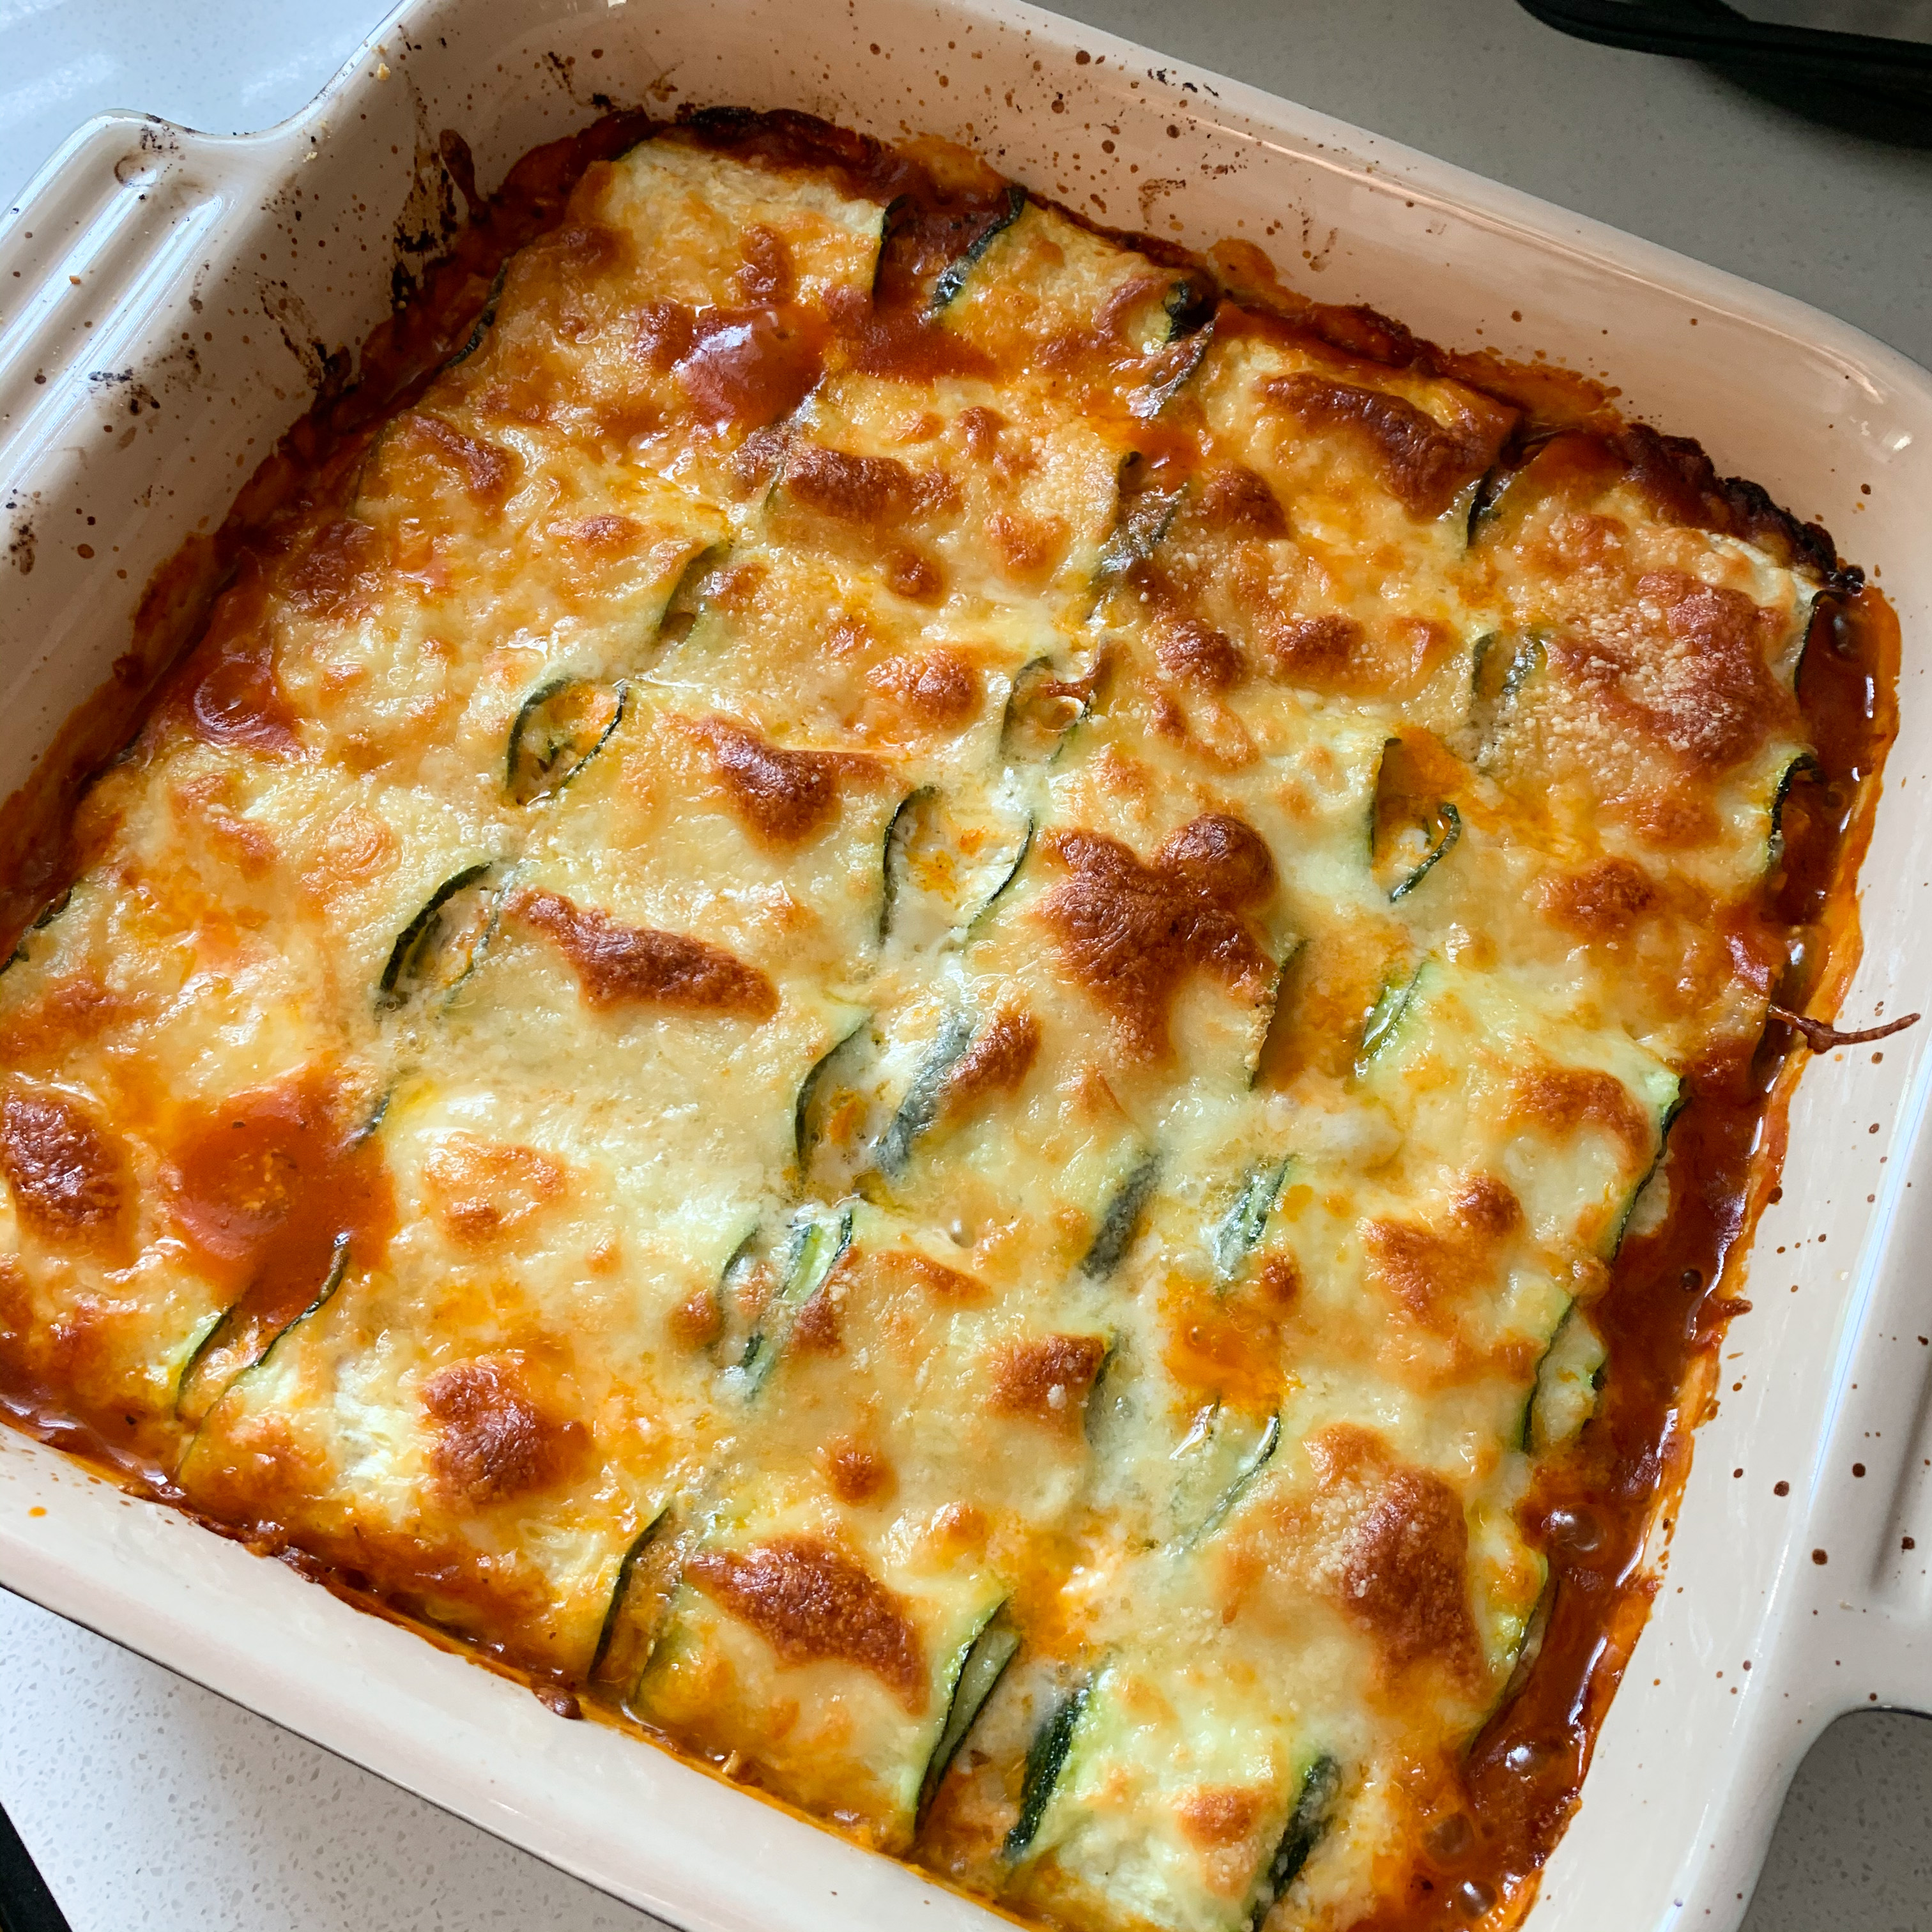
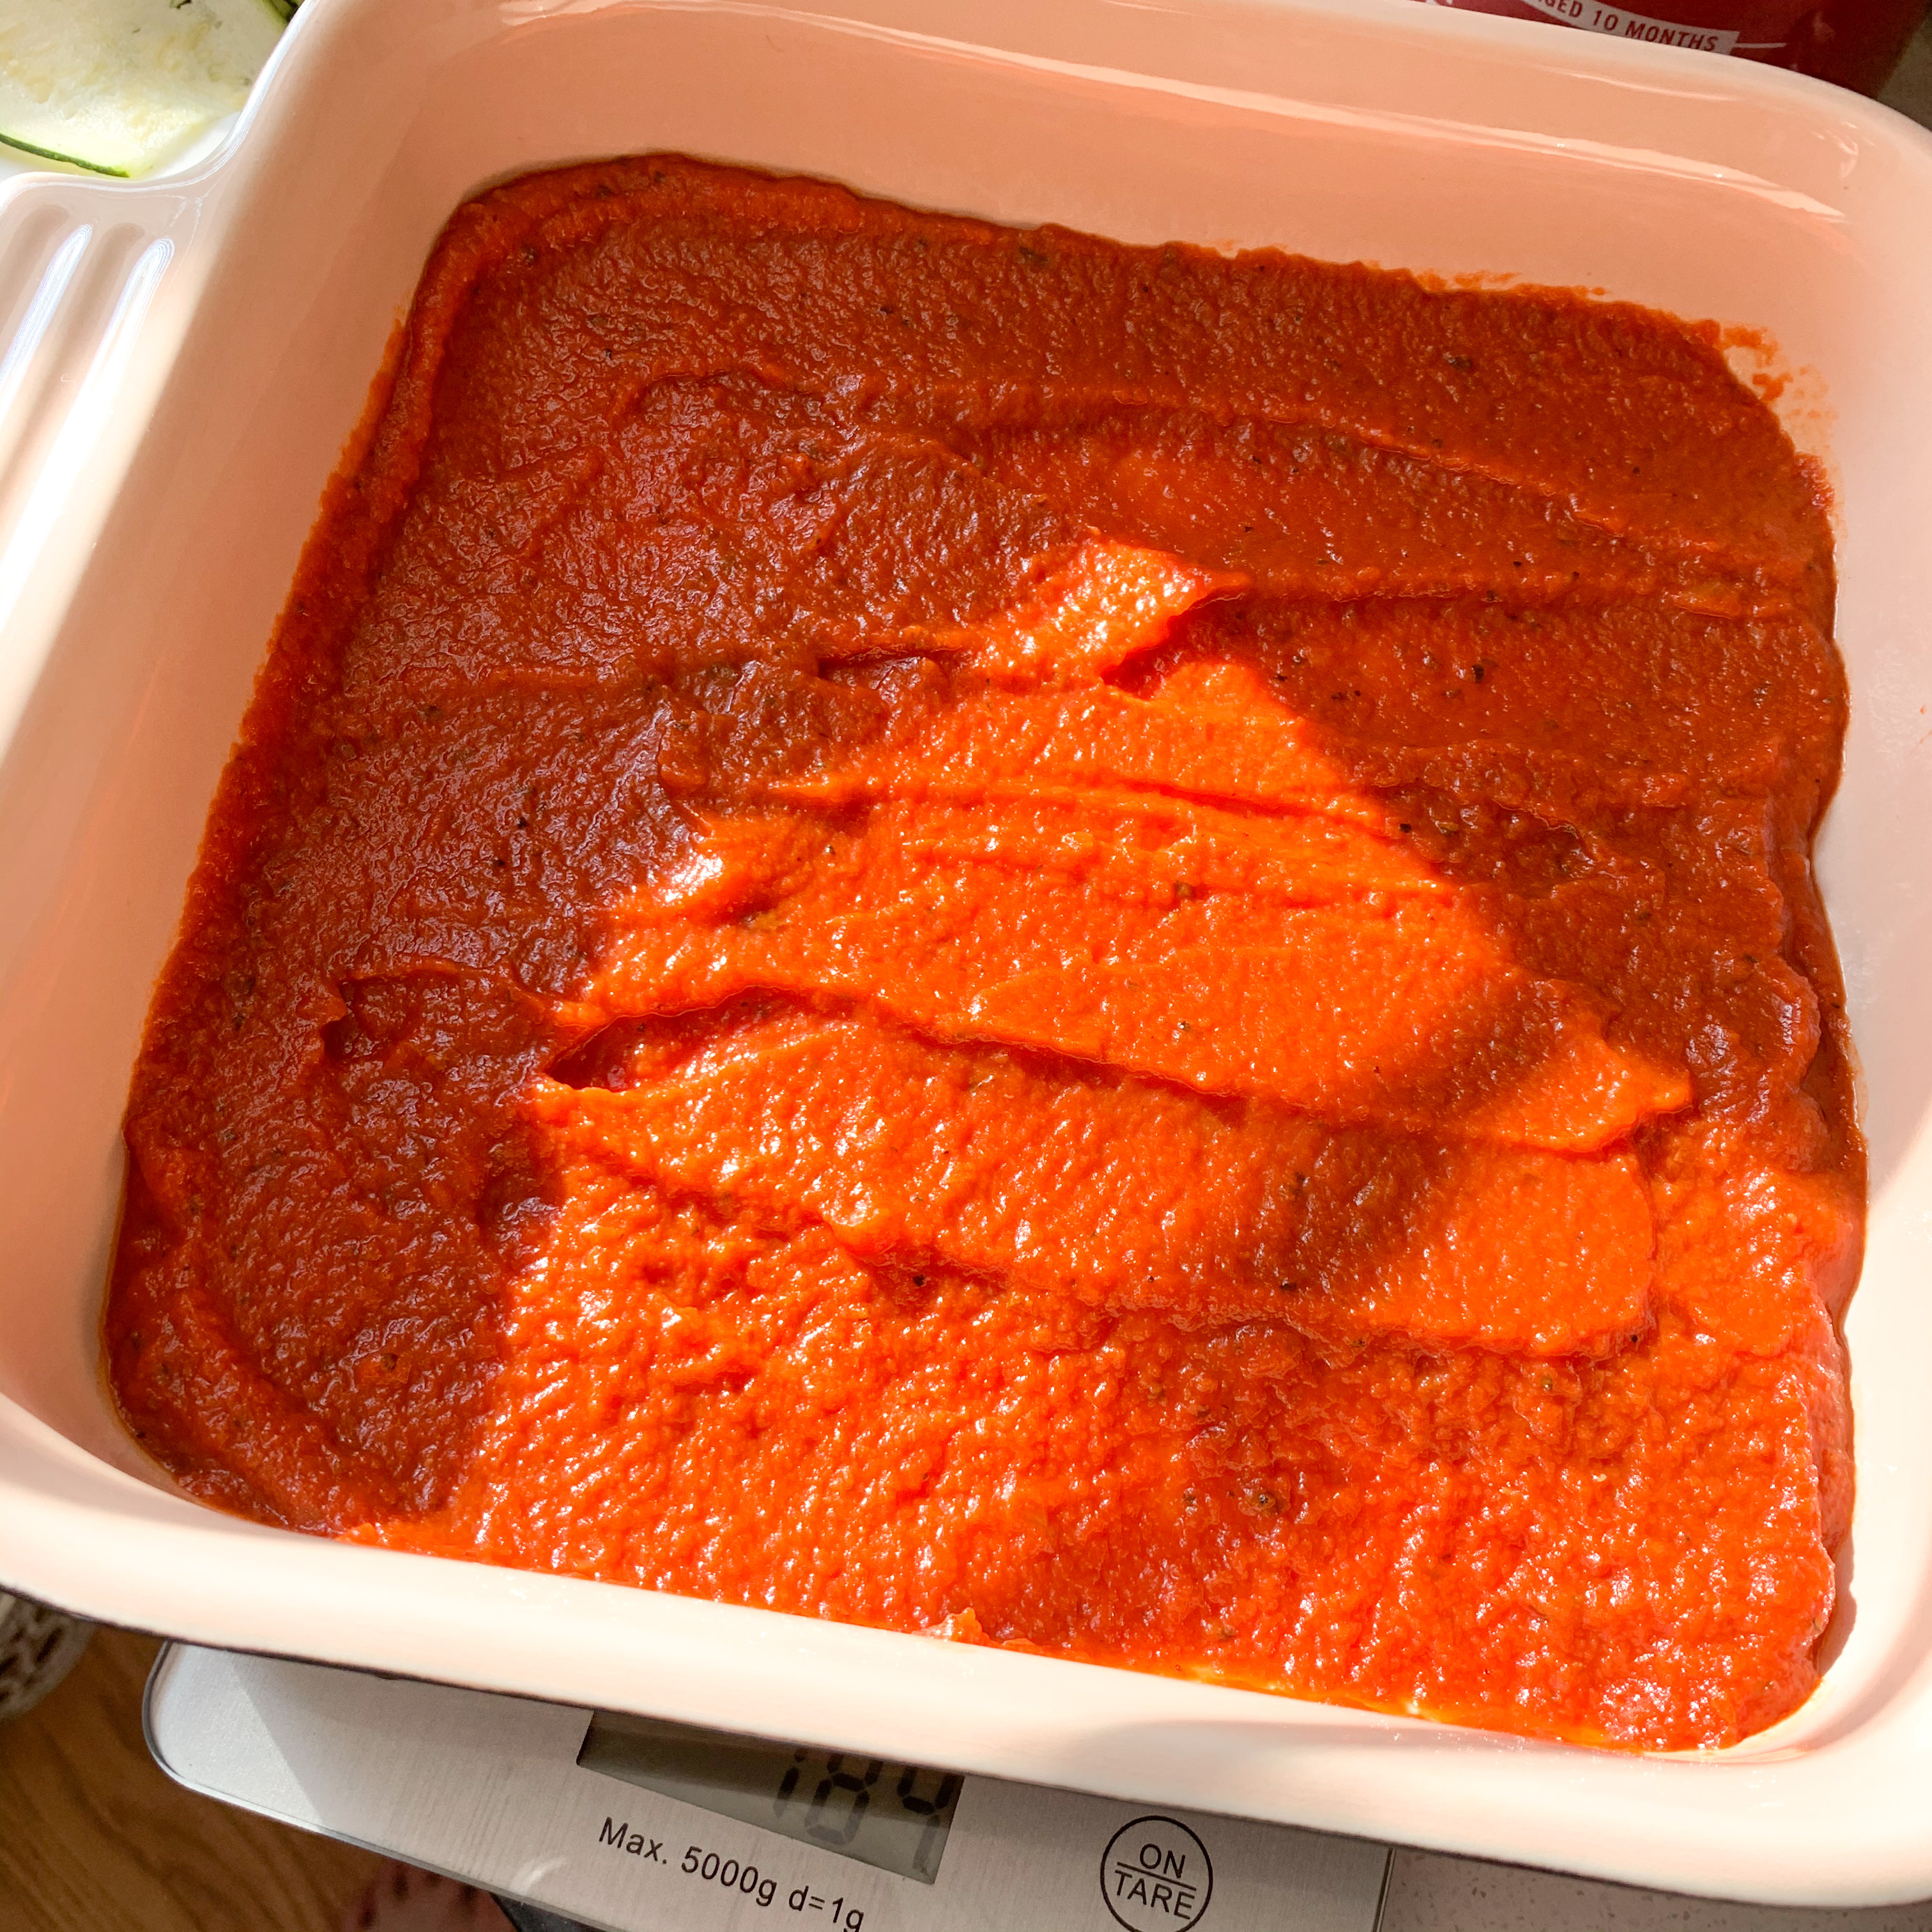
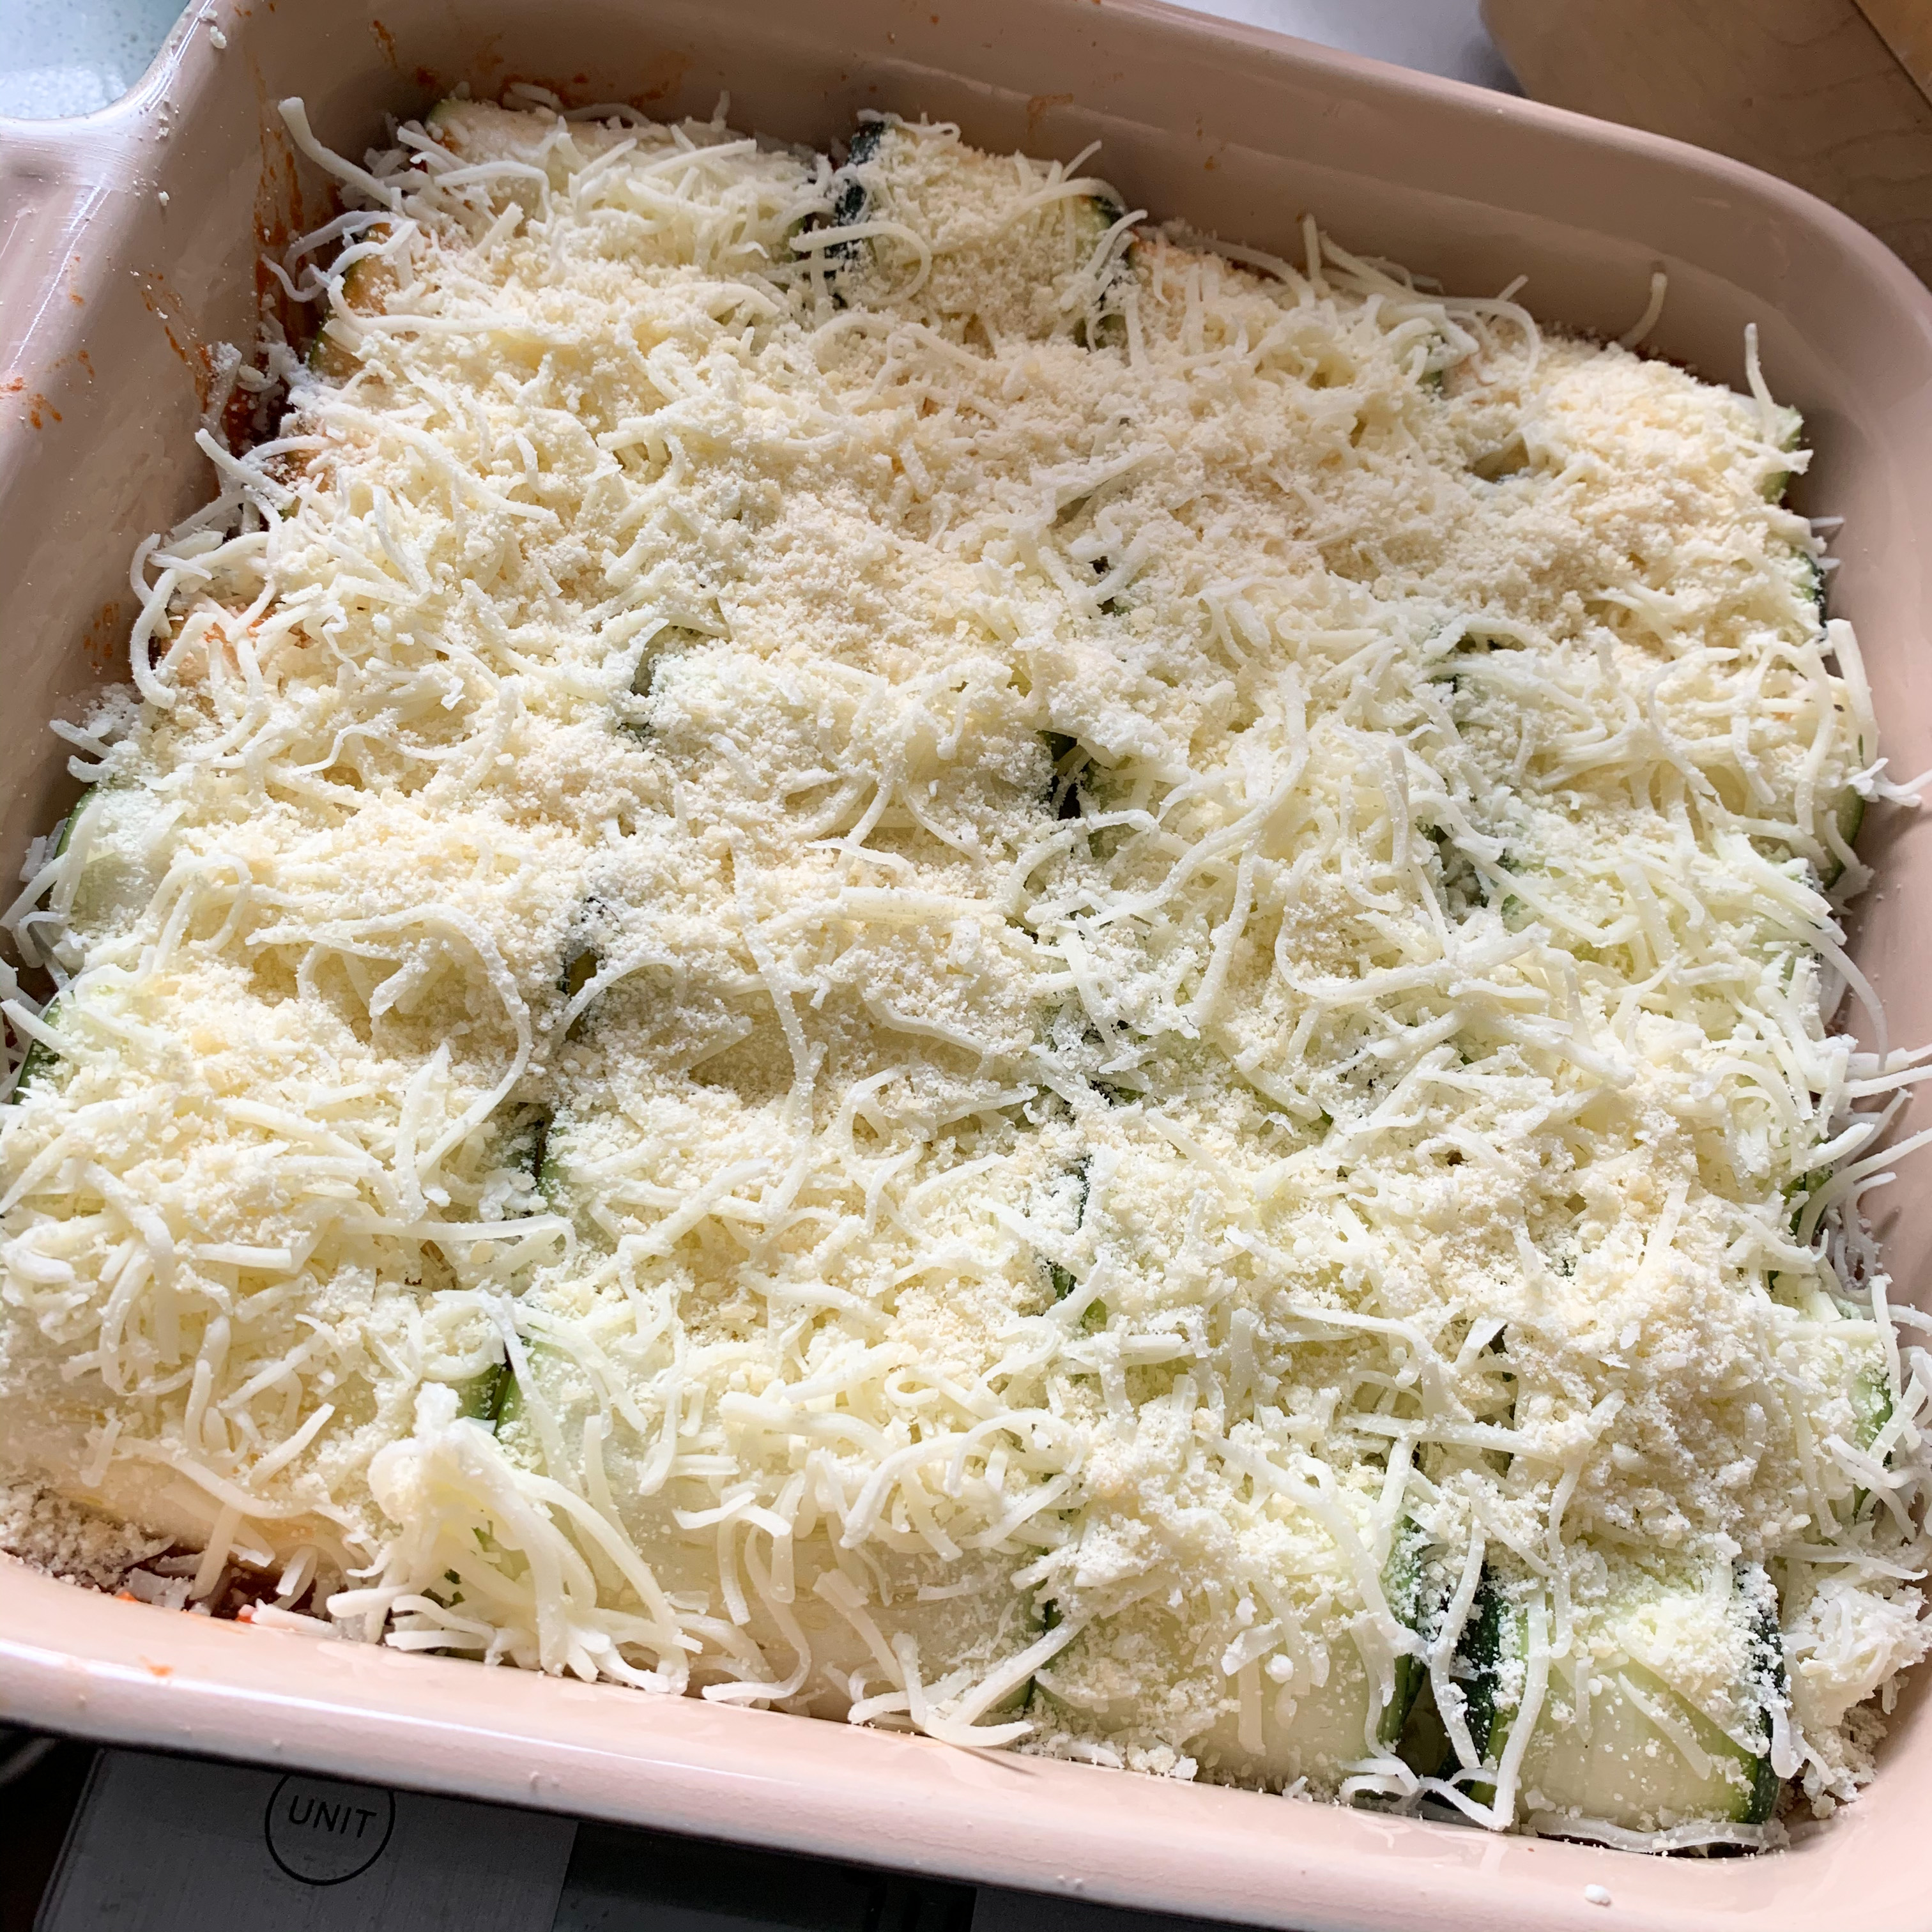
PS. You’ll see I have a few different baking dishes in the pics. I’ve made it a few times and ultimately, I like the square or rectangular dishes the best. The round one wasn’t big enough, but I had the best lighting that day, lol.